How Much Does Car Ac Repair Cost
The Cool Truth About Car AC Repair Costs: A DIYer's Guide
Let's face it: a broken car AC in the dead of summer is more than just uncomfortable; it can be downright dangerous. Figuring out the cost of repair can be a minefield, though. Is it a simple recharge, or a full-blown compressor replacement? This article breaks down the factors influencing car AC repair costs, giving you the knowledge to diagnose problems, understand quotes from mechanics, and even tackle some repairs yourself.
Purpose: Understanding AC Systems and Repair Bills
Why bother understanding AC systems? For starters, knowledge is power. Knowing the components and their functions allows you to:
- Better diagnose issues: Is the air just not cold, or is there a strange noise coming from the engine bay?
- Evaluate repair quotes: Is the mechanic suggesting unnecessary repairs? Are the labor costs reasonable?
- Perform basic maintenance and repairs: Recharging the system, replacing a faulty relay, or cleaning the condenser fins are all tasks a reasonably skilled DIYer can handle.
Furthermore, understanding the system allows you to prevent future problems by identifying and addressing potential issues early on.
Key Specs and Main Parts
The automotive AC system is a closed-loop system containing refrigerant, a special fluid that absorbs and releases heat. Here's a breakdown of the major components:
- Compressor: The heart of the system. Driven by the engine via a belt, it compresses the refrigerant gas, increasing its pressure and temperature. A failing compressor often results in a loud grinding noise.
- Condenser: Located in front of the radiator, the condenser cools the high-pressure, high-temperature refrigerant gas, turning it into a high-pressure liquid. Blocked or damaged fins reduce its efficiency.
- Receiver Drier or Accumulator: This component filters the refrigerant and removes moisture. The receiver drier is used in systems with a thermal expansion valve (TXV), while the accumulator is used with an orifice tube.
- Expansion Valve or Orifice Tube: This metering device controls the flow of refrigerant into the evaporator. The expansion valve is a more sophisticated device that dynamically adjusts the flow based on temperature and pressure. The orifice tube is a simpler, fixed-size restrictor.
- Evaporator: Located inside the cabin, the evaporator absorbs heat from the passenger compartment, cooling the air that blows through the vents. A clogged evaporator can lead to reduced airflow and a musty smell.
- Refrigerant Lines: These hoses and pipes carry the refrigerant throughout the system. Leaks are a common problem, often occurring at connections.
- Pressure Switches: These sensors monitor the refrigerant pressure and shut off the compressor if the pressure is too low or too high, protecting the system from damage.
How It Works: The Refrigeration Cycle
The AC system operates on a simple principle of thermodynamics. Here's how the cycle works:
- Compression: The compressor compresses the refrigerant gas, increasing its pressure and temperature.
- Condensation: The high-pressure, high-temperature refrigerant gas flows to the condenser, where it releases heat to the outside air and condenses into a high-pressure liquid.
- Metering: The high-pressure liquid refrigerant flows through the expansion valve or orifice tube, which reduces its pressure and temperature.
- Evaporation: The low-pressure, low-temperature refrigerant flows into the evaporator, where it absorbs heat from the passenger compartment and evaporates back into a gas.
- Return: The refrigerant gas returns to the compressor to repeat the cycle.
Real-World Use: Basic Troubleshooting Tips
Before heading to the mechanic, try these simple troubleshooting steps:
- Check the AC Clutch: With the engine running and the AC on, observe the compressor clutch. It should be engaging and disengaging. If it's not engaging at all, the problem could be a blown fuse, a faulty relay, or a low refrigerant charge.
- Check for Leaks: Look for oily residue around refrigerant line connections. This indicates a refrigerant leak. You can also use a refrigerant leak detector.
- Inspect the Condenser: Ensure the condenser fins are clean and free of debris. A blocked condenser reduces the system's efficiency.
- Check the Blower Motor: Make sure the blower motor is working properly. If it's not blowing air through the vents, the AC won't work effectively, even if the rest of the system is functioning.
- Listen for Noises: Unusual noises, such as grinding, hissing, or rattling, can indicate specific problems. A grinding noise often points to a failing compressor, while a hissing noise may indicate a refrigerant leak.
Safety: Handle Refrigerant with Care!
Working with refrigerant can be dangerous. Here are some crucial safety precautions:
- Refrigerant is a controlled substance: Venting refrigerant into the atmosphere is illegal and harmful to the environment. Always recover refrigerant using proper equipment.
- Wear safety glasses and gloves: Refrigerant can cause severe frostbite if it comes into contact with your skin or eyes.
- Never work on a pressurized system: Always depressurize the system before disconnecting any components.
- Use proper tools: Use AC manifold gauges to monitor refrigerant pressure and vacuum pumps to evacuate the system.
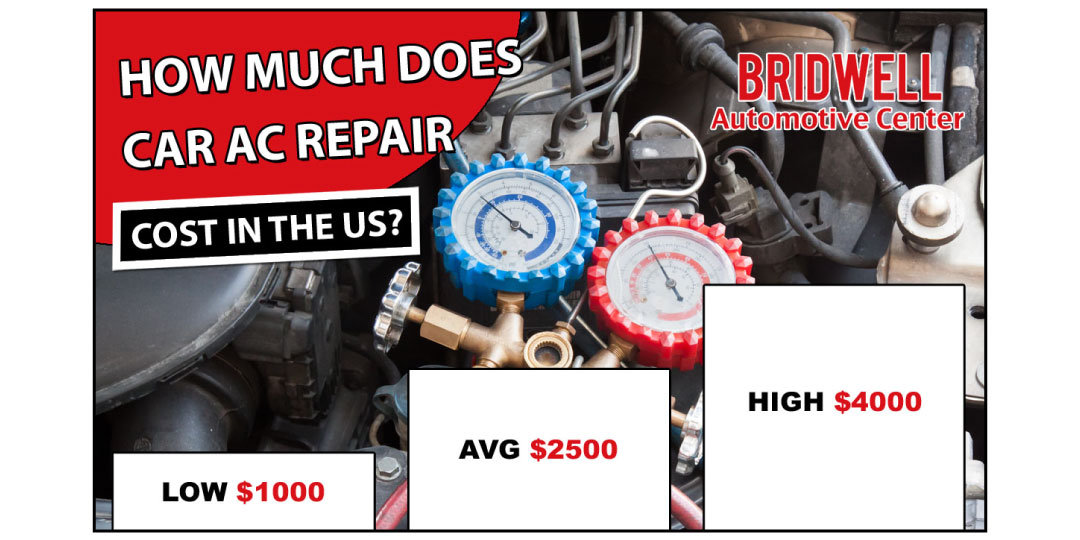
Cost Breakdown: What to Expect
Here's a general breakdown of common AC repairs and their estimated costs:
- Recharge: This involves adding refrigerant to the system. The cost typically ranges from $50 to $200, depending on the type of refrigerant and the amount needed.
- Leak Repair: The cost varies depending on the location and severity of the leak. Small leaks may be repaired with sealant, while larger leaks may require replacing a hose or component. Expect to pay $100 to $500 or more.
- Compressor Replacement: This is one of the most expensive AC repairs. The cost can range from $500 to $1500 or more, including parts and labor.
- Condenser Replacement: The cost can range from $300 to $800, including parts and labor.
- Evaporator Replacement: This is a labor-intensive job, as the evaporator is typically located inside the dashboard. The cost can range from $600 to $1200 or more.
- Receiver Drier/Accumulator Replacement: The cost can range from $100 to $300, including parts and labor.
- Expansion Valve/Orifice Tube Replacement: The cost can range from $100 to $300, including parts and labor.
Important Note: These are just estimates. The actual cost of repair can vary depending on the make and model of your vehicle, the location of the repair shop, and the availability of parts.
Final Thoughts: Empower Yourself with Knowledge
Understanding your car's AC system doesn't just save you money; it gives you the confidence to make informed decisions about your vehicle's maintenance. By diagnosing simple problems, evaluating repair quotes, and even tackling some repairs yourself, you can stay cool and comfortable all summer long.