How Much Is A Oul Change
So, you're wondering how much an oil change really costs. You're probably thinking about the sticker price at the quick lube place, but that's just the tip of the iceberg. We're going to dive deep into the *true* cost, factoring in parts, labor (even if it's your own), and the long-term implications of choosing different oils and filters.
Purpose: Beyond the Sticker Price
Understanding the real cost of an oil change is crucial for a few reasons. First, it allows you to make informed decisions about maintenance, potentially saving you money in the long run. Choosing the cheapest oil and filter might seem economical upfront, but it could lead to premature engine wear and costly repairs down the line. Second, knowing the value of your time allows you to accurately compare DIY oil changes with professional services. Is it really worth spending two hours on a Saturday when you could be doing something else? Finally, for modders and DIY mechanics, understanding the nuances of oil selection and filter performance can unlock performance gains and improve engine longevity, especially in high-performance applications.
Key Specs and Main Parts
Let's break down the key components and specifications involved in an oil change:
1. Engine Oil
The lifeblood of your engine. Oil lubricates moving parts, reduces friction, cools components, and cleans contaminants. Understanding oil specifications is key. Here's what to look for:
- Viscosity: Represented by a grade like 5W-30 or 10W-40. The first number (e.g., 5W) indicates the oil's viscosity at low temperatures (W stands for Winter). The lower the number, the better the oil flows in cold weather. The second number (e.g., 30) indicates the oil's viscosity at operating temperature. Higher numbers mean thicker oil. Use the viscosity recommended in your owner's manual.
- API Rating: This indicates the oil's performance standards, certified by the American Petroleum Institute. Look for designations like SN, SP, or higher. Newer ratings generally offer better protection against engine wear and deposits.
- Oil Type: You have several options:
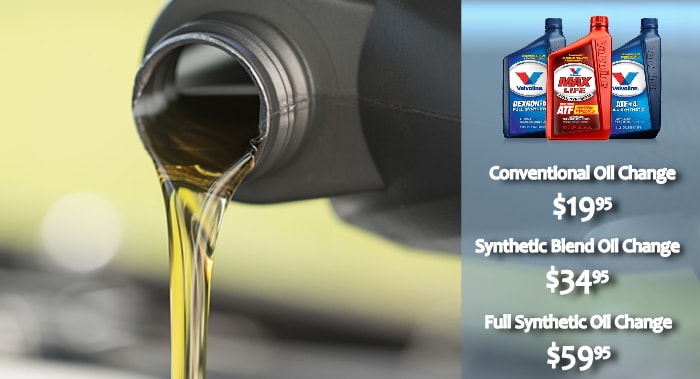
- Conventional Oil: The most basic and typically the cheapest option. Good for older vehicles or those with basic engine requirements.
- Synthetic Blend: A mix of conventional and synthetic oils, offering improved performance and protection over conventional oil at a slightly higher cost.
- Full Synthetic Oil: Provides the best protection, performance, and longevity. It's more resistant to breakdown at high temperatures and offers superior lubrication. Ideal for high-performance engines, turbocharged engines, or vehicles that experience severe driving conditions.
- High Mileage Oil: Formulated for vehicles with over 75,000 miles. Contains additives that help condition seals and prevent leaks.
2. Oil Filter
The oil filter removes contaminants from the oil, preventing them from circulating through the engine and causing damage. Key considerations:
- Filtration Efficiency: How well the filter captures particles of different sizes. Higher efficiency filters remove more contaminants. Look for filters with a high Beta ratio.
- Filter Media: The material used to filter the oil. Options include paper, synthetic, and blended media. Synthetic media generally offers better filtration and longer life.
- Filter Size: The physical size of the filter. Using a larger filter can increase oil capacity and potentially improve filtration. *Always* check compatibility before using a different size filter than what's specified.
- Bypass Valve: A safety mechanism that allows oil to flow through the engine even if the filter becomes clogged. This prevents engine damage, but it also means unfiltered oil is circulating.
- Anti-Drainback Valve: Prevents oil from draining back into the oil pan when the engine is off, ensuring that oil is readily available when the engine is started.
3. Drain Plug Washer
A small but crucial component. The washer seals the drain plug against the oil pan, preventing leaks. Always replace the washer with a new one each time you change the oil. Common materials include aluminum, copper, and fiber. Using the wrong type or reusing an old washer can lead to leaks.
How It Works: The Oil Change Process
The process is straightforward, but attention to detail is crucial:
- Warm up the engine: Warm oil flows more easily, ensuring better drainage.
- Locate the drain plug: It's typically on the bottom of the oil pan.
- Position a drain pan: Under the drain plug.
- Loosen and remove the drain plug: Be careful; the oil will be hot.
- Allow the oil to drain completely: This can take 15-30 minutes.
- Remove the old oil filter: Use an oil filter wrench. Be prepared for some oil spillage.
- Lubricate the new oil filter's gasket: With fresh oil.
- Install the new oil filter: Hand-tighten only. Follow the instructions on the filter.
- Install a new drain plug washer: On the drain plug.
- Reinstall the drain plug: Tighten to the specified torque (usually around 15-25 ft-lbs). *Do not overtighten!*
- Add new oil: Use the recommended grade and quantity from your owner's manual.
- Check the oil level: Using the dipstick. Add more oil if necessary.
- Start the engine: Let it run for a few minutes, checking for leaks.
- Recheck the oil level: After the engine has been running.
- Dispose of the old oil properly: Take it to a recycling center.
Real-World Use: Basic Troubleshooting
Here are some common issues you might encounter:
- Oil leak after oil change: Most likely caused by a loose drain plug, a damaged drain plug washer, or a poorly installed oil filter. Double-check the torque on the drain plug and ensure the oil filter gasket is properly seated.
- Oil pressure light on after oil change: Could be due to low oil level, a clogged oil filter (rare with a new filter), or a faulty oil pressure sensor. Check the oil level first.
- Difficulty removing the oil filter: Use a properly sized oil filter wrench. If it's stuck, try piercing the filter with a screwdriver (carefully!) to gain leverage.
- Stripped drain plug threads: A common problem caused by overtightening. You can try using a thread repair kit or, in severe cases, replace the oil pan. Consider installing a Fumoto valve for future oil changes.
Safety: Handle with Care
Oil changes involve several potential hazards:
- Hot oil: Can cause severe burns. Always let the engine cool down slightly before draining the oil. Wear gloves and eye protection.
- Jacking up the vehicle: Always use jack stands to support the vehicle. Never work under a vehicle supported only by a jack. Ensure the vehicle is on a level surface.
- Chemical exposure: Oil can be harmful to your skin and eyes. Wear gloves and eye protection. Avoid prolonged exposure.
- Environmental hazards: Dispose of used oil and filters properly to prevent pollution.
Important Safety Note: Always properly dispose of used motor oil and filters. They are hazardous waste and can contaminate the environment. Most auto parts stores and recycling centers will accept used oil and filters for recycling.