How Much Is A Valve Cover Gasket
Let's talk valve cover gaskets. Specifically, how much replacing one is going to cost you. This isn't just about slapping a new piece of rubber on your engine; it's about understanding the role of the valve cover gasket, the factors influencing its price, and the potential pitfalls of a DIY replacement. Consider this your in-depth guide to pricing and replacing this crucial engine component.
Purpose and Importance
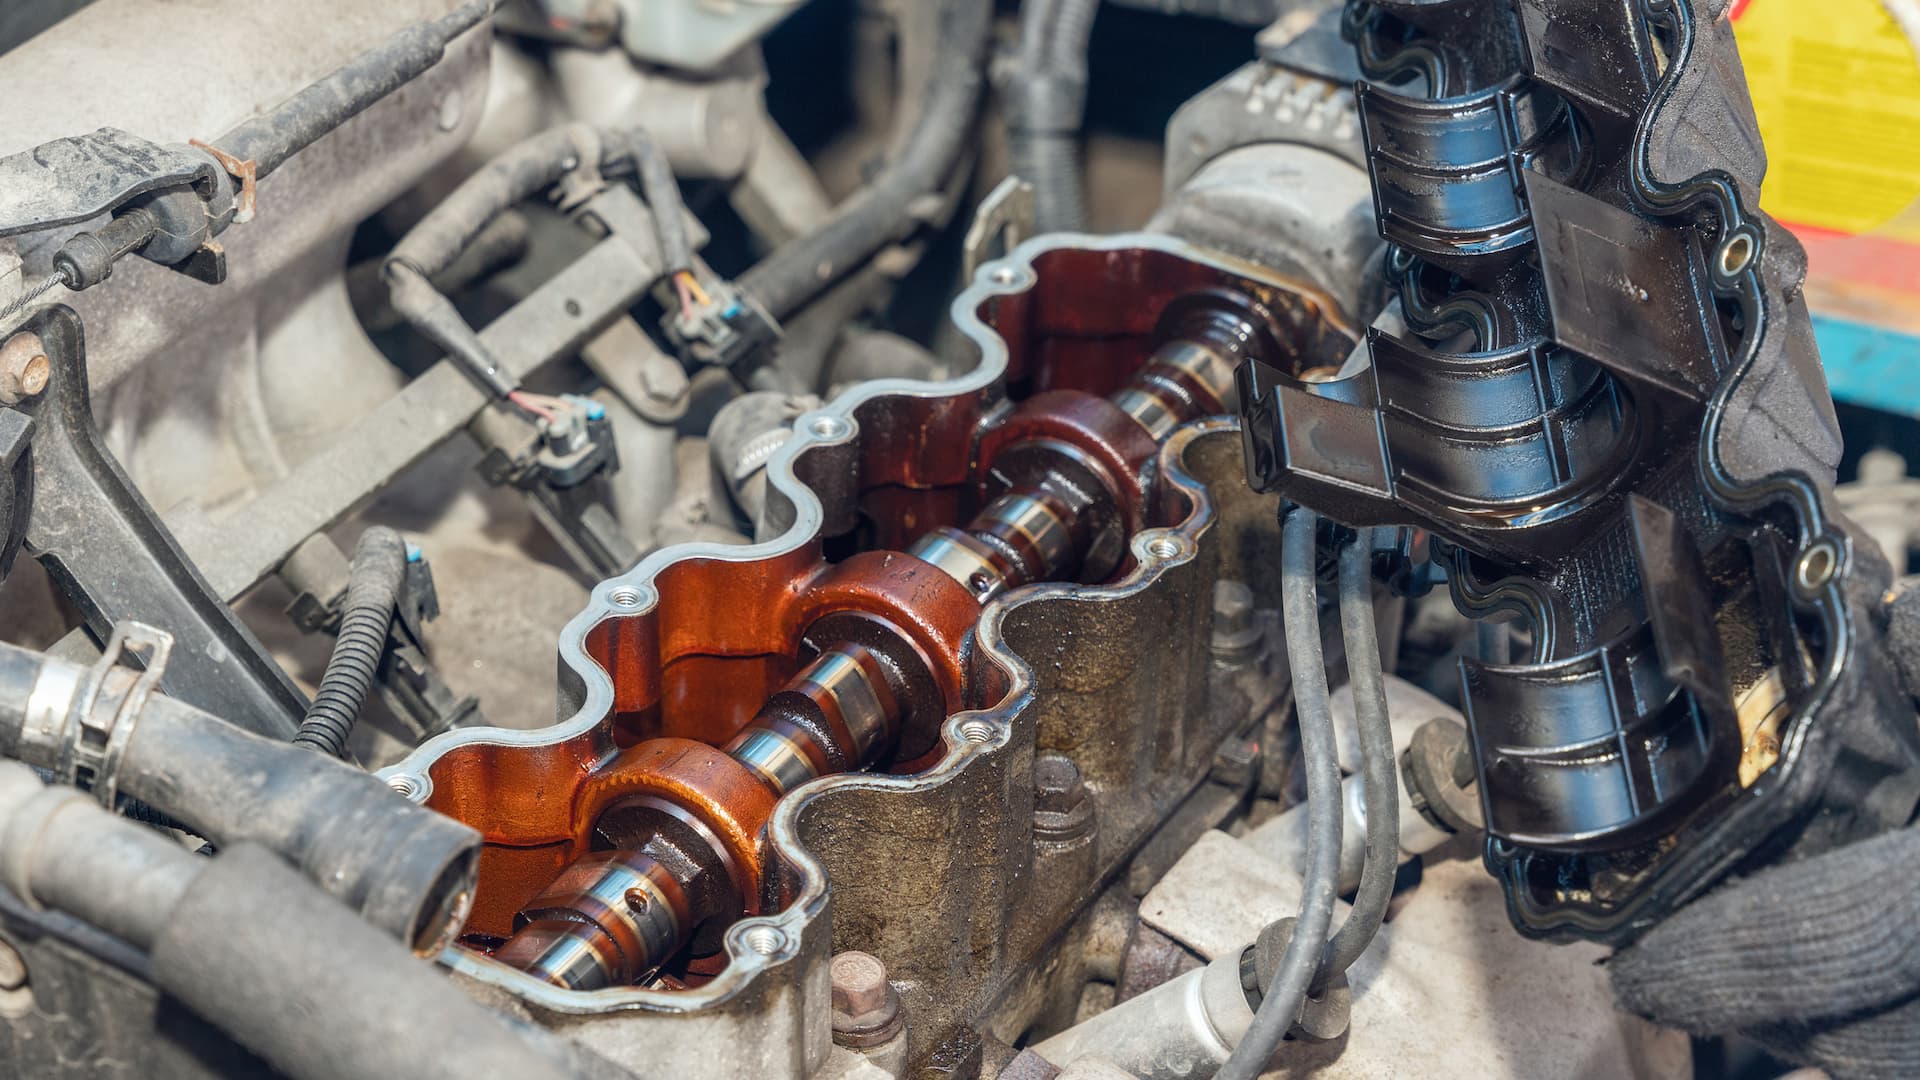
The valve cover gasket, as the name suggests, seals the valve cover to the cylinder head. Its primary function is to prevent oil leaks from the engine. Think of your engine as a tightly controlled ecosystem. Oil is circulated to lubricate all the moving parts in the cylinder head, including the valves, rocker arms (or camshaft followers), and the camshaft itself. Without a properly functioning valve cover gasket, this oil would leak out, leading to:
- Low Oil Levels: This can cause severe engine damage due to inadequate lubrication.
- Oil on Hot Engine Components: This creates a fire hazard and produces a burning smell.
- Messy Engine Bay: Nobody wants an engine bay covered in oil.
- Reduced Engine Performance: Though indirectly, oil leaks can affect engine efficiency and potentially lead to other issues.
Knowing the value and potential for problems when there is a valve cover gasket failure is key to understanding the time and money involved in doing the replacement. Furthermore, understanding the repair, whether you're doing it yourself or getting a quote from a shop, will ensure you are getting what you expect.
Key Specs and Main Parts
When it comes to valve cover gaskets, there aren't many "specs" in the traditional sense like torque specs, which are essential during installation. The primary spec to consider is the gasket material. Common materials include:
- Cork: An older material, generally less durable and prone to drying out and cracking. Cheaper but requires more frequent replacement.
- Rubber: A more common and durable option. Typically made from nitrile rubber (NBR) or ethylene propylene diene monomer (EPDM).
- Silicone: Offers excellent heat resistance and durability. Often more expensive but provides a longer lifespan.
- Metal: Usually aluminum with a rubberized coating. Commonly found on newer engines and offer a good seal.
The main parts involved are:
- Valve Cover Gasket: The actual sealing component. Its design matches the valve cover's shape.
- Valve Cover: The cover that sits on top of the cylinder head, housing the valvetrain.
- Fasteners (Bolts or Nuts): Secure the valve cover to the cylinder head. These often have specific torque specifications.
- Grommets or Washers (Under the Fasteners): These help distribute the clamping force and prevent over-tightening. Sometimes integrated into the gasket itself.
- RTV Silicone Sealant (Optional): Used in some applications, particularly in corners or where the gasket mates with other surfaces, to ensure a complete seal.
How It Works
The valve cover gasket works by creating a tight, compression-based seal between the valve cover and the cylinder head. When the valve cover is bolted down, the gasket is compressed, filling any minor imperfections on the mating surfaces. This prevents oil from escaping from the area housing the valvetrain. Key to making it work correctly:
- Ensure that both surfaces (cylinder head and valve cover) are clean and free of any old gasket material.
- Always torque the valve cover bolts to the manufacturer's specified torque. Over-tightening can crush the gasket, leading to leaks. Under-tightening results in an incomplete seal.
- Pay attention to the bolt tightening sequence. Manufacturers will typically provide a specific sequence, often in a criss-cross pattern, to ensure even pressure distribution.
- If using RTV sealant, apply it sparingly and only in the areas recommended by the manufacturer. Too much sealant can actually hinder the seal.
Real-World Use – Basic Troubleshooting Tips
Diagnosing a valve cover gasket leak is relatively straightforward:
- Visual Inspection: Look for oil residue around the valve cover edges, particularly near the bottom.
- Burning Smell: If oil is leaking onto hot exhaust components, you'll likely smell burning oil.
- Oil Consumption: Noticeably increased oil consumption can indicate a leak, though it could be from other sources.
- Oil Dripping: Look for oil spots on the ground under the engine, especially after the engine has been running.
When replacing a valve cover gasket:
- Cleanliness is Key: Thoroughly clean the valve cover and cylinder head surfaces. Use a scraper or gasket remover to remove old gasket material.
- Inspect the Valve Cover: Check the valve cover for warpage, especially if it's made of plastic. A warped valve cover won't seal properly.
- Use the Correct Gasket: Make sure you're using the correct gasket for your specific engine and valve cover.
- Torque to Spec: This cannot be overstated. Use a torque wrench to tighten the bolts to the manufacturer's specification.
Potential problems after replacement:
- Leaking Continues: Improper installation is the most common cause. Re-check torque specifications and ensure the mating surfaces are clean. Also, consider if the valve cover is warped.
- Stripped Threads: Over-tightening can strip the threads in the cylinder head. Use a torque wrench and avoid exceeding the specified torque.
- Damaged Gasket: Be careful not to damage the gasket during installation. Avoid pinching or tearing it.
Safety
Working around the engine involves some inherent safety risks:
- Hot Engine: Never work on the engine while it's hot. Allow it to cool down completely before starting any repairs.
- Sharp Edges: Be careful of sharp edges on the valve cover and cylinder head. Wear gloves to protect your hands.
- Flammable Liquids: Be cautious when using solvents or cleaners. Work in a well-ventilated area and avoid open flames.
- Electrical Components: Disconnect the negative battery cable before starting any work to prevent electrical shocks.
A particularly risky component can be the PCV (Positive Crankcase Ventilation) valve and its associated hoses. These can become brittle and break during valve cover removal, requiring replacement. Additionally, be mindful of any wiring harnesses or sensors attached to the valve cover. Disconnect them carefully to avoid damage.
Cost Breakdown
Finally, let's get to the core question: how much does a valve cover gasket replacement cost?
- Part Cost (Valve Cover Gasket): $20 - $100+, depending on the vehicle, gasket material, and brand.
A basic cork or rubber gasket for a common car might be around $20-$30. A high-performance silicone gasket or a metal gasket for a luxury vehicle could easily exceed $100.
- Labor Cost (If Hiring a Mechanic): $100 - $500+, depending on the vehicle and the complexity of the job.
Some vehicles have very accessible valve covers, while others require the removal of numerous components (intake manifolds, etc.) to gain access. The more complex the job, the higher the labor cost.
- Other Potential Costs:
- RTV Silicone Sealant: $5 - $15.
- Replacement PCV Valve/Hoses: $10 - $50.
- Valve Cover (If Damaged): $50 - $300+.
- Replacement Fasteners (Bolts or Nuts): $5 - $20.
DIY vs. Mechanic:
- DIY: Saves on labor costs but requires time, tools, and mechanical aptitude. The total cost could be just the cost of the gasket and RTV sealant, if any.
- Mechanic: More expensive but offers convenience and expertise. You're paying for their knowledge, experience, and warranty on their work.
Example Scenarios:
- Basic 4-Cylinder Car (DIY): Gasket ($25) + RTV ($10) = $35.
- V6 Engine (Mechanic): Gasket ($50) + Labor ($250) + RTV ($10) = $310.
- Luxury Car with Difficult Access (Mechanic): Gasket ($80) + Labor ($400) + RTV ($10) + PCV Valve ($30) = $520.
In conclusion, the cost of a valve cover gasket replacement can vary widely. Understanding the factors that influence the price allows you to make an informed decision and potentially save money by tackling the job yourself, if you're comfortable with it. Always research the specific requirements for your vehicle and follow proper procedures to ensure a successful and leak-free repair.