How Much To Fix A Ac In Car
Let's talk about car AC repair costs. As a seasoned DIY enthusiast or experienced mechanic, you know how important a functional AC system is, not just for comfort, but also for safety, particularly in extreme climates. The ability to demist windows quickly significantly improves visibility.
Why Understanding Your AC System Matters
Purpose: This isn't just about fixing what's broken. Understanding your AC system allows for preventative maintenance, informed decision-making when dealing with mechanics, and the potential to save significant money on repairs by tackling certain jobs yourself. This knowledge is especially useful for modders who may be looking to optimize or even relocate AC components.
Access to a detailed schematic of your vehicle's AC system is invaluable. We have access to those, and you can download one specifically tailored to your car’s make and model to aid in your repairs.
Key AC System Specs and Main Components
Before diving into costs, let's quickly recap the core components and their specifications. Note that specifics will vary from car to car, but the basic principles remain the same.
- Compressor: This is the heart of the system, responsible for compressing the refrigerant. Compressor displacement (measured in cubic centimeters or inches) dictates its pumping capacity. Expect a compressor to handle pressures ranging from 25-45 PSI on the low side and 150-350 PSI on the high side (when functioning correctly).
- Condenser: Located at the front of the vehicle, the condenser cools the high-pressure, hot refrigerant gas, turning it into a high-pressure liquid.
- Evaporator: Situated inside the dashboard, the evaporator absorbs heat from the cabin air, causing the refrigerant to boil and turn into a low-pressure gas. This is where the cooling happens.
- Expansion Valve (or Orifice Tube): This regulates the flow of refrigerant into the evaporator, controlling the pressure drop and ensuring optimal cooling.
- Receiver Drier (or Accumulator): This component filters the refrigerant, removes moisture, and stores excess refrigerant. Driers are usually used with expansion valves and accumulators with orifice tubes.
- Refrigerant: The working fluid that carries heat throughout the system. Modern systems typically use R-134a or the newer R-1234yf. Never mix refrigerants.
- Lines and Hoses: These transport the refrigerant between the various components. Look for high-pressure and low-pressure lines.
Understanding AC System Symbols and Schematics
AC system diagrams, like any schematic, use standardized symbols to represent components. Here's a breakdown of common elements:
- Solid Lines: Typically represent refrigerant lines. Thicker lines often indicate high-pressure lines.
- Dotted Lines: Usually represent control lines (vacuum or electrical signals).
- Compressor Symbol: A stylized representation of the compressor, often with an arrow indicating the direction of flow.
- Condenser Symbol: Usually shown as a serpentine coil.
- Evaporator Symbol: Similar to the condenser symbol, but often with a different shape or orientation.
- Expansion Valve/Orifice Tube Symbol: Represented by a variable resistor symbol or a fixed orifice symbol, respectively.
- Pressure Switches: Shown as electrical switches with an associated pressure symbol. These protect the system from over-pressure or low-pressure conditions.
- Colors: While not universally standardized, colors can sometimes indicate pressure levels (e.g., red for high-pressure, blue for low-pressure).
How a Car AC System Works
The AC system operates on a closed-loop cycle based on the principles of thermodynamics:
- The compressor compresses low-pressure, low-temperature refrigerant gas into high-pressure, high-temperature gas.
- The high-pressure gas flows to the condenser, where it releases heat to the ambient air and condenses into a high-pressure liquid.
- The high-pressure liquid passes through the receiver drier (or accumulator), where moisture and contaminants are removed.
- The high-pressure liquid then flows through the expansion valve (or orifice tube), which restricts the flow and causes a pressure drop. This results in a low-pressure, low-temperature liquid.
- The low-pressure liquid enters the evaporator, where it absorbs heat from the cabin air, causing it to boil and turn back into a low-pressure gas. This cools the air blowing into the cabin.
- The low-pressure gas returns to the compressor, completing the cycle.
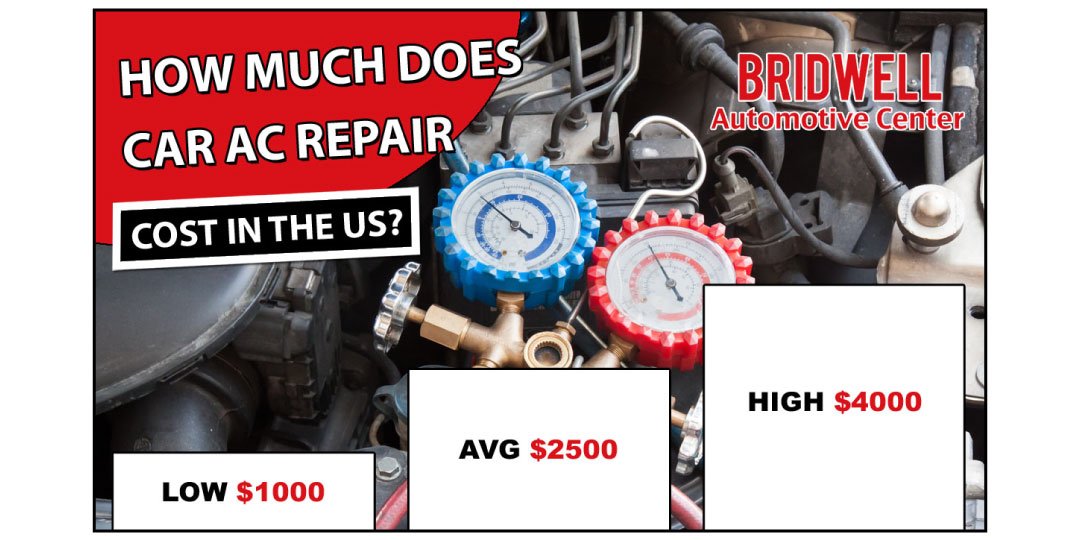
Real-World Troubleshooting and Cost Estimation
Now, let's break down common AC problems and their associated costs (estimated, DIY savings can be significant):
- Refrigerant Leak: The most common issue. Costs vary depending on the severity and location of the leak.
- Diagnosis: Using a UV dye and leak detector.
- Repair Costs: Recharge ($50-$150 DIY, $100-$300 professional). Leak repair (O-rings, hoses: $50-$200 DIY, $150-$500 professional. Evaporator or condenser replacement: $300-$800 DIY, $600-$1500 professional).
- Troubleshooting Tip: Look for oily residue around fittings and connections. A weak AC system is a telltale sign.
- Compressor Failure: A costly repair, often indicated by loud noises, lack of cooling, or a seized compressor.
- Repair Costs: Compressor replacement ($200-$600 DIY, $500-$1200 professional). Includes drier and expansion device and system flush.
- Troubleshooting Tip: Check the compressor clutch for engagement. If it's not engaging, check the electrical connections and the pressure switches.
- Condenser/Evaporator Issues: Damage or blockage can reduce cooling efficiency.
- Repair Costs: Condenser ($150-$400 DIY, $300-$800 professional). Evaporator (labor intensive, often requires dash removal: $200-$500 DIY, $600-$1500 professional).
- Troubleshooting Tip: Inspect the condenser for physical damage. A dirty evaporator can restrict airflow, so try cleaning it (requires access).
- Expansion Valve/Orifice Tube Problems: Can cause erratic cooling or complete lack of cooling.
- Repair Costs: $50-$150 DIY, $150-$400 professional.
- Troubleshooting Tip: Difficult to diagnose without proper tools and experience. Often replaced when diagnosing other issues.
- Electrical Issues: Blown fuses, faulty relays, or wiring problems can prevent the AC system from functioning.
- Repair Costs: Highly variable, depending on the complexity of the issue. $50-$200 DIY (for simple repairs), $100-$500 professional.
- Troubleshooting Tip: Start by checking the fuses and relays associated with the AC system. Use a multimeter to test for voltage and continuity.
Important Considerations: These are just estimates. Labor rates vary significantly depending on your location and the mechanic's expertise. Always get multiple quotes before committing to a repair. Remember, a proper diagnosis is key to avoiding unnecessary expenses.
Safety First!
Working on AC systems involves risks. Refrigerant can cause frostbite, and high-pressure lines can rupture explosively. Always wear appropriate safety gear (gloves, eye protection). Never disconnect high-pressure lines without first discharging the system using proper equipment. If you're not comfortable handling refrigerant, leave it to a professional. The compressor has a clutch and pulley that can catch fingers or clothing when the engine is running.
High-Risk Components: The compressor (due to its moving parts and electrical connections) and the refrigerant lines (due to high pressure) are the most dangerous components to work on.
Final Thoughts
Fixing your car's AC can be a rewarding DIY project, saving you money and deepening your understanding of your vehicle. However, it's crucial to approach the task with caution, knowledge, and the right tools. Don't hesitate to seek professional help if you're unsure about any aspect of the repair.
Remember, we have access to detailed schematics for a wide range of vehicles. Contact us to receive a downloadable diagram specific to your car's make and model to further assist in your AC repairs.