How Much To Fix Car Ac
Let's talk about car AC repair costs. As an experienced DIYer, you're probably used to tackling a variety of automotive issues. Understanding the intricacies of your car's air conditioning system, and thus the costs associated with repairs, is crucial for both informed maintenance and potential DIY fixes. This article will break down the AC system, its components, potential problems, and give you a good idea of what kind of investment you're looking at. We'll also look at some basic troubleshooting to help you pinpoint the problem, as well as safety precautions to keep you safe. Remember, dealing with refrigerant can be hazardous, so safety is paramount!
Purpose of Understanding AC System Costs
Why bother understanding the costs associated with fixing your car's AC? Several reasons:
- Informed Decision Making: Knowing the potential expenses empowers you to decide whether to tackle a repair yourself or take it to a professional.
- Cost Estimation: You can better estimate the costs involved, avoid being overcharged by unscrupulous mechanics, and accurately budget for the repair.
- DIY Possibilities: Some AC repairs, such as replacing a leaky O-ring or topping off refrigerant, are within reach of experienced DIYers. Understanding the system gives you the confidence to attempt these.
- Preventative Maintenance: Identifying potential issues early can save you from more expensive repairs down the road.
- Learning: Expanding your automotive knowledge is always a plus!
Key Specs and Main Parts of a Car AC System
The car AC system is a closed-loop system that uses a refrigerant to transfer heat from the inside of your car to the outside. The main components include:
- Compressor: The heart of the system, the compressor pressurizes the refrigerant, raising its temperature. It's driven by the engine via a belt and pulley. A failing compressor is often one of the most expensive AC repairs.
- Condenser: Located at the front of the car, the condenser cools the high-pressure, high-temperature refrigerant, causing it to condense into a liquid.
- Receiver Drier (or Accumulator): This component filters debris and removes moisture from the refrigerant. It also acts as a reservoir. The receiver drier is typically found in systems with a thermal expansion valve, while the accumulator is used with an orifice tube.
- Expansion Valve (or Orifice Tube): This metering device regulates the flow of refrigerant into the evaporator. The expansion valve is a more sophisticated device that adjusts the refrigerant flow based on the evaporator temperature, providing more efficient cooling. The orifice tube is a simpler, fixed-size restrictor.
- Evaporator: Located inside the dashboard, the evaporator absorbs heat from the cabin air, causing the refrigerant to evaporate and cool the air.
- Refrigerant: The working fluid that cycles through the system, absorbing and releasing heat. Older systems used R-12, which is now illegal. Modern systems use R-134a or the newer R-1234yf. Using the wrong refrigerant can damage the system.
- Hoses and Lines: These carry the refrigerant between the components.
- Pressure Switches: These monitor the refrigerant pressure and protect the system from damage if the pressure is too high or too low.
How It Works: A Simplified Explanation
Here's a step-by-step overview of the AC cycle:
- The compressor draws in low-pressure, low-temperature refrigerant vapor and compresses it into a high-pressure, high-temperature vapor.
- The hot, high-pressure refrigerant vapor flows to the condenser, where it releases heat to the outside air and condenses into a high-pressure liquid.
- The high-pressure liquid refrigerant flows to the receiver drier (or accumulator), where it is filtered and dehumidified.
- The high-pressure liquid refrigerant then flows to the expansion valve (or orifice tube), where it undergoes a pressure drop, causing it to partially vaporize and become a low-pressure, low-temperature liquid/vapor mixture.
- The cold liquid/vapor mixture flows to the evaporator, where it absorbs heat from the cabin air, causing it to completely vaporize and become a low-pressure, low-temperature vapor.
- The low-pressure vapor returns to the compressor, completing the cycle.
Real-World Use: Basic Troubleshooting
Before diving into costly repairs, try these basic troubleshooting steps:
- Check the AC clutch: With the engine running and the AC turned on, verify that the AC compressor clutch is engaging. You should hear a click and see the center of the compressor pulley spinning. If it's not engaging, the problem could be a blown fuse, a faulty pressure switch, or a bad clutch.
- Check fuses and relays: Consult your car's owner's manual to locate the fuses and relays related to the AC system. Check for blown fuses and replace them as needed. A faulty relay can also prevent the compressor from engaging.
- Check for leaks: Look for signs of refrigerant leaks around the AC components, such as oily residue or green dye (if a leak detection dye was previously added to the system). Leaks often occur at hose connections, fittings, and the compressor shaft seal.
- Check the blower motor: Ensure that the blower motor is working properly and delivering air through the vents. If the blower motor isn't working, you won't feel any cold air, even if the AC system is functioning correctly.
- Use an AC manifold gauge set: This tool allows you to measure the high-side and low-side pressures in the AC system. By comparing these pressures to the manufacturer's specifications, you can diagnose a variety of problems, such as low refrigerant charge, a faulty compressor, or a blocked orifice tube. This requires training and knowledge of AC systems.
Safety – Highlight Risky Components
Working on a car AC system can be dangerous if proper precautions are not taken. Here are some safety considerations:
- Refrigerant: Refrigerant is a hazardous substance that can cause frostbite and asphyxiation. Never release refrigerant into the atmosphere. Always recover refrigerant using a recovery machine before disconnecting any AC lines. Wear appropriate personal protective equipment (PPE), such as gloves and eye protection, when working with refrigerant.
- High Pressure: The AC system operates at high pressures, especially on the high side. Never disconnect any AC lines while the system is pressurized. Always use proper tools and techniques to avoid injury.
- Electrical Components: The AC system contains electrical components, such as the compressor clutch and pressure switches. Disconnect the battery before working on any electrical components to avoid electrical shock.
- Moving Parts: The AC compressor is driven by the engine via a belt and pulley. Keep your hands and clothing away from moving parts while the engine is running.
- Proper Ventilation: Work in a well-ventilated area to avoid inhaling refrigerant vapors.
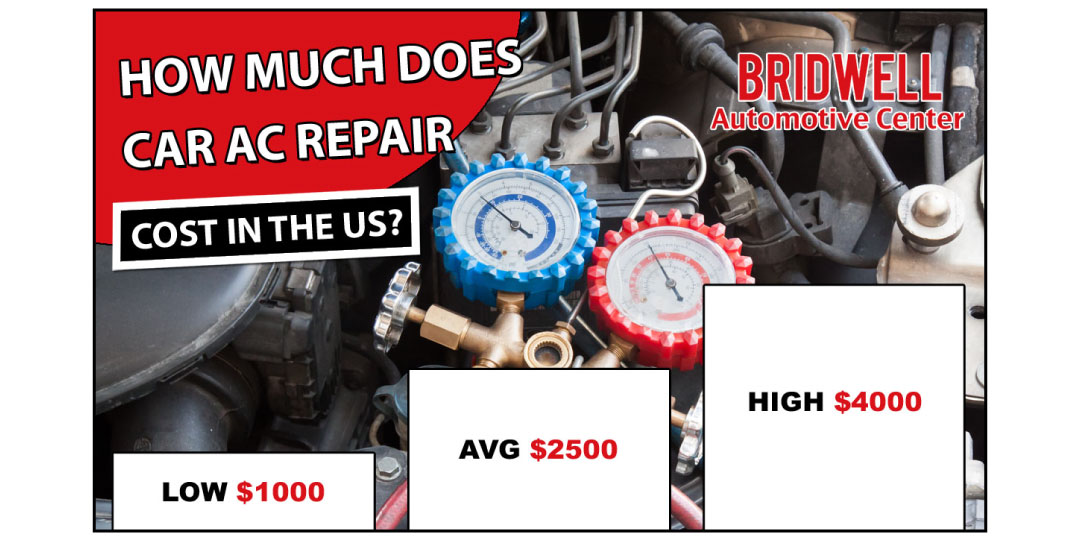
Estimated Costs for Common AC Repairs: (These are just estimates and can vary widely based on location, vehicle, and shop rates.)
- Recharge AC System: $75 - $200 (If there's a leak, this is only a temporary fix)
- Replace AC Compressor: $500 - $1200+
- Replace Condenser: $300 - $800
- Replace Evaporator: $600 - $1500+ (This is often a labor-intensive job requiring dashboard removal)
- Replace Receiver Drier/Accumulator: $100 - $300
- Replace Expansion Valve/Orifice Tube: $100 - $400
- Repair AC Line/Hose: $100 - $500 (Depending on whether it can be patched or needs full replacement)
Important Note: Many modern cars use R-1234yf refrigerant, which is significantly more expensive than R-134a. Repairs on systems using R-1234yf will generally be more costly.
By understanding the components of your car's AC system, potential problems, and associated costs, you can make informed decisions about repairs and maintenance. Remember to prioritize safety and consult a qualified technician if you're not comfortable tackling a repair yourself.