How Much To Get Truck Painted
Alright, let's talk about something near and dear to the heart of any truck owner: getting it painted. We're going to delve into the factors influencing the cost, the processes involved, and how to estimate what you'll be shelling out. This isn't just about slapping on some color; it's about protecting your investment and making your truck look its best.
Purpose of Understanding Paint Costs
Knowing what goes into a paint job's price tag isn't just about saving money (although that's a big part!). It allows you to make informed decisions, whether you're DIYing a portion of the work or hiring a professional. Understanding the costs helps you:
- Negotiate: Armed with knowledge, you can confidently discuss estimates with body shops and identify potential upcharges.
- Budget: Accurately predict the expense, preventing financial surprises.
- Quality Control: Ensure you're getting a fair value for the services provided. A low price might mean compromised quality, which can lead to premature paint failure.
- Plan for DIY: If you're considering doing some of the prep work yourself (sanding, body filler), knowing the labor costs associated with each step helps you decide if it's worth your time and effort.
Key Specs and Main Parts of a Paint Job Estimate
The cost of a truck paint job is broken down into several key areas. Each has its own set of variables influencing the final price. Let's dissect them:
1. Preparation (Prep Work)
This is arguably the most crucial step and often the most labor-intensive. Proper preparation is the foundation of a durable and visually appealing paint job. Key elements include:
- Washing and Degreasing: Removing dirt, grime, and contaminants. Specific detergents and cleaning agents are used.
- Rust Removal: Grinding, media blasting (sandblasting, soda blasting), or chemical treatments to eliminate rust. The extent of rust dictates the cost.
- Bodywork: Dent removal, panel beating, and filler application (e.g., Bondo). This involves specialized tools and skills. The amount of damage significantly impacts the cost.
- Sanding: Multiple stages of sanding with varying grits of sandpaper to create a smooth, even surface for primer. This is critical for adhesion and a flawless finish.
- Masking: Protecting areas that shouldn't be painted (windows, trim, lights). Meticulous masking is essential.
2. Materials
The type and quantity of materials directly affect the cost. Here's a breakdown:
- Primer: Provides a bonding layer for the paint and helps to smooth out imperfections. Types include epoxy primer (for rust protection), urethane primer (for overall durability), and self-etching primer (for bare metal).
- Paint: This is where the color comes in. Options include:
- Single-stage: Paint and clear coat combined. Simplest and cheapest option.
- Base coat/Clear coat: Separate color coat (base coat) and a protective clear coat. Offers better durability and shine.
- Tri-coat: A base coat, a mid-coat (often a pearl or metallic effect), and a clear coat. Provides the most vibrant and complex finishes, but is the most expensive.
- Clear coat: Protects the paint from UV damage, scratches, and environmental elements. Enhances the gloss and depth of the color.
- Reducer/Thinner: Used to adjust the viscosity of the paint for proper spraying.
- Hardener/Activator: Added to paints and clear coats to initiate the curing process.
- Masking Materials: Tape, paper, plastic sheeting.
- Abrasives: Sandpaper of various grits, sanding blocks, and power sanders.
- Solvents: For cleaning equipment and surfaces.
3. Labor
This encompasses the time and skill required to perform the entire painting process. Labor costs vary significantly depending on the shop's hourly rate and the complexity of the job.
4. Shop Fees and Overhead
Shops often include fees for supplies, equipment usage (spray booths, compressors), waste disposal, and insurance.
How it Works: The Painting Process
The painting process, when done correctly, follows a strict set of steps:
- Assessment: Evaluate the vehicle's condition, identify areas needing repair (rust, dents).
- Preparation: Washing, degreasing, rust removal, bodywork, sanding, and masking.
- Priming: Applying primer in even coats, allowing it to dry, and sanding it smooth.
- Painting: Applying the base coat (if using a base coat/clear coat system) in thin, even coats, allowing each coat to flash (partially dry) before applying the next.
- Clear Coating: Applying the clear coat in even coats, allowing it to dry and cure.
- Buffing and Polishing: Compounding and polishing the clear coat to remove imperfections and enhance the shine.
- Detailing: Removing masking, cleaning, and inspecting the finished product.
Real-World Use – Basic Troubleshooting Tips
Even with the best preparation, problems can arise. Here are a few common issues and potential solutions:
- Orange Peel: A textured surface resembling the peel of an orange. Caused by improper spraying technique, incorrect reducer, or paint drying too quickly. Solution: Wet sanding and buffing.
- Runs/Sags: Excess paint dripping or sagging. Caused by applying paint too thick or spraying too slowly. Solution: Sanding down the runs and re-painting.
- Fish Eyes: Small circular craters in the paint. Caused by silicone contamination. Solution: Thoroughly clean the surface and use a fish-eye eliminator additive in the paint.
- Paint Peeling: Poor adhesion between the paint and the underlying surface. Caused by inadequate preparation or incompatible materials. Solution: Strip the paint down to the bare metal, properly prepare the surface, and re-paint.
Safety Considerations
Painting involves hazardous materials and equipment. Prioritize safety:
- Respiratory Protection: Always wear a properly fitted respirator with appropriate cartridges to protect against harmful vapors. Isocyanates in paints and clear coats are particularly dangerous.
- Eye Protection: Wear safety glasses or a face shield to protect your eyes from paint spray and debris.
- Skin Protection: Wear gloves and long sleeves to prevent skin contact with paints and solvents.
- Ventilation: Work in a well-ventilated area or use a spray booth to remove harmful vapors.
- Fire Safety: Keep flammable materials away from heat sources and open flames. Have a fire extinguisher readily available.
Cost Variables in Detail
Estimating the cost accurately involves understanding these key influencing variables:
- Vehicle Size: Larger trucks require more materials and labor. A dually, for example, will cost more than a standard cab.
- Paint Quality: A basic single-stage enamel paint job will be cheaper than a multi-stage metallic or pearl finish with high-quality clear coat.
- Level of Damage: Extensive rust repair, large dents, or collision damage will significantly increase the prep work cost.
- Color Change: Repainting a truck a drastically different color requires more thorough preparation, including painting door jambs and other hidden areas, which adds to the labor cost.
- Shop Location: Labor rates and material costs vary depending on geographic location.
- Shop Reputation and Experience: A reputable shop with experienced painters will likely charge more, but the quality of the work may be worth the investment.
General Cost Estimates:
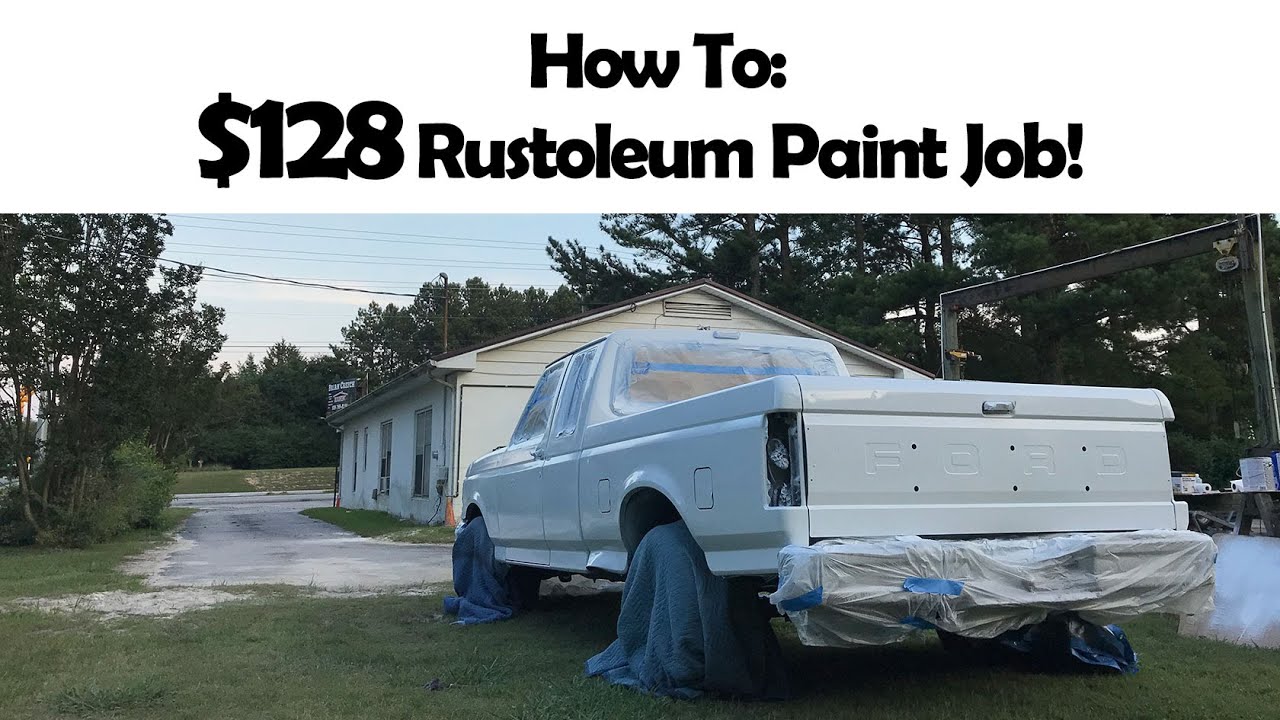
- Basic Single-Stage Paint Job: $500 - $2,000 (may be suitable for older trucks or those primarily used for work).
- Standard Base Coat/Clear Coat Paint Job: $2,000 - $7,000 (a good balance of cost and quality for most trucks).
- High-End Multi-Stage Paint Job (tri-coat, custom colors): $7,000+ (for show trucks or those seeking a truly unique finish).
Remember: These are just estimates. Get multiple quotes from reputable shops and carefully review the details of each estimate before making a decision.
Painting your truck is a significant investment. Doing your homework and understanding the process will help you get the best possible results for your money.