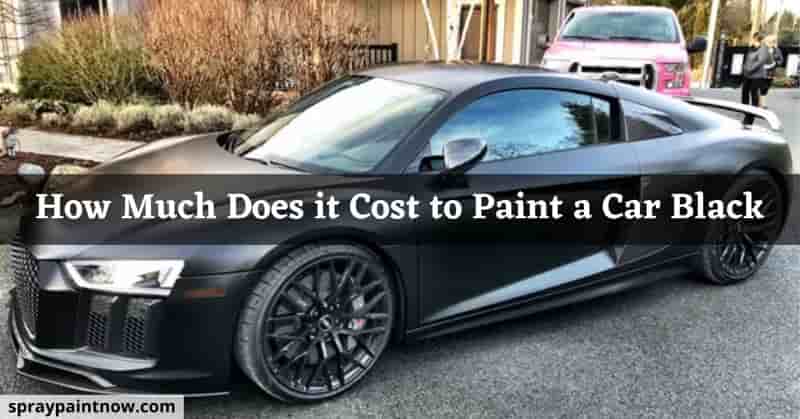
How Much To Paint A Car Black
So, you're thinking about painting your car black, huh? A fresh coat of black paint can absolutely transform a vehicle, giving it a sleek, aggressive, or even classic look. But let's be real, painting a car, especially doing it right, is a significant undertaking. This article will break down the costs involved, giving you a detailed estimate and technical insights to help you decide if this is a project you want to tackle yourself.
Purpose: Why Understanding Paint Costs Matters
Understanding the costs involved in painting your car black isn't just about saving money (although that's a big part of it!). It's about making informed decisions, avoiding costly mistakes, and ensuring you achieve a professional-looking finish that lasts. Whether you're repairing damage, performing a complete color change, or simply refreshing faded paint, knowing the material costs upfront allows you to:
- Accurately budget for the project and avoid running out of materials mid-job.
- Compare quotes from professional painters more effectively.
- Identify potential areas where you might be able to save money (e.g., choosing a less expensive clear coat).
- Understand the quality of materials being used (cheaper isn't always better in the long run).
Key Specs and Main Parts: The Bill of Materials
Here’s a breakdown of the key materials you'll need, along with estimated costs. These prices can vary based on brand, quality, and your location, so consider them a starting point. Remember we are focusing on a complete black paint job. Partial jobs may change the estimated material amounts. All estimates are for an average sized car, roughly 15 feet in length. SUVs and larger trucks will require more material.
1. Preparation Materials: The Foundation of a Good Finish
- Sandpaper (Various Grits): You'll need a range of grits, from coarse (e.g., 80-grit) for removing rust or old paint, to fine (e.g., 400-grit, 600-grit, 800-grit) for smoothing surfaces and preparing for primer. Expect to spend $30-$50 on sandpaper.
- Body Filler (Bondo): Used to repair dents and imperfections. A standard can will cost around $20-$30.
- Body Filler Spreader: Used to spread the body filler. $5-$10.
- Masking Tape and Paper: Essential for protecting areas you don't want to paint (windows, trim, etc.). Budget $20-$40. Good quality masking tape is worth the investment.
- Degreaser/Wax and Grease Remover: Critical for cleaning the surface and ensuring proper paint adhesion. Aim for a solvent based product. $15-$25.
- Tack Cloth: Used to remove any remaining dust or particles before painting. $10-$15 for a pack of several cloths.
- Plastic Sheeting / Drop Cloths: To protect your workspace from overspray. $10-$20.
2. Painting Materials: The Heart of the Project
- Primer: Crucial for adhesion, corrosion protection, and creating a uniform base. An epoxy primer is ideal. Expect to use about 1-2 quarts depending on coverage. $40-$80 per quart.
- Black Base Coat Paint: This is where the color comes in. Consider whether you want a single-stage (paint and clear in one) or a two-stage (separate base and clear) system. Two-stage systems generally offer better durability and gloss. A gallon should be sufficient for most cars. $100-$400 per gallon, depending on the type of paint (e.g., acrylic lacquer, acrylic enamel, urethane).
- Clear Coat (if using a two-stage system): Protects the base coat and provides a glossy finish. About 1 gallon will do. $100-$400 per gallon.
- Reducer/Thinner: Used to thin the paint and clear coat to the proper viscosity for spraying. Follow the paint manufacturer's recommendations. $20-$40 per gallon.
- Hardener (for two-part paints): Used to catalyze the curing process. $15-$30.
3. Equipment: Tools of the Trade
- Spray Gun: A high-quality spray gun is essential for a professional finish. You can rent one, buy a budget model ($50-$100), or invest in a professional-grade gun ($200-$500+). An HVLP (High Volume Low Pressure) gun is recommended for its efficiency and reduced overspray.
- Air Compressor: The compressor must be able to supply enough CFM (Cubic Feet per Minute) at the required PSI (Pounds per Square Inch) for your spray gun. Make sure your compressor can handle the gun's requirements. Rental is also an option here.
- Air Regulator and Filter: To control the air pressure and remove moisture and contaminants from the air supply. $20-$50.
- Mixing Cups and Stir Sticks: For accurately mixing paint, reducer, and hardener. $10-$20.
- Respirator: Absolutely essential for protecting your lungs from harmful paint fumes. Get a NIOSH-approved respirator with organic vapor cartridges. $30-$100+.
- Paint Suit: To protect your clothing and prevent lint or fibers from contaminating the paint. $20-$50.
- Gloves: Nitrile gloves are recommended for handling paint and solvents. $10-$20 for a box.
- Lighting: Good lighting is crucial for seeing imperfections and ensuring even coverage. Consider using work lights or a well-lit garage.
Estimated Total Material Cost: $500 - $1500+ (depending on quality and equipment)
How It Works: The Painting Process
- Preparation: Thoroughly clean the car, remove any rust or old paint, repair dents with body filler, and sand the entire surface smooth. Mask off areas you don't want to paint.
- Priming: Apply 2-3 coats of primer, allowing each coat to dry completely before sanding lightly. This creates a smooth, uniform base for the paint.
- Base Coat: Apply 2-3 coats of black base coat, following the manufacturer's recommendations for drying time and application technique.
- Clear Coat (if using a two-stage system): Apply 2-3 coats of clear coat, allowing each coat to dry properly.
- Wet Sanding and Buffing (optional): After the clear coat has cured, you can wet sand with fine-grit sandpaper (e.g., 2000-grit) to remove any imperfections, then buff and polish to achieve a high-gloss finish.
Real-World Use: Troubleshooting Tips
- Orange Peel: This is a textured surface that looks like the peel of an orange. It's often caused by improper spray gun settings, paint that's too thick, or spraying too far from the surface. Adjust your gun settings, thin the paint properly, and maintain the correct distance.
- Runs and Sags: These are caused by applying too much paint in one area. Apply thinner coats and allow each coat to dry properly.
- Fish Eyes: These are small, circular craters in the paint, often caused by contamination (silicone, oil, etc.) on the surface. Make sure to thoroughly clean the surface with a wax and grease remover before painting.
- Bubbles: Can be caused by trapped air or moisture. Ensure proper surface preparation and use the correct reducer for the temperature and humidity.
Safety: Handling Hazardous Materials
Painting a car involves working with potentially hazardous materials. Safety must be your top priority.
- Always wear a NIOSH-approved respirator with organic vapor cartridges to protect your lungs from harmful paint fumes.
- Wear gloves to protect your skin from contact with paint and solvents.
- Work in a well-ventilated area to prevent the buildup of fumes. Consider using an exhaust fan.
- Avoid open flames or sparks near flammable materials.
- Dispose of waste materials properly according to local regulations. Paint and solvents are considered hazardous waste.
Warning: Isocyanates, found in many two-part paints and clear coats, are highly toxic and can cause severe respiratory problems. Proper respiratory protection is crucial.
Final Thoughts
Painting your car black can be a rewarding project if you're prepared and take the necessary precautions. By understanding the costs involved, using the right materials and equipment, and following proper safety procedures, you can achieve a professional-looking finish that will turn heads. Remember, patience and attention to detail are key. Rushing the job will likely result in a poor finish. Good luck, and happy painting!