How Much To Repair Ac In Car
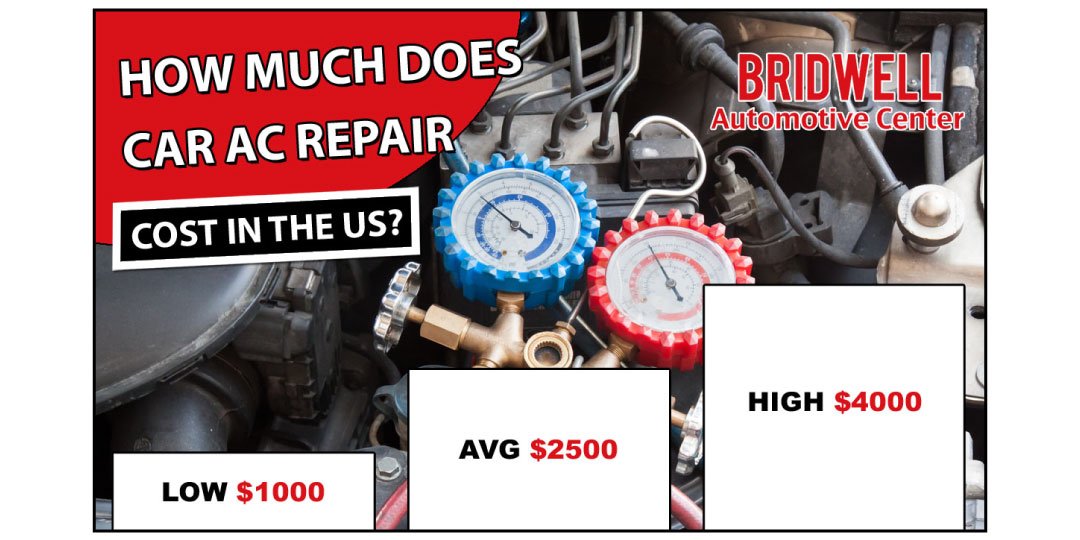
Let's talk about car AC repair costs. We're not just throwing out random numbers here. Instead, we’re going to break down the common issues, parts involved, and labor expectations so you can accurately estimate your repair expenses. Think of this as equipping you with the knowledge to diagnose effectively and negotiate fairly.
Understanding Your Car's AC System: A Deep Dive
Before we get into costs, it's vital to understand how your car's air conditioning system actually works. Consider this your high-level overview, crucial for any repair or DIY attempt. This understanding is not just academic; it directly impacts your ability to diagnose problems and thus, estimate repair costs. For example, knowing the compressor's role helps you appreciate why a failing compressor is a significant expense.
Key Specs and Main Parts
Your car's AC system, at its heart, operates on the principle of thermodynamics, specifically, refrigeration. The system's key components work together in a closed loop to transfer heat from inside the cabin to the outside environment. Here's a breakdown of the major players:
- Compressor: The pump of the system. Driven by the engine via a belt, it compresses the refrigerant gas, increasing its pressure and temperature. A failing compressor is often a major cost driver in AC repairs.
- Condenser: Located at the front of the car (usually in front of the radiator), the condenser dissipates heat from the high-pressure, high-temperature refrigerant gas, causing it to condense into a high-pressure liquid. Damage from road debris or corrosion can lead to leaks.
- Receiver Drier/Accumulator: This component filters debris and removes moisture from the refrigerant. It also acts as a reservoir for the liquid refrigerant. It's crucial to replace this whenever the system is opened, because it absorbs moisture from the atmosphere and will become useless.
- Expansion Valve/Orifice Tube: This is a metering device that controls the flow of high-pressure liquid refrigerant into the evaporator. It creates a pressure drop, causing the refrigerant to expand and cool rapidly. A clogged expansion valve or orifice tube can dramatically reduce AC performance.
- Evaporator: Located inside the car, usually behind the dashboard, the evaporator is where the liquid refrigerant absorbs heat from the cabin air, causing it to evaporate into a low-pressure gas. This is what makes the air cold. Leaking evaporators are often expensive to repair due to their location.
- Refrigerant: The working fluid that carries heat throughout the system. Older vehicles used R-12 (Freon), which is now phased out. Modern vehicles use R-134a or the newer R-1234yf. The type of refrigerant significantly impacts the cost of recharging the system.
Key Specs: While specific pressures and temperatures vary depending on the vehicle and ambient conditions, understanding the typical operating ranges is important. High-side pressure (after the compressor) can range from 150-350 PSI, while low-side pressure (after the evaporator) typically ranges from 25-45 PSI. These values depend on the type of refrigerant, ambient temperatures and vehicle. Always consult your vehicle's service manual for the specific pressures to ensure correct operating parameters.
Understanding AC System Diagrams
AC system diagrams visually represent how these components connect and interact. Being able to interpret these diagrams is crucial for troubleshooting and understanding the system's operation. While we can't embed a dynamic diagram here, let's decipher the common elements:
- Lines: Solid lines typically represent refrigerant lines, while dashed lines might indicate electrical wiring or vacuum lines.
- Colors: Colors are often used to differentiate between high-pressure and low-pressure sides of the system. For instance, red might indicate high-pressure lines, while blue represents low-pressure lines.
- Symbols: Each component has a specific symbol. Squares or rectangles often represent heat exchangers (condenser, evaporator), circles might represent pressure switches, and specialized symbols are used for the compressor, expansion valve/orifice tube, and receiver drier/accumulator.
- Arrows: Arrows indicate the direction of refrigerant flow.
Understanding these visual cues allows you to trace the refrigerant's path through the system and identify potential problem areas.
How It Works: The Refrigeration Cycle
The magic happens in a four-stage cycle:
- Compression: The compressor increases the pressure and temperature of the refrigerant gas.
- Condensation: The high-pressure, high-temperature refrigerant gas flows to the condenser, where it releases heat and condenses into a high-pressure liquid.
- Expansion: The high-pressure liquid refrigerant flows through the expansion valve/orifice tube, causing a sudden pressure drop and temperature decrease.
- Evaporation: The low-pressure, low-temperature refrigerant flows through the evaporator, absorbing heat from the cabin air and evaporating into a low-pressure gas. This cooled air is then blown into the cabin.
The refrigerant then returns to the compressor, and the cycle repeats.
Real-World Use: Basic Troubleshooting Tips and Repair Costs
Let's get practical. Here are some common AC problems, potential causes, and estimated repair costs (these are *estimates* and can vary wildly based on location, vehicle, and shop rates):
- No Cold Air:
- Possible Cause: Low refrigerant (leak), bad compressor, clogged expansion valve/orifice tube, failed blend door actuator (mixing hot/cold air).
- Estimated Cost:
- Refrigerant recharge: $75-$250 (depending on refrigerant type and amount needed).
- Compressor replacement: $500-$1200 (including labor).
- Expansion valve/orifice tube replacement: $150-$400 (including labor).
- Blend door actuator replacement: $150-$350 (including labor, can be a very difficult job in some cars).
- Leak repair: Highly variable. Could be a simple hose replacement ($100-$300) or a major component like the evaporator ($800-$1500).
- DIY Tip: Check the refrigerant level with a gauge. Listen for the compressor clutch engaging when the AC is turned on. Verify blend door actuator is working by adjusting the hot/cold settings.
- Weak Airflow:
- Possible Cause: Clogged cabin air filter, blocked evaporator core, failing blower motor.
- Estimated Cost:
- Cabin air filter replacement: $20-$50 (easy DIY).
- Evaporator core cleaning/replacement: $500-$1500 (requires dashboard removal).
- Blower motor replacement: $150-$400 (including labor).
- DIY Tip: Check and replace the cabin air filter. Inspect the blower motor for debris.
- Strange Noises:
- Possible Cause: Worn compressor, loose belt, debris in the system.
- Estimated Cost:
- Belt replacement: $50-$150 (easy DIY).
- Compressor replacement: $500-$1200 (including labor).
- System flush and recharge: $150-$300.
- DIY Tip: Inspect the belt for wear and tear. Listen carefully to the compressor – is it making grinding or screeching noises?
Important Note: Always use a qualified mechanic for complex AC repairs, especially those involving refrigerant handling. Improper handling of refrigerant is illegal and environmentally damaging.
Safety Considerations
Working on an AC system involves risks. Here's what to watch out for:
- High Pressure: The high-pressure side of the system contains refrigerant under significant pressure. Never disconnect lines without properly evacuating the system. Failure to do so could cause serious injury.
- Refrigerant Burns: Refrigerant can cause frostbite if it comes into contact with skin. Wear appropriate safety gear, including gloves and eye protection.
- Electrical Components: The compressor clutch is electrically operated. Be careful when working around electrical wiring.
Always disconnect the negative battery terminal before working on any electrical components.
This information gives you a solid foundation for understanding car AC systems and estimating repair costs. Armed with this knowledge, you can approach repairs with confidence, whether you choose to tackle them yourself or enlist the help of a professional.
Finally, if you're interested in getting your hands on a detailed AC system diagram to help with your repair, please contact us and we'll be happy to provide you with the appropriate file for your specific vehicle make and model.