How Much To Replace Motor Mounts
So, you're tackling motor mount replacement? Excellent! It's a job that often gets overlooked, but worn motor mounts can lead to a whole host of problems, from annoying vibrations to actual damage to your drivetrain. This article will give you a clear understanding of what's involved and help you estimate the costs you’ll be facing.
Purpose of Replacing Motor Mounts
The primary purpose of replacing motor mounts is straightforward: to restore the engine's stability and dampen vibrations. Think of motor mounts as the shock absorbers for your engine and transmission. They isolate the engine's movement from the chassis, preventing those vibrations from transferring into the cabin and making your ride unbearable. Worn or broken mounts can cause excessive engine movement, leading to:
- Increased vibration: This is the most noticeable symptom, felt in the steering wheel, seats, and even the pedals.
- Clunking noises: Especially when accelerating, decelerating, or shifting gears.
- Shifting issues: Excessive engine movement can misalign the shifter linkage, making shifting difficult or imprecise.
- Damage to other components: Excessive engine movement can strain hoses, wires, and even the exhaust system, leading to costly repairs down the line.
Replacing them promptly addresses these issues, improving ride quality, extending the life of other components, and restoring proper vehicle handling.
Key Specs and Main Parts
Understanding the key specs and parts is crucial before you even think about touching a wrench. Here's a breakdown:
Main Parts:
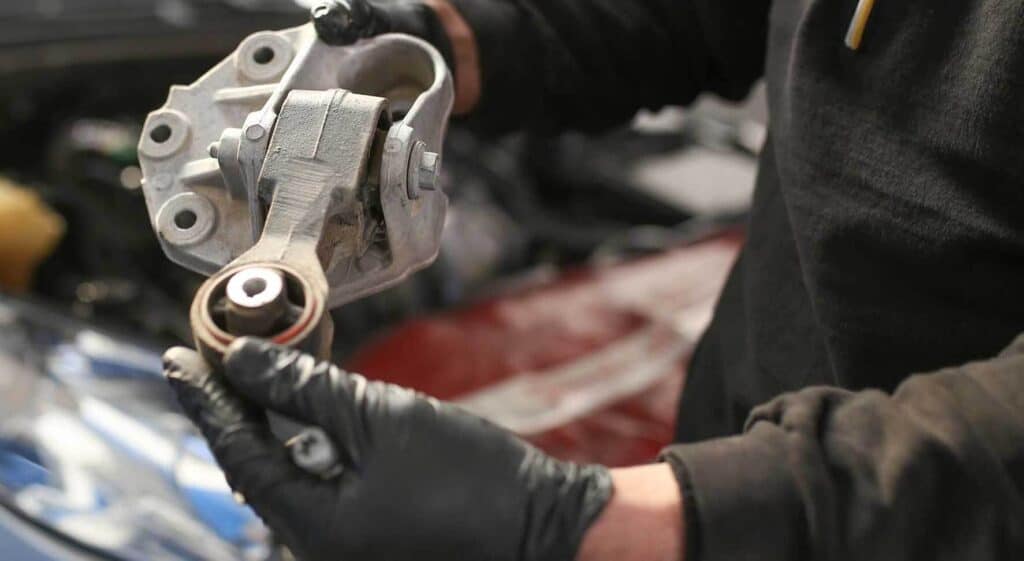
- Motor Mounts (Engine Mounts): These are the primary vibration dampers, usually made of rubber or a polyurethane blend. You'll typically have two or three of these, depending on the vehicle. Locations vary depending on the car's engine orientation (front-wheel drive, rear-wheel drive, all-wheel drive).
- Transmission Mount: Supports the transmission and isolates its vibrations. Similar in design to motor mounts, but often smaller.
- Hardware: Bolts and nuts that secure the mounts to the engine, transmission, and chassis. Always replace these with new hardware to ensure proper torque and clamping force. Pay close attention to torque specs!
Key Specs:
- Material: Motor mounts are typically made of rubber or polyurethane. Rubber mounts offer better vibration isolation but are less durable. Polyurethane mounts are stiffer, offering better performance and durability, but they transmit more vibration.
- Durometer (for Polyurethane): This measures the hardness of the polyurethane. Lower durometer equals softer and more vibration dampening. Higher durometer equals stiffer and less vibration dampening, typically for high-performance applications.
- Torque Specs: Critical for proper installation. Consult your vehicle's service manual for the correct torque specifications for all mounting bolts. Improper torque can lead to mount failure or damage to the engine or chassis.
- OE (Original Equipment) vs. Aftermarket: OE mounts are typically more expensive but are designed to meet the vehicle manufacturer's specifications. Aftermarket mounts can offer a wider range of performance options but may not always match the OE quality.
How It Works
The motor mounts work on a simple principle: absorbing vibrations through a flexible material. The rubber or polyurethane in the mount deforms under the engine's weight and vibrations, preventing those vibrations from transmitting to the vehicle's frame. The transmission mount works in the same way, supporting and isolating the transmission.
When the engine runs, it creates a lot of movement from the reciprocating pistons, the rotating crankshaft, and other internal parts. This movement translates into vibrations. The mounts act as a barrier, preventing these vibrations from traveling into the cabin of the vehicle, and keeping the engine properly secured. A worn mount loses its ability to dampen the vibration, allowing the engine to move more freely.
Real-World Use – Basic Troubleshooting Tips
Before you go ripping out your motor mounts, it's important to confirm that they are actually the problem. Here are some basic troubleshooting tips:
- Visual Inspection: Check the mounts for cracks, tears, or signs of deterioration. Look for oil leaks around the mounts, as this can indicate a failed mount.
- Engine Movement Test: With the vehicle parked and the parking brake engaged, have someone start the engine and gently rev it while you observe the engine movement. Excessive engine movement is a sign of worn mounts. Be extremely cautious performing this test and ensure the vehicle cannot move unexpectedly.
- Listen for Noises: Pay attention to any unusual clunking or banging noises, especially when accelerating, decelerating, or shifting gears.
- Vibration Analysis: Use your senses! Is there excessive vibration when idling or driving?
If you suspect a bad mount, try to pinpoint its location by carefully observing the engine and listening for noises while someone else starts and stops the engine.
Safety – Highlight Risky Components
Replacing motor mounts involves working around heavy components and potentially hazardous situations. Safety is paramount!
- Supporting the Engine: You'll need to support the engine with an engine support bar or a floor jack with a block of wood to prevent it from dropping when you remove the mounts. Never work under an engine that is only supported by a jack!
- Battery Disconnect: Disconnect the negative battery cable before starting any work to prevent electrical shorts.
- Hot Exhaust: Be aware of hot exhaust components if you're working on the engine shortly after it's been running. Let the engine cool down completely before starting any work.
- Torque Specs: Always use a torque wrench to tighten the mounting bolts to the correct torque specifications. Over-tightening can damage the mounts or the engine block, while under-tightening can lead to mount failure.
- Working Alone: Having an assistant can be invaluable, especially when supporting the engine or aligning the new mounts.
Cost Estimation
Now, let's get to the brass tacks: how much will this cost? The total cost to replace motor mounts depends on several factors:
- Vehicle Make and Model: Some vehicles have more complex motor mount setups than others, which can increase labor costs.
- Mount Type and Quality: OE mounts are typically more expensive than aftermarket mounts. Polyurethane mounts are generally more expensive than rubber mounts.
- Labor Costs (if applicable): Labor rates vary widely depending on your location and the shop you choose.
- Number of Mounts Replaced: Replacing all the mounts at once is often recommended to ensure consistent performance and prevent premature failure of the remaining mounts.
Here's a general cost breakdown:
- Parts (per mount): $50 - $200 (depending on quality and material)
- Labor (per mount): $100 - $300 (depending on location and complexity)
DIY Scenario: If you're doing the job yourself, your cost will be limited to the price of the parts and any tools you may need to purchase. This can save you a significant amount of money.
Professional Installation: Expect to pay between $300 and $1000 or more to have all the motor mounts replaced by a professional mechanic. Get quotes from multiple shops to ensure you're getting a fair price.
Additional Considerations: While replacing the motor mounts, it's also a good idea to inspect the transmission mount and other related components, such as hoses and wiring, for any signs of wear or damage. Replacing these components at the same time can save you time and money in the long run.
Remember, this is just a general estimate. Get a specific quote from a trusted mechanic or research the cost of parts for your specific vehicle to get a more accurate estimate.