How To Activate Sirius In Car
Alright, let's talk about getting SiriusXM activated in your car. This isn't rocket science, but understanding the process and potential issues can save you time and frustration. Think of this as a guided tour of your car's audio system, specifically the components that make satellite radio possible. We'll cover the basics, common troubleshooting steps, and safety considerations. Whether you're installing a new head unit, diagnosing a problem, or just trying to understand how your car's audio system works, this guide is for you.
Why This Matters: Diagnosing and Understanding Your SiriusXM System
Having a solid understanding of your SiriusXM setup isn't just about listening to Howard Stern. It's crucial for:
- Troubleshooting Audio Problems: If you're getting "No Signal" or "Check Antenna," knowing the components involved will help you pinpoint the issue.
- Upgrading Your Head Unit: Installing an aftermarket head unit with SiriusXM capability requires understanding the connections and compatibility.
- Performing Basic Repairs: Replacing a faulty antenna or satellite receiver becomes less daunting when you know what you're dealing with.
- Understanding Car Audio System: Helps to understand how everything is connected and functions together.
We even have a downloadable diagram showing a typical SiriusXM connection in a car, which can be invaluable for these tasks. You'll find information on accessing it at the end of this article.
Key Specs and Main Parts of Your SiriusXM System
Let's break down the main players in your in-car SiriusXM setup:
- Antenna: The antenna is responsible for receiving the satellite signal. These are often located on the roof, rear window, or integrated into the car's shark fin antenna. Quality is paramount; a poor antenna will result in weak or intermittent signal.
- Satellite Radio Receiver Module (Tuner): This module is the brain of the operation. It receives the signal from the antenna, decodes it, and sends the audio to the head unit. This may be integrated into the Head Unit, or a separate module.
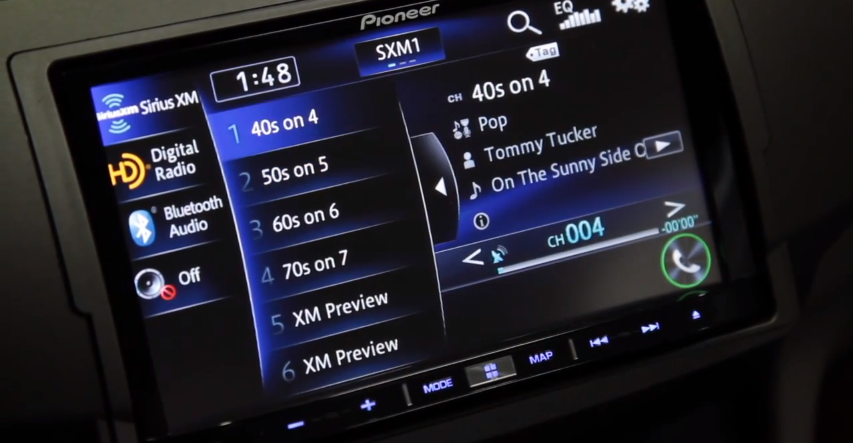
- Head Unit (Radio): The head unit is the user interface. It displays the channel information, allows you to select channels, and controls the volume.
- Wiring Harness: The wiring harness connects all the components together. This includes power, ground, audio output, and data connections. A wiring harness needs the correct pinout (arrangement of wires on the connector), otherwise the system will not function.
- Activation: The process of associating your radio ID with a SiriusXM subscription. This is done through SiriusXM's customer service.
Understanding the specs of these components is key. For example, knowing the antenna's impedance (typically 50 ohms) is crucial if you're replacing it. Compatibility between the satellite radio receiver and the head unit is also essential, especially when using aftermarket components.
Decoding the Diagram: Lines, Colors, and Icons
When you look at the wiring diagram (which you can download – more on that later!), pay attention to the following:
- Solid Lines: Indicate a direct wire connection.
- Dashed Lines: Typically represent shielding or grounding connections.
- Colors: Wires are color-coded to help identify their function (e.g., red for power, black for ground). Consult your car's specific wiring diagram for the color codes relevant to your vehicle.
- Icons: Represent components like the antenna, receiver, head unit, and fuses. These are usually labeled with abbreviations (e.g., ANT for antenna, REC for receiver).
The diagram will also show pin numbers on connectors. These are vital for ensuring you're connecting the right wires to the right terminals. Incorrect connections can damage your equipment.
How It Works: From Satellite to Speakers
Here's the simplified chain of events:
- Signal Acquisition: The antenna picks up the signal broadcast from the SiriusXM satellites. These satellites are in a geostationary orbit, meaning they stay in a fixed position relative to the Earth.
- Signal Transmission: The signal travels through the coaxial cable from the antenna to the satellite radio receiver module. Coaxial cables are designed to minimize signal loss.
- Signal Decoding: The receiver module decodes the satellite signal, extracts the audio data, and converts it into an audio signal that your head unit can understand.
- Audio Routing: The audio signal is sent from the receiver module to the head unit. This connection is usually via RCA cables, MOST (Media Oriented Systems Transport) or a similar digital audio interface.
- Audio Amplification and Output: The head unit amplifies the audio signal and sends it to your car's speakers.
- Activation Check: The receiver periodically checks for a valid activation signal. If your subscription lapses, you'll lose access to SiriusXM.
Crucially, the head unit needs to be *told* that the SXM Receiver exists and is supposed to output to that audio input. Many aftermarket units require a specific *setting* to be enabled for SiriusXM to work.
Real-World Use: Basic Troubleshooting Tips
Here are some common problems and how to address them:
- "No Signal" Error:
- Check the antenna connection. Is it securely connected to the receiver module? Is the antenna damaged?
- Make sure the antenna has a clear view of the sky. Obstructions like trees or buildings can block the signal.
- If the antenna is aftermarket, ensure it's compatible with your receiver module.
- "Check Antenna" Error:
- This often indicates a problem with the antenna itself or the antenna cable. Check for damage to the cable or antenna.
- Use a multimeter to check the continuity of the antenna cable. A break in the cable will prevent the signal from reaching the receiver.
- No Audio:
- Verify that the head unit is set to the correct input source (e.g., SiriusXM).
- Check the audio connections between the receiver module and the head unit. Are the RCA cables securely connected?
- Confirm that the receiver module is receiving power. Use a multimeter to check the voltage at the power connector.
- Intermittent Signal:
- This can be caused by a weak antenna signal or interference from other electronic devices. Try relocating the antenna or shielding the receiver module.
- Check for loose connections in the wiring harness.
- Radio ID Issue: Contact SiriusXM customer support. Double check that you activated the correct Radio ID from your unit.
Remember to consult your car's specific service manual for detailed troubleshooting procedures.
Safety First: Handling Risky Components
Working with car electronics involves some risks. Keep these points in mind:
- Disconnect the Battery: Always disconnect the negative terminal of the battery before working on any electrical components. This prevents short circuits and potential damage to your car's electrical system.
- Avoid Airbag Wires: Be extremely careful when working near airbag wires. Accidental activation of an airbag can cause serious injury. If you're unsure, consult a qualified technician.
- Use Proper Tools: Use insulated tools to prevent electrical shock.
- Refer to Service Manuals: Always consult your car's service manual for specific safety precautions and procedures.
The power wires supplying the head unit and satellite receiver module are particularly risky. Ensure you disconnect the battery before working with them. Incorrect wiring can lead to short circuits, which can damage your car's electrical system or even cause a fire. And never probe a wire without knowing where it goes!
Download the Diagram!
As mentioned, we have a detailed diagram of a typical in-car SiriusXM connection. This diagram provides a visual representation of the components and wiring, which can be invaluable for troubleshooting and repairs. To download the diagram, click the link below:
Download SiriusXM Connection Diagram (replace with actual link)
By understanding the components, wiring, and troubleshooting techniques described in this article, you'll be well-equipped to diagnose and resolve common SiriusXM problems in your car. Happy listening!