How To Activate Xm Radio In Car
So, you're looking to get SiriusXM radio up and running in your car? Excellent choice! This article dives deep into the activation process, offering you a clear understanding of the system's components and how they all work together. We'll walk you through the essential steps, covering everything from identifying the necessary hardware to troubleshooting common issues. Think of this as your definitive guide for enabling satellite radio, suitable whether you're diagnosing a faulty system, upgrading your in-car entertainment, or simply curious about the technology behind it.
Purpose: Understanding Your SiriusXM Activation Process
Why is a detailed understanding of the activation process so important? Well, knowing the system intimately empowers you to diagnose problems effectively. If your SiriusXM isn't working, understanding the signal flow, the role of the antenna, or the receiver module can help you pinpoint the issue faster than a generic troubleshooting guide. Perhaps you're installing a new head unit or swapping out a faulty receiver. Knowing how the components interact will ensure a smooth and successful installation. Finally, for the mechanically inclined, it simply satisfies a curiosity about how this complex system works behind the dashboard. We've got a wiring diagram available for download at the end of this article, which will be invaluable as you delve deeper.
Key Specs and Main Parts
Before we start wrenching, let’s identify the core components that make up your SiriusXM system:
- SiriusXM Antenna: This is usually a small, rectangular antenna mounted on the roof or rear of the vehicle. It receives the satellite signal. Key specs include its operating frequency (typically around 2.3 GHz), its gain (measured in dBi – decibels relative to an isotropic radiator), and its impedance (usually 50 ohms). A faulty antenna or a disconnected cable is a very common cause of issues.
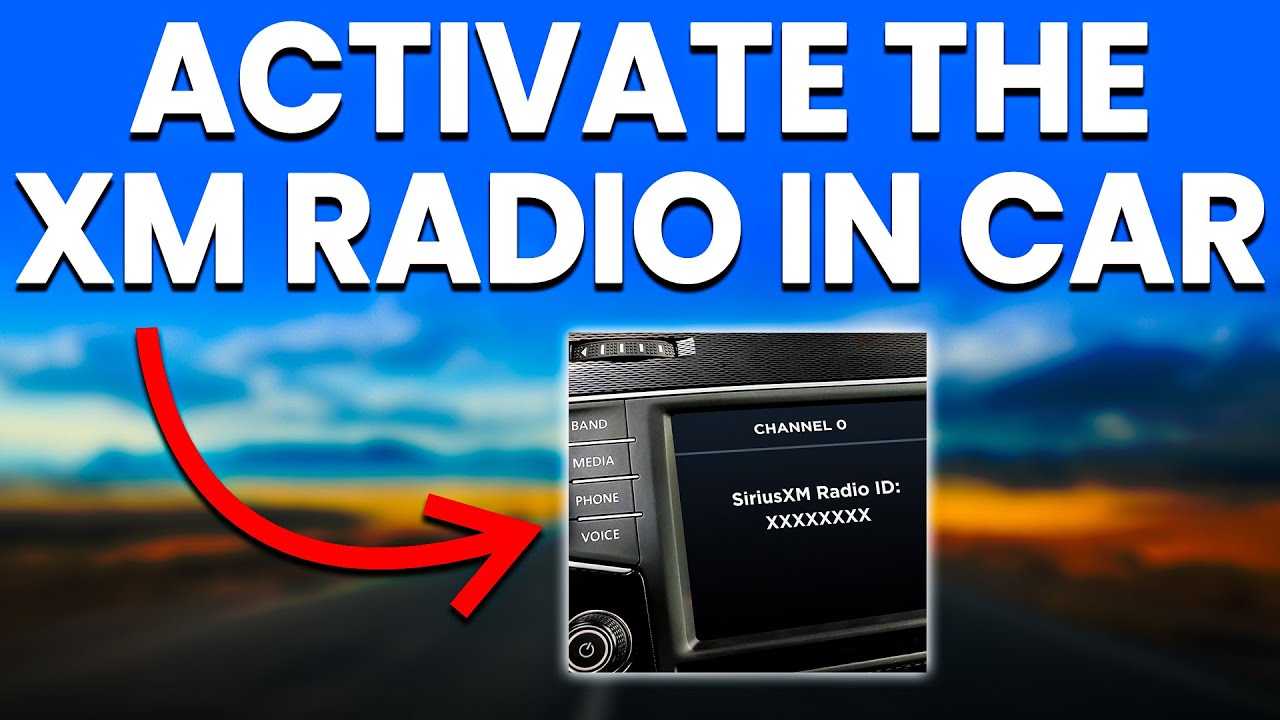
- SiriusXM Receiver Module (Tuner): This is the brains of the operation. It demodulates the satellite signal, decodes the audio, and passes it along to the car's audio system. It is also where the Electronic Serial Number (ESN) is located. This ESN is *essential* for activation. Receivers are generally located behind the dashboard, under a seat, or in the trunk.
- Head Unit/Display: This is the user interface. It displays the channel information, allows you to browse channels, and controls the volume. It receives the decoded audio from the receiver module, amplifies it, and sends it to the speakers.
- Wiring Harness: This interconnects all the components. The type of connectors and wire gauges vary depending on the vehicle manufacturer and the specific SiriusXM receiver model. Crimping tools and multimeters are your best friends here.
Symbols: Decoding the Diagram
When you examine the SiriusXM wiring diagram (available for download later), you'll encounter various symbols. Understanding these symbols is critical for effective troubleshooting and installation:
- Solid Lines: Represent wires carrying electrical signals or power. The thickness of the line may indicate the wire gauge.
- Dashed Lines: Often represent shielding or grounding connections.
- Colors: Wires are color-coded (e.g., red for power, black for ground). Always refer to your vehicle's specific wiring diagram for accurate color assignments.
- Connectors: Represented by various shapes, indicating the type and pin configuration of the connector.
- Ground Symbols: Indicate connections to the vehicle's chassis ground. Ensuring proper grounding is crucial for signal integrity and preventing electrical noise.
- Component Symbols: Each component (antenna, receiver, head unit) has a specific symbol to identify it on the diagram. These are usually standard electrical schematic symbols.
Understanding these symbols is crucial for accurate interpretation of the diagram. We recommend cross-referencing the diagram with a component identification guide specific to your vehicle model.
How It Works: A Step-by-Step Overview
The SiriusXM system works as follows:
- Signal Acquisition: The SiriusXM antenna receives signals from the SiriusXM satellites.
- Signal Transmission: The antenna sends the signal to the receiver module via a coaxial cable.
- Signal Processing: The receiver module demodulates the signal, decodes the audio, and extracts channel information. The receiver validates whether you have an active subscription.
- Audio Output: The receiver module sends the decoded audio signal to the head unit via a wired connection (typically RCA or a proprietary connector).
- User Interface: The head unit displays the channel information and allows you to control the audio output.
The activation process itself requires contacting SiriusXM with your receiver's ESN (Electronic Serial Number). They then send a signal to your receiver, enabling access to the subscribed channels. This can take a few minutes to an hour. If activation fails, ensure the antenna has a clear view of the sky. The receiver is powered and fully connected to the vehicle electrical system.
Real-World Use: Basic Troubleshooting Tips
Let's tackle some common issues and how to address them:
- No Signal/Service: This could be due to a faulty antenna, a disconnected antenna cable, or a blocked signal (e.g., driving through a tunnel). Check the antenna connection, ensure the antenna is properly mounted, and move to an open area. Consider using a multimeter to verify antenna continuity.
- ESN Not Found: Verify that you have the correct ESN. It's usually printed on the receiver module itself. If the ESN is still not recognized, contact SiriusXM.
- Audio Problems (Distortion, Noise): Check the audio connections between the receiver module and the head unit. Loose or corroded connections can cause audio problems. Also, verify that the receiver and head unit are properly grounded.
- Activation Fails: Ensure the receiver has a clear view of the sky during activation. Leave the unit powered on for at least an hour after requesting activation. If the problem persists, contact SiriusXM.
Diagnosing Antenna Issues
Antenna issues are a common culprit. You can use a multimeter to perform a basic continuity test on the antenna cable. Disconnect the cable from both the antenna and the receiver. Set the multimeter to the continuity setting. Place one probe on the center conductor of the coaxial cable and the other probe on the antenna connector. If you don't get a continuity reading, the cable is broken and needs to be replaced. Check the ground as well. Place one probe on the outside connector and another on the vehicle's chassis. You should get a continuity reading.
Safety: Addressing Risky Components
Working with car electronics always involves some risk. Here are some critical safety precautions:
- Disconnect the Battery: Before working on any electrical components, disconnect the negative terminal of the car battery. This prevents accidental shorts and electrical shocks.
- Identify Airbag Locations: Be extremely careful when working near airbags. Accidental deployment can cause serious injury. Consult your vehicle's service manual for airbag locations and deactivation procedures.
- Use Proper Tools: Use insulated tools to prevent electrical shocks.
- Refer to the Wiring Diagram: Always double-check the wiring diagram before making any connections. Incorrect wiring can damage the car's electrical system or the SiriusXM receiver.
Always err on the side of caution. If you're not comfortable working on the electrical system, consult a qualified automotive technician. Particularly when dealing with airbag systems, proceed with extreme care or leave it to a professional.
Get the Diagram
We have the complete wiring diagram ready for you to download. It contains detailed schematics that will assist you in understanding the entire SiriusXM activation process. It shows all of the relevant components and connections of this setup. Access to it will enhance your ability to perform repairs, diagnostics, and upgrades to your vehicle's satellite radio system effectively.
Download the SiriusXM Wiring Diagram here: [Link to Diagram (Placeholder - Replace with Actual Link)]