How To Add Sirius To Car
So, you're looking to bring the vast universe of SiriusXM satellite radio into your car? Excellent choice! This guide will walk you through the process, assuming you have some experience with automotive electrical systems and basic car audio installation. We're not talking about plugging in a portable receiver – we're aiming for a more integrated solution.
Purpose of Adding SiriusXM to Your Car
Adding SiriusXM to your car offers a significantly expanded range of entertainment options compared to traditional AM/FM radio. You get access to hundreds of commercial-free music channels, sports, news, talk shows, and entertainment programming. Unlike streaming services, satellite radio doesn't rely on cellular data, making it perfect for road trips in areas with poor cell reception. This guide is essential if you're considering a DIY installation, upgrading an existing system, or troubleshooting issues with a pre-existing SiriusXM setup. Understanding the components and wiring involved is crucial for a successful and safe installation. And remember, we have access to detailed wiring diagrams; simply let us know if you need one!
Key Specs and Main Parts
Before you start, let's identify the key components of a typical SiriusXM integration:
- SiriusXM Tuner: The heart of the system. This module receives the satellite signal and decodes it into audio. It's often a small, rectangular box that might be hidden behind your dashboard. Specifications include its operating voltage (typically 12V DC), its data output type (usually a proprietary protocol or standard such as I2C or SPI), and its audio output type (RCA or digital optical).
- SiriusXM Antenna: This receives the satellite signal. It's typically mounted on the roof of the car or on the dashboard. Key specs include its frequency range (around 2.3 GHz), its gain (measured in dBi), and its cable length and connector type (usually an SMB or FAKRA connector).
- Interface Module (Optional): Many newer car stereos are "SiriusXM-Ready," meaning they can control a SiriusXM tuner directly. However, if your car stereo isn't compatible, you'll need an interface module. This module translates the SiriusXM tuner's output into a format your stereo can understand (usually analog audio or a digital protocol like CAN bus).
- Wiring Harness: Connects all the components together. Pay close attention to wire gauges, connector types, and pin assignments. Using the correct gauge wire is critical to prevent voltage drops and potential fire hazards.
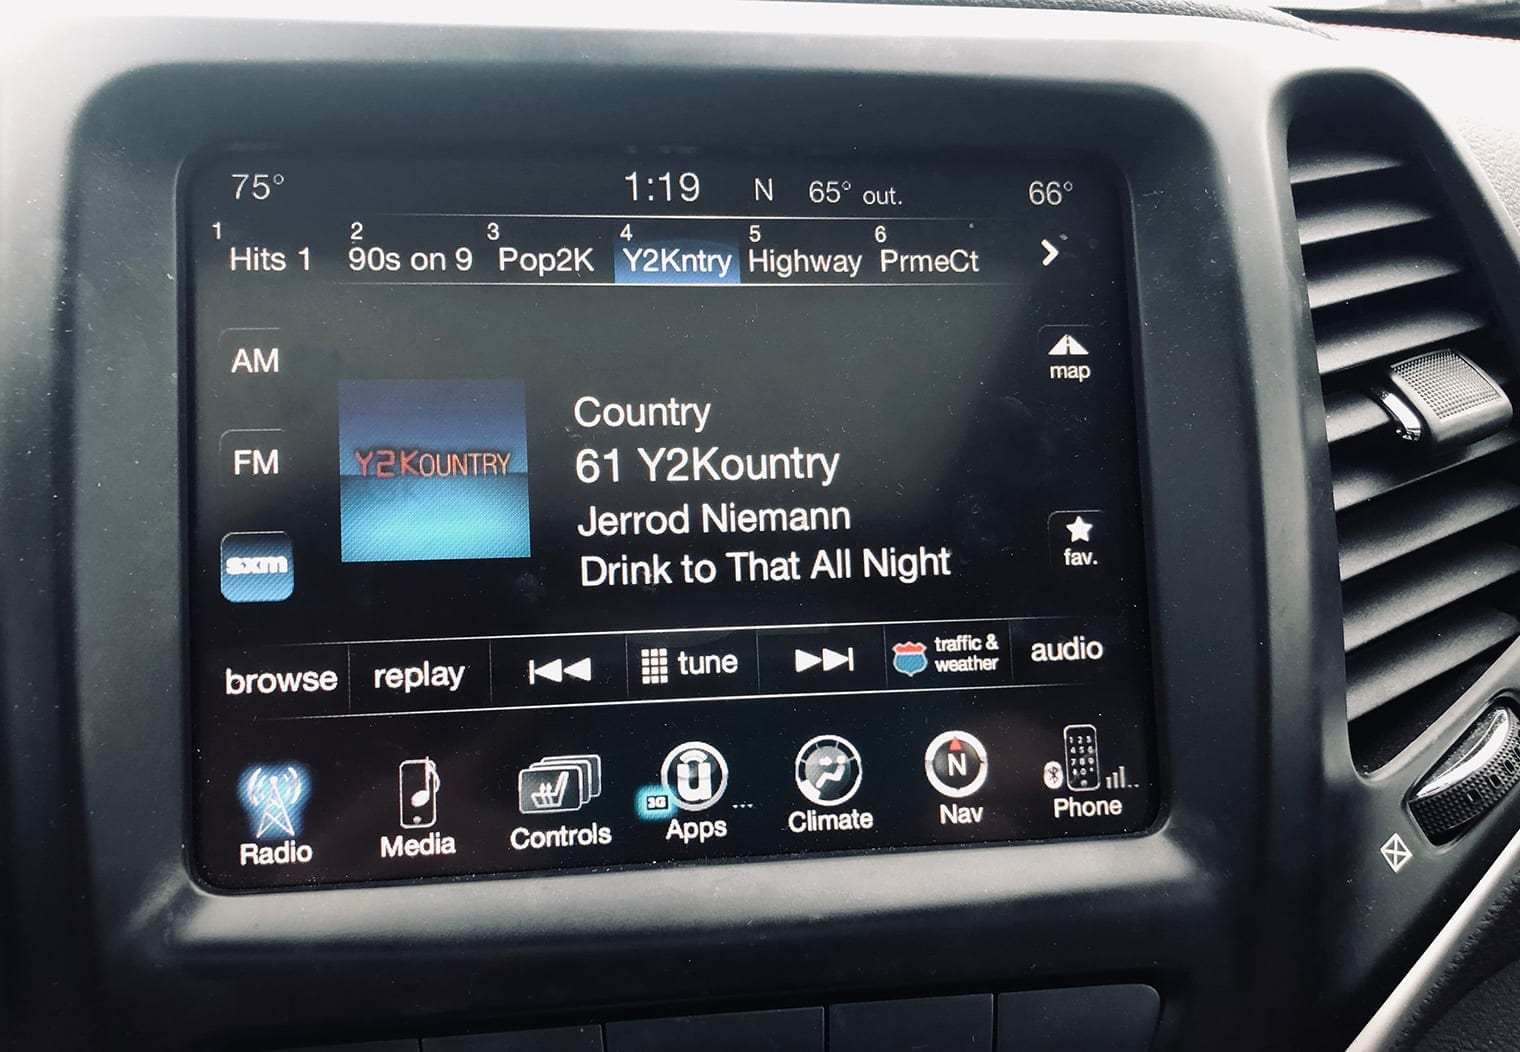
- Car Stereo: The head unit that displays the SiriusXM information and plays the audio.
Wiring Diagram Symbols and Conventions
Understanding wiring diagrams is essential for a successful installation. Here's a breakdown of common symbols and conventions:
- Lines: Represent wires. Thicker lines usually indicate wires carrying higher current. Dashed lines might represent shielded cables or control signals.
- Colors: Wires are often color-coded. Common colors include red (power), black (ground), yellow (constant power), blue (remote turn-on), and various other colors for speaker wires and data signals. The specific color coding can vary by vehicle manufacturer, so always consult the wiring diagram specific to your car.
- Connectors: Represented by various shapes (circles, squares, rectangles) with pin numbers or labels. It's crucial to match the connector types and pin assignments correctly.
- Ground Symbols: Indicate a connection to the vehicle's chassis ground. There are typically represented by an upside-down triangle or a series of horizontal lines.
- Fuses: Represented by a squiggly line enclosed in a rectangle. They protect the circuit from overcurrent. Always use the correct amperage fuse as specified by the manufacturer.
- Resistors: Represented by a zig-zag line.
- Capacitors: Represented by two parallel lines.
- Diodes: Represented by a triangle pointing to a line.
Key takeaway: Always double-check the wiring diagram before making any connections. Incorrect wiring can damage your equipment or even cause a fire.
How It Works
Here's a simplified explanation of how the SiriusXM system functions:
- The SiriusXM antenna receives the satellite signal.
- The antenna sends the signal to the SiriusXM tuner.
- The tuner decodes the signal into audio and data.
- If an interface module is used, the tuner's output is converted into a format compatible with the car stereo.
- The car stereo displays the channel information and plays the audio.
The key to a successful installation is ensuring that each component is properly connected and communicating with the others. This involves understanding the signal flow and the function of each wire in the harness.
Real-World Use: Basic Troubleshooting Tips
Even with careful planning, problems can arise. Here are some common issues and troubleshooting tips:
- No Signal: Check the antenna connection. Make sure the antenna is properly mounted and has a clear view of the sky. Check the antenna cable for damage. Verify that your SiriusXM subscription is active.
- No Audio: Check the audio connections between the tuner and the car stereo or interface module. Verify that the car stereo is set to the correct input source (e.g., AUX, SiriusXM). Ensure the tuner is powered on (usually indicated by a light).
- Tuner Not Recognized: If your car stereo is "SiriusXM-Ready," check the compatibility of the tuner. Ensure the interface module (if used) is properly configured for your car stereo. Try resetting the car stereo or tuner.
- Interference: Try moving the antenna to a different location. Ensure the antenna cable is properly shielded. Check for nearby sources of interference (e.g., other electronic devices).
If you're experiencing persistent problems, consult the SiriusXM tuner's manual or contact SiriusXM support. A multimeter can be your best friend for electrical troubleshooting. Check for voltage at the tuner's power input and continuity on ground wires.
Safety – Risky Components
Working with automotive electrical systems can be dangerous if you're not careful. Here are some key safety considerations:
- Disconnect the Battery: Before starting any electrical work, disconnect the negative terminal of the car battery. This will prevent accidental shorts and electrical shocks.
- Fuses: Always use the correct amperage fuse. Using a higher amperage fuse can bypass the safety protection and cause a fire.
- Wiring: Avoid cutting or splicing wires unnecessarily. If you must splice wires, use proper crimping tools and connectors. Ensure that all connections are secure and well-insulated.
- Airbags: Be extremely careful when working near airbags. Disconnecting or tampering with airbag wiring can cause them to deploy accidentally, resulting in serious injury. If you're unsure about working near airbags, consult a qualified technician.
- Fuel System: Avoid working near the fuel system. Fuel vapors are highly flammable.
Always wear safety glasses and gloves when working on your car. If you're not comfortable with any aspect of the installation, seek professional help.
Remember, we've only covered the general principles here. Every vehicle and SiriusXM setup is slightly different. The wiring diagram specific to your car and tuner is essential for a successful and safe installation. We have access to many of these diagrams, so please feel free to ask! Good luck with your installation, and enjoy the world of SiriusXM!