How To Attach A Bike Rack To Car
Attaching a bike rack to your car can seem daunting, but with the right knowledge and tools, it's a manageable DIY project. This guide provides a detailed breakdown of the process, focusing on the technical aspects and best practices for a secure and safe installation. Whether you're looking to save money on professional installation or simply want a deeper understanding of how your bike rack works, this information will be invaluable.
Purpose
Understanding the mechanics of bike rack attachment is crucial for several reasons:
- Safe Transport: The primary purpose is to ensure your bikes are transported safely and securely, preventing accidents and damage to your vehicle or bikes.
- Proper Installation: Incorrect installation can lead to rack failure, resulting in dropped bikes, vehicle damage, or even accidents.
- Maintenance and Troubleshooting: Knowing the components and how they interact allows you to diagnose and fix issues before they become serious problems.
- Customization and Upgrades: This knowledge enables you to adapt your rack setup to different vehicles or bike types.
- Cost Savings: DIY installation and maintenance can save you a significant amount of money compared to relying solely on professional services.
Key Specs and Main Parts
Bike racks come in various types, each with its own set of components and specifications. Common types include:
- Hitch-Mounted Racks: These racks attach to a receiver hitch installed on the back of your vehicle. They are generally the most secure and versatile option.
- Trunk-Mounted Racks: These racks attach to the trunk or hatchback of your car using straps and hooks. They are a more affordable and versatile option for vehicles without a hitch.
- Roof-Mounted Racks: These racks attach to roof rails or crossbars on your car's roof. They are suitable for vehicles with existing roof rack systems.
Key Parts (Generic - Varies by type):
- Main Frame/Cradle: The core structure of the rack that supports the bikes.
- Attachment Points: These can be hooks, straps, clamps, or a hitch receiver.
- Straps/Clamps: Used to secure the bikes to the rack. Must be high-quality materials.
- Padding/Protection: Prevents damage to your vehicle's paint and the bikes themselves.
- Anti-Sway Devices: Minimize bike movement during transit, improving stability.
- Locking Mechanisms: Secure the bikes to the rack and the rack to the vehicle, deterring theft.
- Receiver Hitch (Hitch Mounted): A steel receiver, typically welded to your vehicle's frame, that accepts the bike rack's stinger. Common sizes are 1 1/4" and 2". Torque specifications for hitch bolts are critical.
- Stinger (Hitch Mounted): The part of the bike rack that inserts into the receiver hitch.
Key Specs:
- Weight Capacity: The maximum weight the rack can safely carry. Exceeding this limit can lead to rack failure.
- Bike Capacity: The number of bikes the rack is designed to transport.
- Hitch Receiver Size (Hitch Racks): Must match the size of your vehicle's hitch receiver (e.g., 1.25" or 2").
- Strap Length/Hook Compatibility (Trunk Racks): Must be suitable for your vehicle's trunk/hatch design.
- Roof Rail Compatibility (Roof Racks): Must be compatible with your vehicle's roof rail system.
Always consult the bike rack manufacturer's specifications for detailed information.
How It Works
The attachment process varies depending on the type of bike rack. However, the underlying principle remains the same: to create a secure and stable connection between the rack, the bikes, and the vehicle.
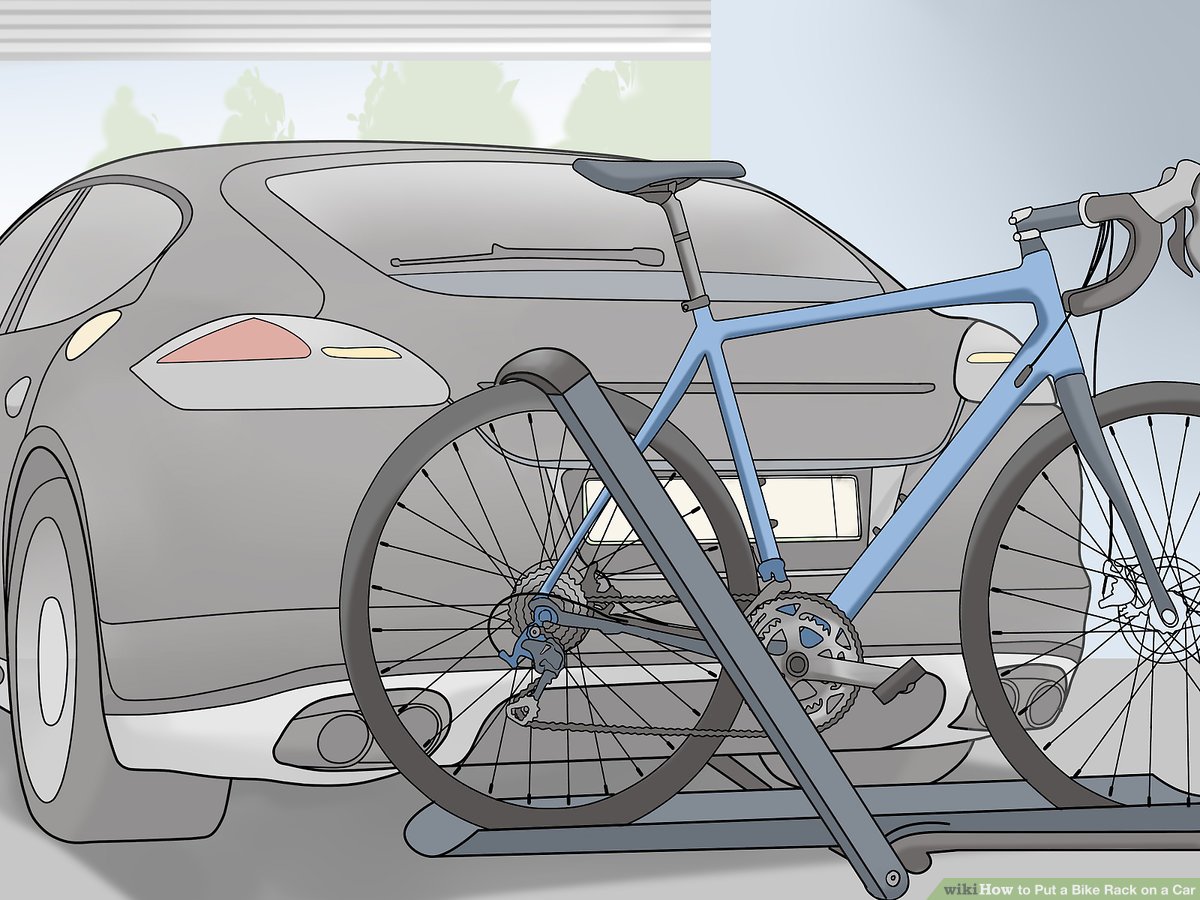
Hitch-Mounted Racks:
- Install the Receiver Hitch: This typically involves bolting the hitch to your vehicle's frame. Torque specifications are crucial.
- Insert the Stinger: Slide the bike rack's stinger into the receiver hitch.
- Secure the Rack: Use a hitch pin and clip to lock the rack in place. Some racks may also use a locking mechanism to prevent theft.
- Load the Bikes: Place the bikes onto the rack, ensuring they are properly seated in the cradles or wheel trays.
- Secure the Bikes: Use straps, clamps, or other securing mechanisms to hold the bikes firmly in place. Ensure all points of contact are padded to protect the bikes.
Trunk-Mounted Racks:
- Position the Rack: Place the rack on the trunk or hatch, ensuring it's centered and aligned properly.
- Attach the Hooks: Connect the hooks to the edges of the trunk or hatch. Ensure the hooks are securely attached and won't slip off.
- Tighten the Straps: Gradually tighten the straps, ensuring the rack is firmly attached to the vehicle. Avoid overtightening, which can damage the vehicle's paint or body panels.
- Load the Bikes: Place the bikes onto the rack, ensuring they are properly supported by the arms or cradles.
- Secure the Bikes: Use straps or other securing mechanisms to hold the bikes firmly in place. Ensure all points of contact are padded to protect the bikes and car.
Roof-Mounted Racks:
- Install Roof Rails/Crossbars (if needed): Ensure these are securely attached to your vehicle's roof according to the manufacturer's instructions.
- Attach the Bike Rack: Mount the bike rack to the roof rails or crossbars, using the provided clamps or mounting hardware.
- Secure the Rack: Tighten the clamps or mounting hardware, ensuring the rack is firmly attached to the roof rails or crossbars.
- Load the Bikes: Lift the bikes onto the rack and secure them using the provided mechanisms (e.g., wheel straps, frame clamps).
Real-World Use – Basic Troubleshooting Tips
Even with careful installation, problems can arise. Here are some common issues and troubleshooting tips:
- Rack Wobbling: Check the hitch pin (for hitch racks) or the strap tension (for trunk racks). Tighten as needed. If the hitch receiver is loose, consult a mechanic.
- Bike Movement: Ensure all straps and clamps are properly tightened. Consider adding extra straps for added security, especially on longer trips. Anti-sway bars can also help.
- Vehicle Damage: Check for scratches or dents after each use. Use extra padding or adjust the rack's position to minimize contact with the vehicle.
- Strap Failure: Regularly inspect straps for wear and tear. Replace damaged straps immediately.
- Loose Bolts: Periodically check all bolts and fasteners for tightness. Use a torque wrench to ensure they are tightened to the manufacturer's specifications.
Safety – Highlight Risky Components
Several components pose potential safety risks if not handled properly:
- Hitch Receiver Bolts: Improperly torqued bolts can lead to hitch failure. Always use a torque wrench and follow the manufacturer's specifications.
- Straps and Hooks: Worn or damaged straps and hooks can fail, causing the bikes to fall off. Inspect them regularly and replace them when necessary.
- Weight Capacity: Exceeding the rack's weight capacity can cause it to fail. Always weigh your bikes before loading them onto the rack.
- Visibility: Ensure the bike rack and bikes do not obstruct your view or your vehicle's lights and license plate. Use extensions or reflectors as needed.
- Clearance: Be mindful of overhead clearance, especially when using roof-mounted racks. Avoid low-hanging branches and parking garages.
- Sharp Edges: Be careful when handling the rack and bikes to avoid cuts or scrapes from sharp edges. Wear gloves if necessary.
Conclusion
Attaching a bike rack to your car is a task that requires careful attention to detail and adherence to safety guidelines. By understanding the components, the installation process, and potential risks, you can ensure a safe and enjoyable experience transporting your bikes. Remember to always consult the manufacturer's instructions and seek professional assistance if needed. We have a detailed diagram of a generic hitch-mounted bike rack available for download, which provides a visual guide to the components and their relationships. This diagram can further enhance your understanding and aid in troubleshooting. With the right knowledge and tools, you can confidently install and maintain your bike rack, enjoying worry-free cycling adventures.