How To Black Out Car Emblems
So, you're looking to black out your car emblems? It's a popular mod that gives your ride a sleek, custom look. It's a relatively straightforward DIY project, but like any modification, understanding the process and choosing the right techniques are crucial for a professional-looking result. This article will walk you through several methods, from plasti-dipping to using vinyl overlays, and even removing and painting your emblems. We'll also cover the necessary tools, preparation steps, and safety precautions to ensure a successful and satisfying outcome.
Purpose of Blacking Out Emblems
The primary reason for blacking out emblems is aesthetics. It offers a cleaner, more aggressive look, especially on vehicles with dark paint jobs. It's a cost-effective way to customize your car without investing in expensive body modifications. Beyond aesthetics, some might argue that blacked-out emblems contribute to a more stealthy or understated appearance. Furthermore, blacking out emblems can be a great way to cover up old, faded, or damaged emblems without replacing them entirely.
Key Specs and Main Methods
There are primarily three methods for blacking out car emblems, each with its pros and cons:
- Plasti-Dipping: This involves spraying multiple coats of a rubberized coating onto the emblem. It's relatively inexpensive, easy to apply, and easily reversible if you don't like the result. Key specs include the type of Plasti-Dip (glossy, matte, etc.), ambient temperature during application (ideally between 60-80°F), and number of coats (typically 4-6). Main parts include the Plasti-Dip can, masking tape, and cleaning supplies.
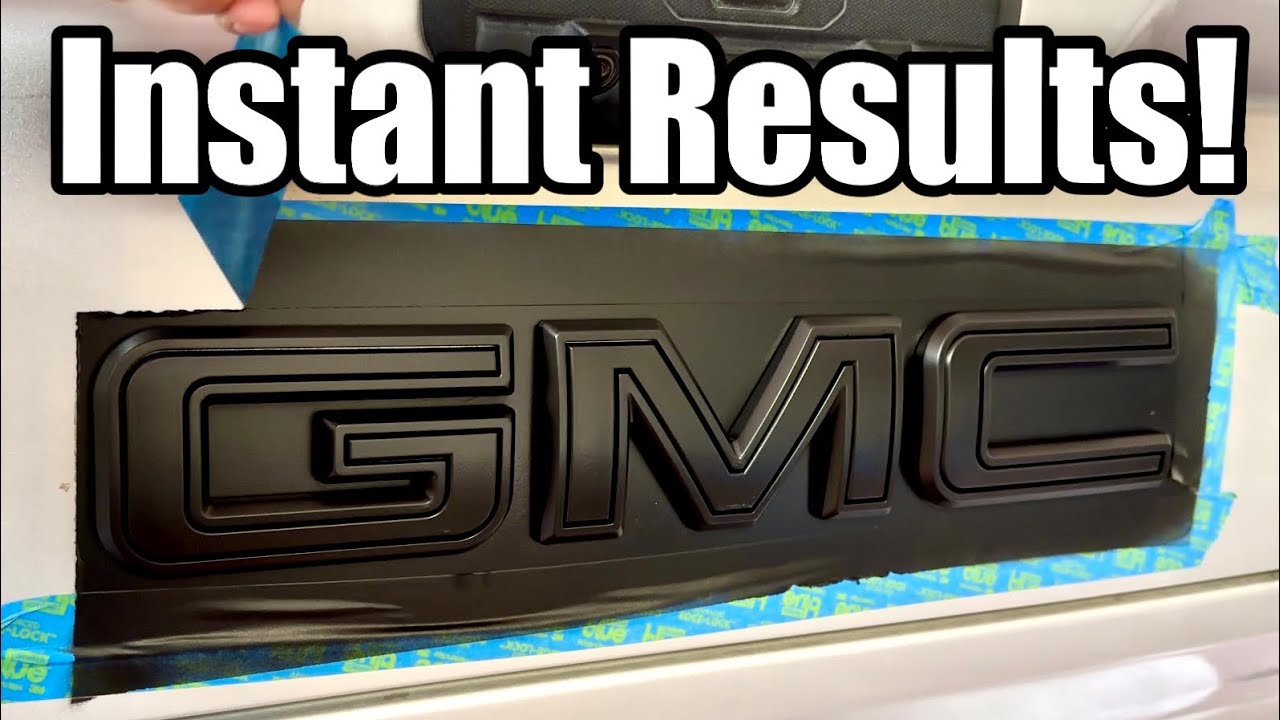
- Vinyl Overlays: Pre-cut vinyl pieces are applied directly over the emblems. This method offers a precise and clean finish, is also reversible, and comes in various finishes. Key specs include the vinyl material (cast or calendared), adhesive type, and UV resistance. Main parts include the vinyl overlay kit, a heat gun (optional), and a squeegee.
- Removal and Painting: This involves removing the emblems, prepping them, and painting them with automotive-grade paint. This is the most permanent method and requires more skill and effort but offers the most durable and professional-looking finish. Key specs include the type of paint (enamel, lacquer, or urethane), primer, clear coat, and drying time. Main parts include the paint, primer, clear coat, sandpaper, adhesion promoter, emblem removal tools, and masking tape.
Choosing the Right Method
The best method depends on your skill level, budget, and desired outcome. Plasti-dipping is the most beginner-friendly option. Vinyl overlays offer a balance of ease and precision. Painting provides the most professional, durable result, but requires the most preparation and expertise.
Step-by-Step Guides for Each Method
Plasti-Dipping
- Preparation: Clean the emblems and surrounding area thoroughly with soap and water, followed by a degreaser like isopropyl alcohol. Mask off the area around the emblems with masking tape and newspaper or plastic sheeting, leaving a generous border (at least 6 inches) to prevent overspray.
- Application: Shake the Plasti-Dip can vigorously for at least one minute. Apply a light, even first coat. Allow it to dry for 15-30 minutes. Apply subsequent coats, allowing each coat to dry before applying the next. Use 4-6 coats for optimal coverage and durability.
- Peeling: While the Plasti-Dip is still slightly wet, carefully peel away the masking tape. This will create a clean edge. After the final coat is completely dry (at least 4 hours), carefully peel away the excess Plasti-Dip from the emblem itself.
Vinyl Overlays
- Preparation: Clean the emblems thoroughly with soap and water and then isopropyl alcohol. Ensure the surface is completely dry.
- Application: Carefully peel the vinyl overlay from its backing. Align the overlay with the emblem. Use a heat gun (on low setting) to warm the vinyl, making it more pliable. Gently press the vinyl onto the emblem, working out any air bubbles with a squeegee or your fingers.
- Trimming (if necessary): If the overlay doesn't fit perfectly, carefully trim any excess vinyl with a sharp craft knife.
Removal and Painting
- Removal: Use a heat gun to warm the adhesive behind the emblem. Gently pry the emblem off the car using a plastic trim removal tool or fishing line. Be careful not to damage the paint. Remove any remaining adhesive with an adhesive remover.
- Preparation: Clean the emblems thoroughly. Lightly sand the emblems with fine-grit sandpaper (400-600 grit) to create a surface for the primer to adhere to. Apply an adhesion promoter specifically designed for plastics.
- Priming: Apply 2-3 light coats of automotive-grade primer, allowing each coat to dry completely.
- Painting: Apply 2-3 light coats of automotive-grade paint in your desired color, allowing each coat to dry completely.
- Clear Coating: Apply 2-3 light coats of automotive-grade clear coat, allowing each coat to dry completely.
- Reinstallation: Reattach the emblems to the car using automotive-grade adhesive tape or emblem adhesive. Ensure proper alignment.
Real-World Use – Basic Troubleshooting Tips
- Plasti-Dip peeling incorrectly: If the Plasti-Dip is tearing or peeling unevenly, it could be due to insufficient coats, uneven application, or peeling when the Plasti-Dip is too dry. Try applying more coats or re-doing the process.
- Vinyl overlays not sticking: If the vinyl overlays are not sticking properly, ensure the surface is clean and dry. Use a heat gun to warm the vinyl and the emblem. Apply firm pressure with a squeegee.
- Paint chipping or peeling: If the paint is chipping or peeling, it could be due to inadequate surface preparation, improper priming, or using low-quality paint. Ensure proper sanding, priming, and use automotive-grade paint and clear coat.
- Bubbles under any application: Ensure you clean the surface properly. Use a heat gun to manipulate the material (vinyl or plasti-dip) around the bubbles. Use a needle for vinyl bubbles if it is not going away.
Safety – Highlight Risky Components
Working with automotive paints, adhesives, and heat guns involves certain risks. Always wear appropriate personal protective equipment (PPE), including gloves, a respirator mask, and eye protection. Work in a well-ventilated area. Heat guns can cause burns, so use them with caution and avoid prolonged exposure to any one area. Always read and follow the manufacturer's instructions for all products used. When removing emblems, be careful not to damage the surrounding paint. Using excessive force can lead to scratches or dents.
Adhesive removers can contain harsh chemicals. Use them sparingly and avoid contact with skin and eyes. Dispose of used materials properly according to local regulations.
Disclaimer
Always consult with a professional mechanic if you are unsure about any aspect of this process. This article is for informational purposes only and should not be considered a substitute for professional advice. Incorrectly performing any of these procedures can result in damage to your vehicle or personal injury.