How To Build A Box Blind
Alright, let's talk box blinds. For you guys who are used to wrenching on cars and fabrication projects, building a box blind is a surprisingly similar skillset. It's about planning, precise cuts, solid construction, and understanding the function of each component. This guide is going to walk you through building a basic, but effective, box blind. Think of it as fabricating a custom body panel, but for deer (or whatever you're hunting).
Purpose: A Hunting Stand You Can Build Yourself
This isn't just about having a place to sit while you wait for a deer. A well-built box blind offers significant advantages:
- Concealment: Breaking up your outline and scent allows you to get closer to your target undetected.
- Weather Protection: Shelter from wind, rain, and sun makes for a more comfortable and prolonged hunt.
- Safety: An elevated blind offers a wider field of view and potentially safer shot angles.
- Customization: You can tailor the blind to your specific needs and hunting style.
The instructions and specs detailed here are designed to provide a solid foundation for customization. Want to add insulation? Different window configurations? Go for it! But start with the basics.
Key Specs and Main Parts
We're building a box blind with approximately a 4ft x 4ft footprint and a height of 6ft. This provides enough room for one or two hunters comfortably.
Key Specifications:
- Footprint: 4ft x 4ft (48 inches x 48 inches)
- Height: 6ft (72 inches)
- Floor Height (Elevated): Variable, depending on your stand legs (typically 8-12ft)
- Framing Material: Pressure-treated 2x4 lumber (specifically designed for outdoor use and resistance to rot and insects.)
- Sheathing Material: Exterior-grade plywood (1/2 inch thick recommended)
- Window Openings: Typically 12in x 24in, adjust to your needs.
- Door Opening: Approximately 24in wide x 60in high.
Main Parts:
- Base Frame: The foundation of the blind, constructed from pressure-treated 2x4s.
- Wall Frames: Four individual frames that form the walls, also from pressure-treated 2x4s.
- Roof Frame: Provides structural support for the roof.
- Floor: Exterior-grade plywood, attached to the base frame.
- Walls: Exterior-grade plywood, attached to the wall frames.
- Roof: Exterior-grade plywood, optionally covered with roofing material (shingles or metal).
- Door: Constructed from a 2x4 frame and plywood.
- Window Frames: Smaller frames within the wall frames that create the window openings.
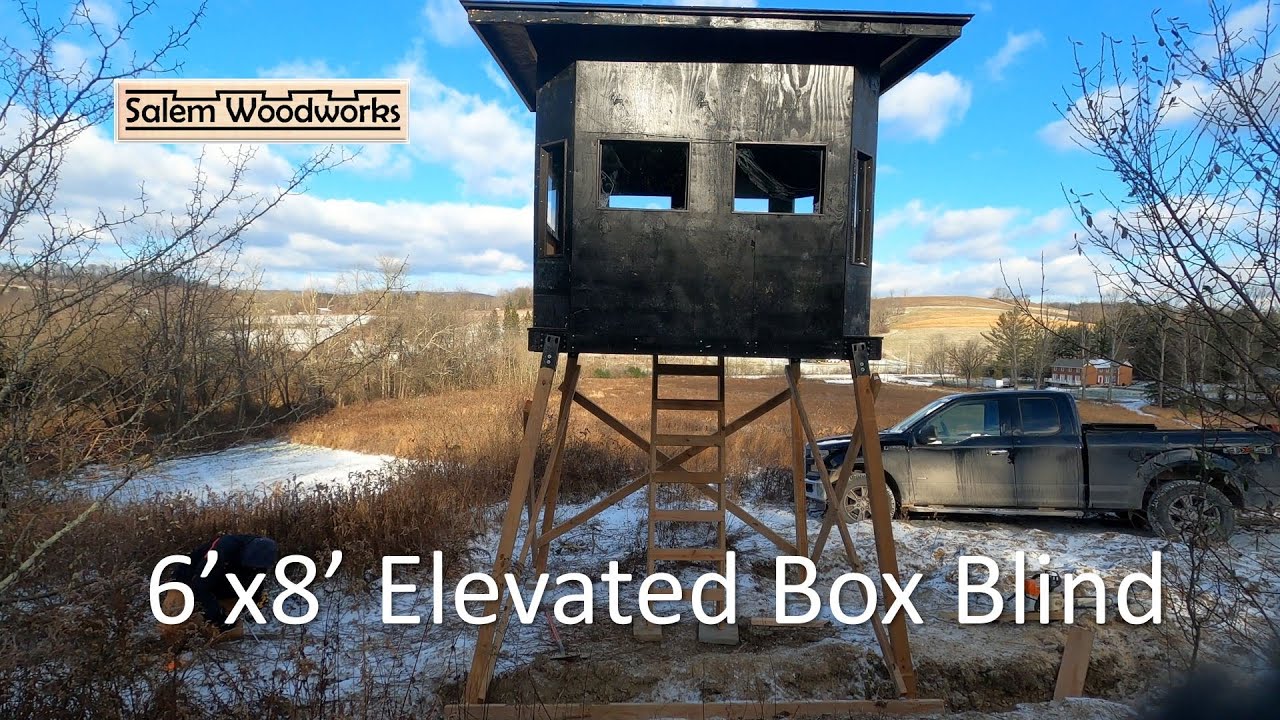
- Elevated Stand Legs: Typically 4x4 pressure-treated posts, connected to the base frame.
- Bracing: Diagonal bracing to stabilize the elevated stand legs.
Construction Blueprint
Base Frame: Construct a 48in x 48in square using 2x4 lumber. Use galvanized screws or nails for secure connections. Add a center support (another 2x4) running the length of the square to prevent sagging of the floor. This is the equivalent of reinforcing the chassis of your car – it needs to be strong.
Wall Frames: Build four identical frames, each 4ft wide and 6ft high. The frame should be a simple rectangle of 2x4 lumber. Inside each frame, strategically place horizontal 2x4s to create window openings at the desired height and size. The number and placement of windows depend on your hunting style and the surrounding terrain.
Roof Frame: A simple square frame matching the base (48in x 48in). If you want a slanted roof for better water runoff, adjust the height of the front and rear walls accordingly when building the wall frames.
Floor & Walls: Attach the plywood to the base frame (for the floor) and the wall frames. Use screws for a secure and long-lasting connection. Ensure the plywood is flush with the edges of the frame. This is like installing body panels – accuracy is key for a clean and weather-tight finish.
Roof: Attach the plywood to the roof frame. Consider adding roofing material for added weather protection. Shingles or metal roofing are good options.
Door: Build a simple door frame from 2x4 lumber and cover it with plywood. Use hinges to attach the door to one of the wall frames.
Window Frames: These can be simple openings, or you can add hinged covers for keeping the blind closed when not in use.
Elevated Stand Legs: This is where things get a bit more challenging. The legs need to be securely attached to the base frame and properly braced for stability. Use appropriate hardware (lag bolts, metal brackets) to connect the legs to the frame. Diagonal bracing is crucial to prevent the stand from swaying or collapsing. Think of this as beefing up the suspension on your off-road rig – it needs to handle the load and the environment.
How It Works
The box blind works by providing a concealed and elevated platform for hunting. The solid walls break up your outline, making it difficult for game to detect you. The elevation provides a wider field of view and allows you to see over vegetation. The enclosed space offers protection from the elements, allowing you to hunt comfortably in a variety of weather conditions.
Real-World Use: Basic Troubleshooting Tips
- Squeaks and Creaks: These can alert game to your presence. Identify the source and tighten screws or apply lubricant to moving parts (hinges, door latch).
- Leaks: Check for gaps in the plywood seams and around windows and the door. Seal these gaps with caulk or weather stripping.
- Instability: If the stand feels unstable, check the bracing and connections on the elevated legs. Add additional bracing if necessary.
- Poor Visibility: Adjust the window openings or trim any vegetation that is obstructing your view.
Safety: A Critical Consideration
Building an elevated box blind involves inherent risks. The most significant is the potential for falls. This is non-negotiable: Safety MUST be your top priority.
- Working at Heights: Use proper fall protection equipment (harness, lanyard) when working on the elevated stand legs.
- Lifting Heavy Materials: Get help when lifting heavy plywood sheets or lumber. Use proper lifting techniques to avoid back injuries.
- Power Tools: Wear safety glasses and hearing protection when using power tools. Follow the manufacturer's instructions for safe operation.
- Structural Integrity: Ensure the elevated stand legs are properly braced and securely connected to the base frame. A collapse could result in serious injury or death. Double-check your work.
- Electrical Wiring: If you plan to add electrical wiring to the blind (for lights or a heater), hire a qualified electrician. Improper wiring can create a fire hazard.
The elevated stand legs are the most risky component. They need to be incredibly strong and stable. Over-engineer them rather than cutting corners. Remember, you're trusting your life to this structure.
The entire structure has to be sound. A weak structure will fail and you don't want to be inside when it does.
Think of it like this, the stand leg has to be stronger than the terrain you are on. Soft or boggy ground needs reinforcement under the stand. Wind, snow, and ice load can add significant stress to the structure. Check your design and bracing frequently to ensure integrity.
Building a box blind is a rewarding project that can enhance your hunting experience. By following these instructions and prioritizing safety, you can create a comfortable and effective hunting stand that will last for years.