How To Build A Cardboard Car
Alright folks, let's dive into a truly unconventional project: building a car... out of cardboard! Now, before you dismiss this as pure whimsy, understand that this isn't about creating a road-legal vehicle. This exercise is fantastic for understanding basic automotive design principles, exploring structural integrity concepts, and even prototyping ideas before committing to more expensive materials. Think of it as a low-stakes, high-reward exploration of automotive engineering. Plus, it's a heck of a lot of fun.
Purpose: Cardboard Auto Engineering
Why bother with a cardboard car diagram and build? Several reasons. Firstly, it’s an unparalleled tool for visualizing complex vehicle structures and understanding the interplay of various components. Imagine explaining structural load paths to a child (or even a colleague) – a cardboard model makes it concrete. Secondly, it's a phenomenal way to experiment with design modifications without the cost and time involved in working with steel or fiberglass. Want to try a different aerodynamic profile? Test it out in cardboard first. Thirdly, it fosters problem-solving skills. Building a stable and aesthetically pleasing cardboard car requires creative engineering and resourcefulness. Finally, and perhaps most importantly, it's a fantastic educational tool to demonstrate basic engineering principles in action. Understanding force vectors, stress distribution, and material properties becomes significantly more intuitive when you're actively building and testing a structure.
Key Specs and Main Parts
While we're not adhering to rigid SAE standards here, a few key specs are worth considering for our cardboard creation:
- Scale: Determine the size of your car relative to a real vehicle. 1:10 or 1:5 scales are popular for manageable projects. This dictates the overall dimensions and the amount of cardboard needed.
- Weight Distribution: Even with cardboard, think about where the "engine" (simulated, of course) and other heavy components would be located in a real car. This impacts the structural supports you'll need to add.
- Aerodynamics: Consider the basic shape of your car. A streamlined design will be more structurally sound than a boxy one, especially if you intend to "test" its performance (e.g., rolling it down a slight incline).
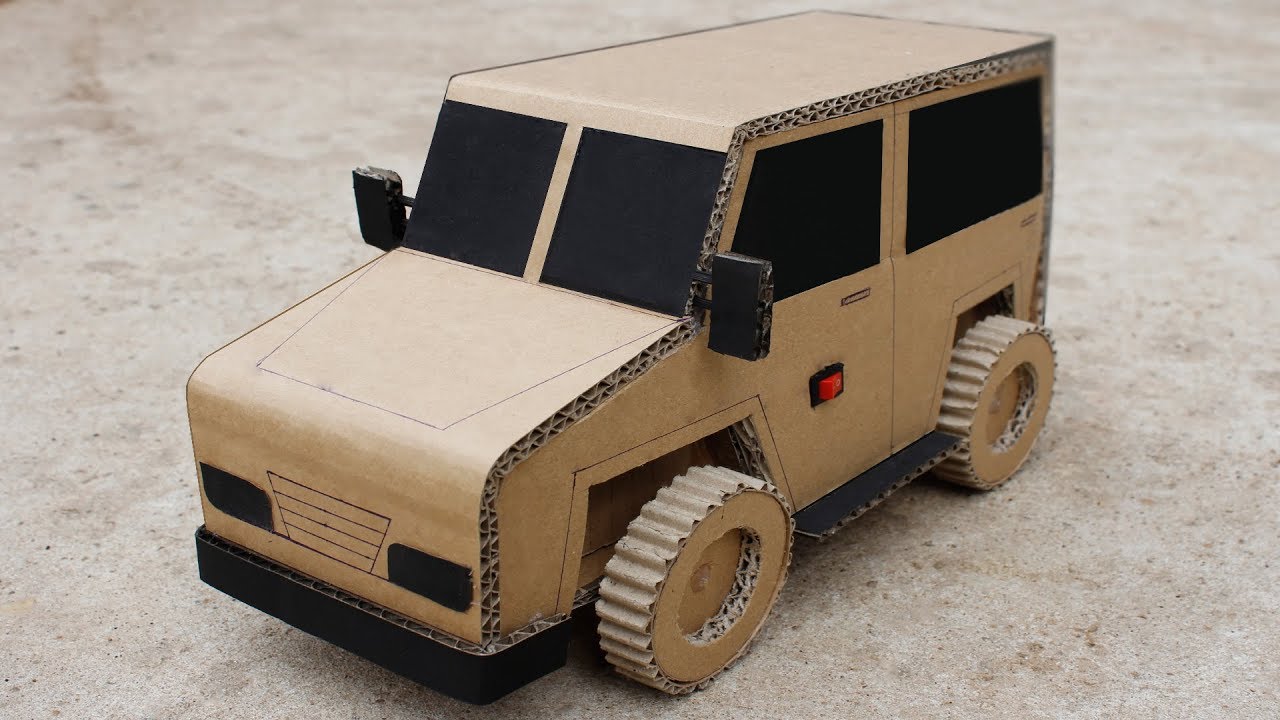
The main parts of our cardboard car, mimicking a real vehicle, will include:
- Chassis/Frame: The foundational structure. In a real car, this is usually steel or aluminum. In our case, it's layers of strategically folded and reinforced cardboard. Pay close attention to the joints and ensure they are robust. Think of it like the unibody construction of modern cars.
- Body Panels: These create the car's exterior shape – hood, doors, fenders, roof, etc. Cardboard can be shaped and curved to mimic the contours of a real car, albeit with some limitations. Use techniques like scoring (partially cutting through the cardboard to allow for bending) to achieve complex curves.
- Wheels/Axles: Even if they're non-functional, wheels and axles add to the realism and help visualize the car's stance. Cardboard tubes can be used for axles, and circular cutouts can serve as wheels. Consider reinforcing them with wooden dowels or skewers for added strength.
- Interior Components (Optional): Seats, steering wheel, dashboard – these add detail and can be made from smaller pieces of cardboard.
"Diagram" Explanation: Our Construction Guide
Although we’re not presenting a traditional engineering diagram with specific dimensions, it’s helpful to visualize the build process as one. Think of it as a blueprint with instructions. Here's how we can break down the "diagram":
- Lines: Solid lines represent cuts to be made in the cardboard. Dashed lines indicate folds. Different thicknesses of lines could denote different thicknesses of cardboard or different types of folds (e.g., a sharp crease vs. a gentle curve).
- Colors: Colors can be used to differentiate between different components or layers of cardboard. For example, one color might represent the primary structural layer, while another indicates a reinforcing layer.
- Icons/Symbols: Specific icons could represent techniques. For example, a circle with a dot inside could indicate a location where glue should be applied. A small triangle might denote a location where additional reinforcement is needed.
The "diagram" would consist of several stages:
- Chassis Construction: A step-by-step guide to building the frame, highlighting key load-bearing points and reinforcement strategies.
- Body Panel Assembly: Instructions for cutting, shaping, and attaching the body panels to the chassis.
- Wheel/Axle Installation: Details on creating and attaching the wheels and axles, ensuring they are properly aligned.
- Detailing (Optional): Steps for adding interior components and other aesthetic details.
How It Works: Structural Integrity
The principle behind a successful cardboard car is structural integrity. Cardboard, while seemingly flimsy, can be surprisingly strong when properly folded and reinforced. The key is to create triangulated structures. Triangles are inherently strong and resist deformation under stress. Think of bridges – they rely heavily on triangular supports. Similarly, incorporating triangular folds and gussets (reinforcing pieces) into your cardboard car will significantly increase its strength. Applying glue correctly is also vital. Use a strong adhesive designed for cardboard and ensure complete coverage on all mating surfaces. Clamping the pieces together while the glue dries will further enhance the bond. Think of the cardboard as a composite material. Just like in composite materials, the direction of the fibers within the cardboard matters. Orientating the corrugation (the wavy inner layer) perpendicular to the direction of stress will provide maximum strength.
Real-World Use: Basic Troubleshooting
Even a cardboard car can present challenges. Here are a few common issues and their solutions:
- Sagging: If the chassis is sagging under its own weight, add more reinforcement to the frame, especially along the areas that are bending the most.
- Weak Joints: If joints are failing, re-glue them and add gussets for extra support. Consider using screws or bolts (with washers) for a more permanent connection, but be mindful of the cardboard tearing.
- Instability: If the car is unstable or tips over easily, check the weight distribution. Adding weight to the bottom of the car can lower the center of gravity and improve stability.
Safety: Cardboard Cuts and Glue Hazards
While cardboard might seem harmless, some safety precautions are necessary:
- Sharp Edges: Cut cardboard can have sharp edges. Use a utility knife or scissors carefully, and always cut away from yourself. Consider using sandpaper to smooth down any sharp edges.
- Glue: Some glues can emit harmful fumes. Work in a well-ventilated area and avoid direct contact with the glue.
- Structural Failure: If the cardboard car collapses, it could pose a tripping hazard. Ensure the structure is stable and remove any sharp or protruding pieces if it fails.
Remember, the goal here is not to build a fully functional vehicle but to learn and experiment. Don’t be afraid to make mistakes and try different approaches. This is how you develop your engineering intuition and problem-solving skills.
We have a sample construction guide available for download! It's not a complete blueprint but should give you a solid starting point for your own cardboard car project. It illustrates key concepts and provides suggestions for materials and techniques. Reach out and we'll provide you the file!