How To Build A Model Car
So, you're ready to take your passion for cars to the next level and build a model car from scratch? Excellent! This isn't just about gluing plastic together; it's about understanding automotive design, engineering, and problem-solving on a micro scale. We're going to walk through the entire process, from choosing your model to weathering techniques, treating it like you would a real automotive project. Consider this your advanced DIY guide to miniature auto construction.
Purpose: More Than Just a Shelf Decoration
Building a model car offers more than just a static display piece. It's a fantastic way to deepen your understanding of vehicle anatomy and construction. You'll gain insight into how different components fit together, their relative sizes, and the challenges inherent in automotive design. This knowledge can be directly applicable to working on real cars – especially when it comes to understanding complex systems or identifying potential issues. Beyond the practical benefits, it's a rewarding creative outlet and a testament to your craftsmanship.
Key Specs and Main Parts: The Anatomy of a Miniature Machine
Before diving in, let's establish the core components we'll be working with. The specific parts will vary depending on the model, but these are the common elements you’ll encounter:
- Body: The exterior shell, typically molded in plastic or resin. This is where your painting and detailing skills will shine.
- Chassis: The frame upon which everything else is built. It provides structural support and mounting points for the drivetrain and suspension.
- Engine: A miniature replica of the real-world engine, often highly detailed with intricate parts.
- Interior: Seats, dashboard, steering wheel, and other elements that make up the cabin.
- Wheels and Tires: Crucial for replicating the stance and overall aesthetic of the car.
- Suspension: Springs, shocks, and other components that simulate the real car's suspension system.
- Drivetrain: Depending on the model, this could include the transmission, driveshaft, and differential.
- Exhaust System: From the headers to the tailpipe, the exhaust is a key detail.
- Glass and Trim: Windows, lights, bumpers, and other external details.
- Decals: Often included to add markings, logos, and other details.
Scale is a critical specification. Common model car scales include 1/24, 1/25, 1/16, and 1/12. A 1/24 scale model means that the model is 1/24th the size of the real car. Choose a scale that suits your workspace and desired level of detail.
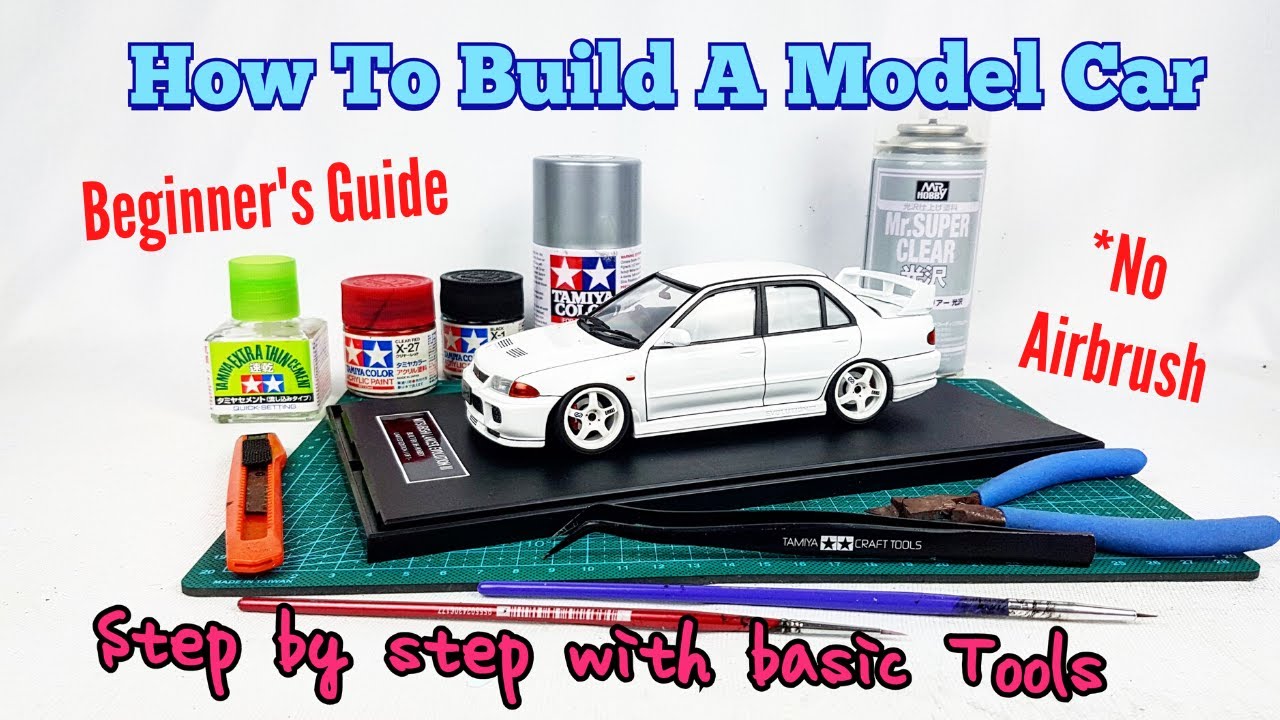
Tools and Materials: Your Miniature Workshop
Building a quality model car requires the right tools. Here’s a basic list:
- Sprue Cutters (Flush Cutters): For cleanly removing parts from the sprue (the plastic frame).
- Hobby Knife (X-Acto Knife): For trimming parts, removing flash (excess plastic), and detailing.
- Files and Sandpaper: For smoothing surfaces and removing imperfections. Start with coarser grits (e.g., 220) and gradually move to finer grits (e.g., 600, 1000, 2000).
- Glue: Use plastic cement (for plastic models) or CA glue (cyanoacrylate, also known as super glue) for resin or mixed-media models.
- Paint: Enamel, acrylic, or lacquer paints are all viable options. Acrylics are generally easier to clean up, while enamels tend to be more durable.
- Paint Brushes: A variety of sizes for different detailing tasks.
- Airbrush (Optional but Recommended): For applying smooth, even coats of paint.
- Masking Tape: Essential for creating clean lines and protecting areas you don’t want to paint. Tamiya masking tape is a popular choice.
- Primer: Helps paint adhere to the plastic and provides a uniform base coat.
- Clear Coat: Protects the paint and adds a glossy or matte finish.
- Tweezers: For handling small parts.
- Mixing Cups and Stir Sticks: For mixing paints.
- Safety Glasses: Protect your eyes from flying debris and fumes.
- Respirator: Protect your lungs from paint fumes, especially when airbrushing.
- Cutting Mat: To protect your work surface.
The Build Process: Step-by-Step Assembly
- Preparation: Thoroughly clean all parts with warm, soapy water to remove mold release agents. This is crucial for paint adhesion.
- Test Fitting: Before gluing anything, test fit all the parts to ensure proper alignment and identify any potential issues.
- Assembly: Follow the kit instructions carefully. Glue parts together in the correct sequence. Use small amounts of glue to avoid unsightly blobs.
- Seam Filling: If there are gaps or seams, use putty or filler to smooth them out. Sand the filler smooth after it dries.
- Priming: Apply a thin, even coat of primer to the entire model. This will help the paint adhere better and reveal any imperfections that need to be addressed.
- Painting: Apply multiple thin coats of paint, allowing each coat to dry completely before applying the next. Use masking tape to create clean lines between different colors.
- Detailing: Add details such as decals, chrome trim, and weathering effects.
- Clear Coating: Apply a clear coat to protect the paint and add a glossy or matte finish.
- Final Assembly: Assemble the remaining parts, such as wheels, tires, and glass.
Weathering: Adding Realism and Character
Weathering is the process of adding realistic wear and tear to your model car. This can include dirt, rust, scratches, and fading. Here are some common weathering techniques:
- Washes: Apply a thin wash of diluted paint to panel lines and recesses to accentuate detail.
- Dry Brushing: Lightly brush a dry brush over raised details to highlight them.
- Chipping: Use a small brush or sponge to apply small chips of paint to simulate damage.
- Pigments: Apply powdered pigments to simulate dust, dirt, and rust.
- Oil Paints: Oil paints can be used to create a variety of weathering effects, such as oil streaks and grime.
Real-World Use: Troubleshooting Your Miniature Ride
Even with meticulous planning, you might encounter issues during your build. Here are some common problems and solutions:
- Glue Smears: Use a cotton swab dipped in acetone or isopropyl alcohol to carefully remove glue smears.
- Paint Runs: Allow the paint to dry completely, then sand the run smooth and repaint the area.
- Decals Silvering: This happens when air gets trapped under the decal. Use a decal setting solution to help the decal conform to the surface and eliminate air bubbles.
- Brittle Parts: Some older kits may have brittle plastic. Be extra careful when handling these parts.
Safety: Handle with Care
Model building involves potentially hazardous materials. Always wear safety glasses and a respirator when painting or using adhesives. Work in a well-ventilated area. Be careful when using sharp tools like hobby knives. Dispose of used paint thinner and other chemicals properly.
Taking it Further: Advanced Techniques
Once you've mastered the basics, you can explore advanced techniques such as scratch building (creating parts from scratch), photo-etched detailing (using thin metal parts for finer details), and resin casting (creating your own custom parts). The possibilities are endless!
This detailed guide should give you a solid foundation for building fantastic model cars. Now, gather your tools, choose your model, and get building! Remember to take your time, be patient, and enjoy the process. We have the detailed diagrams, and they're ready for you to download and use.