How To Build A Small Gate
Alright, let's talk about building a small gate. Think of this as tuning your car's suspension – it's a fundamental skill, but mastering the details makes all the difference. This guide will equip you with the knowledge to confidently construct a sturdy and functional gate for your property. We're not just slapping wood together; we're going to understand the why behind each step, just like when you're diagnosing a tricky engine issue.
Purpose and Scope
This article provides a comprehensive guide to building a small gate, suitable for pedestrian access or enclosing a small garden. Understanding the construction process, as detailed below, empowers you in several ways:
- DIY Construction: Save money and gain valuable skills by building your own gate instead of hiring a contractor.
- Customization: Tailor the gate's dimensions, style, and materials to perfectly match your existing fence and aesthetic preferences.
- Repair and Maintenance: Armed with this knowledge, you'll be able to diagnose and fix common gate problems, such as sagging or sticking.
- Material Selection: Understand the pros and cons of different wood types and hardware, ensuring you choose the right components for durability and longevity.
Key Specs and Main Parts
Before we dive into the construction details, let's define the key components of a small gate. Think of these as the critical engine parts you need to know inside and out:
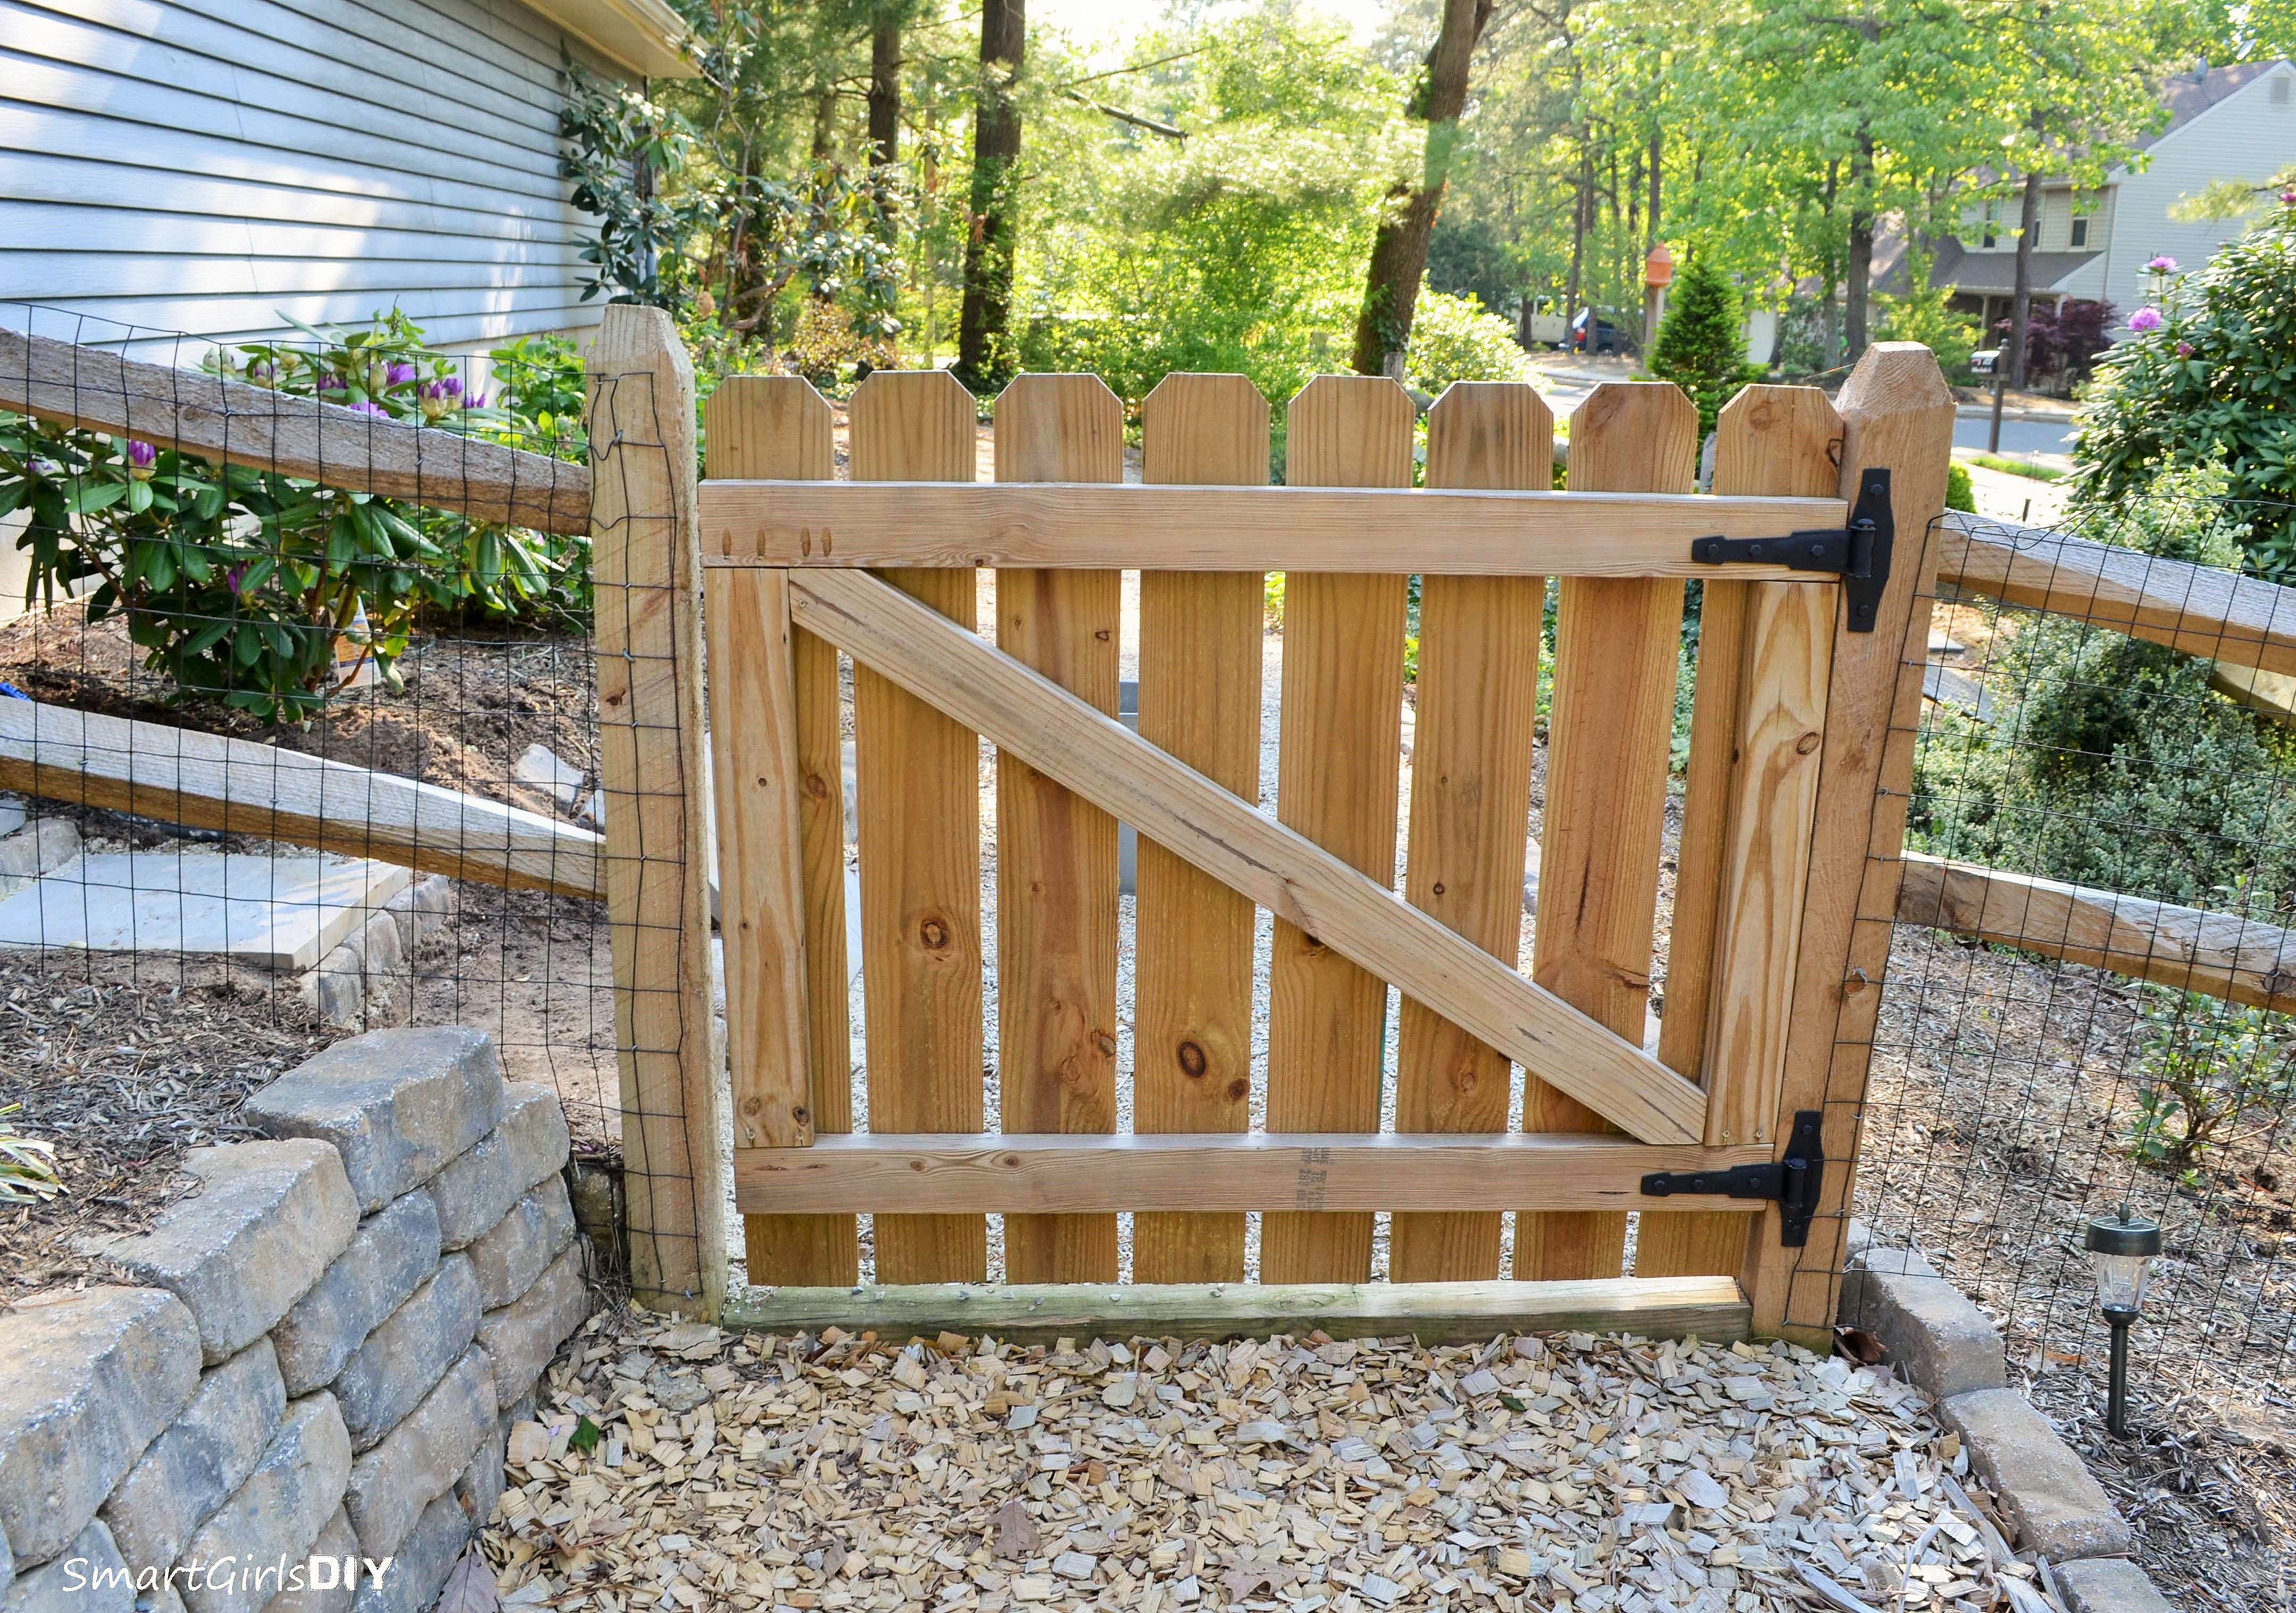
- Gate Frame: The structural foundation of the gate. Typically constructed from 2x4 lumber (dimensional lumber; the actual size is 1.5x3.5 inches). The frame provides rigidity and support.
- Gate Stiles: The vertical members of the gate frame. They provide the sides of the gate and connect the top and bottom rails.
- Gate Rails: The horizontal members of the gate frame. The top and bottom rails provide structural integrity and support the infill.
- Infill: The material that fills the space within the gate frame. This can be anything from pickets (vertical boards attached to the frame) to decorative panels to wire mesh.
- Hinges: The hardware that connects the gate to the gate post, allowing it to swing open and closed. Select hinges rated for the weight of the gate. Options include strap hinges, butt hinges, and self-closing hinges.
- Latch: The mechanism that secures the gate in the closed position. Common types include gravity latches, spring latches, and keyed latches.
- Gate Post: The vertical support that the gate swings from. Typically a 4x4 or 6x6 post set securely in the ground with concrete. The post must be strong enough to withstand the weight and movement of the gate.
- Fasteners: Screws or nails used to assemble the gate frame and attach the infill. Use exterior-grade fasteners to resist corrosion. Deck screws are a good choice.
Key Specs: While the dimensions will vary depending on your specific needs, a typical small gate might be 36 inches wide and 48 inches tall. The gate post should be tall enough to allow the gate to swing freely and should be set at least 24 inches deep in the ground.
Construction Diagram Explained
Imagine this diagram as the wiring diagram for your car; it's essential for understanding how all the parts connect. Let's break down the common elements:
- Solid Lines: These represent the visible edges of the wood members. They're like the clearly visible wires in your car's harness.
- Dashed Lines: These typically indicate hidden lines or areas that are behind other components. Think of them as the wires that are tucked away inside a loom.
- Dimensions: These are critical! They tell you the exact lengths and widths of each piece of wood. Just like the torque specs for your lug nuts, these dimensions must be accurate.
- Symbols: Small icons might represent specific fasteners (screws, nails) or hardware components (hinges, latches). A legend on the diagram will define these.
- Cross-Sections: These are "cutaway" views that show the internal construction of the gate frame. They help you understand how the different members are joined together.
- Arrows: Arrows indicate the direction of force or movement, for example, the direction the gate swings or the direction to tighten a screw.
How It Works: The Mechanics of a Gate
The gate's functionality relies on simple mechanical principles. The frame provides structural integrity, resisting bending and warping. The hinges act as a pivot point, allowing the gate to swing open and closed. The latch provides a secure closure, preventing the gate from swinging open unintentionally.
Here's a breakdown of the key forces at play:
- Weight: The gate's weight exerts a downward force on the hinges. Properly sized hinges are essential to support this weight and prevent sagging.
- Tension: The latch experiences tension when the gate is closed and someone attempts to open it. A strong latch is crucial to resist this tension.
- Shear: The fasteners that connect the gate frame members are subjected to shear forces. Use strong, corrosion-resistant fasteners to prevent the gate from falling apart.
The gate post is the anchor point. It must be strong enough to resist the forces exerted by the gate's weight and movement. Setting the post in concrete provides a solid foundation.
Real-World Use: Troubleshooting and Maintenance
Even the best-built gate can experience problems over time. Here are some common issues and how to address them:
- Sagging Gate: This is often caused by loose hinges or a weak gate frame. Tighten the hinge screws or replace them with longer screws. Consider adding a diagonal brace to the gate frame to increase its rigidity.
- Sticking Gate: This can be due to swelling wood (especially in humid climates) or misaligned hinges. Sand down the areas where the gate is rubbing against the post or frame. Adjust the hinges to ensure the gate swings freely.
- Latch Problems: A latch that doesn't engage properly may be bent or misaligned. Straighten the latch or adjust its position. Lubricate the latch mechanism to ensure smooth operation.
- Rotting Wood: Regularly inspect the gate for signs of rot, especially at the bottom of the posts. Treat the wood with a preservative to prevent further decay. Replace rotted wood members as needed.
Safety Considerations
Building a gate involves working with power tools and heavy materials. Always wear appropriate safety gear, including safety glasses, gloves, and hearing protection. The gate post and the process of setting it in concrete can be particularly risky. Ensure the post is properly supported while the concrete cures. Avoid working alone, and always have someone nearby in case of an emergency.
Using Power Tools: Exercise extreme caution when using power saws, drills, and other power tools. Follow the manufacturer's instructions carefully. Never operate power tools while tired or under the influence of drugs or alcohol.
Lifting Heavy Materials: When lifting heavy lumber or concrete, use proper lifting techniques to avoid back injuries. Bend your knees and keep your back straight. Get help from a partner if necessary.
Chemicals: When working with wood preservatives or concrete, follow the manufacturer's safety precautions. Wear gloves and eye protection to avoid skin and eye irritation. Work in a well-ventilated area.
Building a small gate is a rewarding project that can enhance your property and improve your DIY skills. By understanding the principles of construction, you can create a gate that is both functional and aesthetically pleasing.
You now have a solid foundation for building your own gate. Just like understanding the intricacies of your car's engine, knowing the details of gate construction will empower you to tackle any project with confidence.
We have a sample diagram file available for download. This diagram provides a visual guide to the gate construction process and includes detailed dimensions and specifications. Contact us to obtain a copy of the file.