How To Cancel Siriusxm In My Car
So, you’re looking to disconnect SiriusXM from your car. Maybe you're tired of the subscription fees, or perhaps you're upgrading to a different infotainment system. Whatever the reason, this guide will walk you through the process safely and effectively. We'll cover everything from identifying the components to the actual disconnection. Think of this as a step-by-step breakdown tailored for the hands-on car enthusiast.
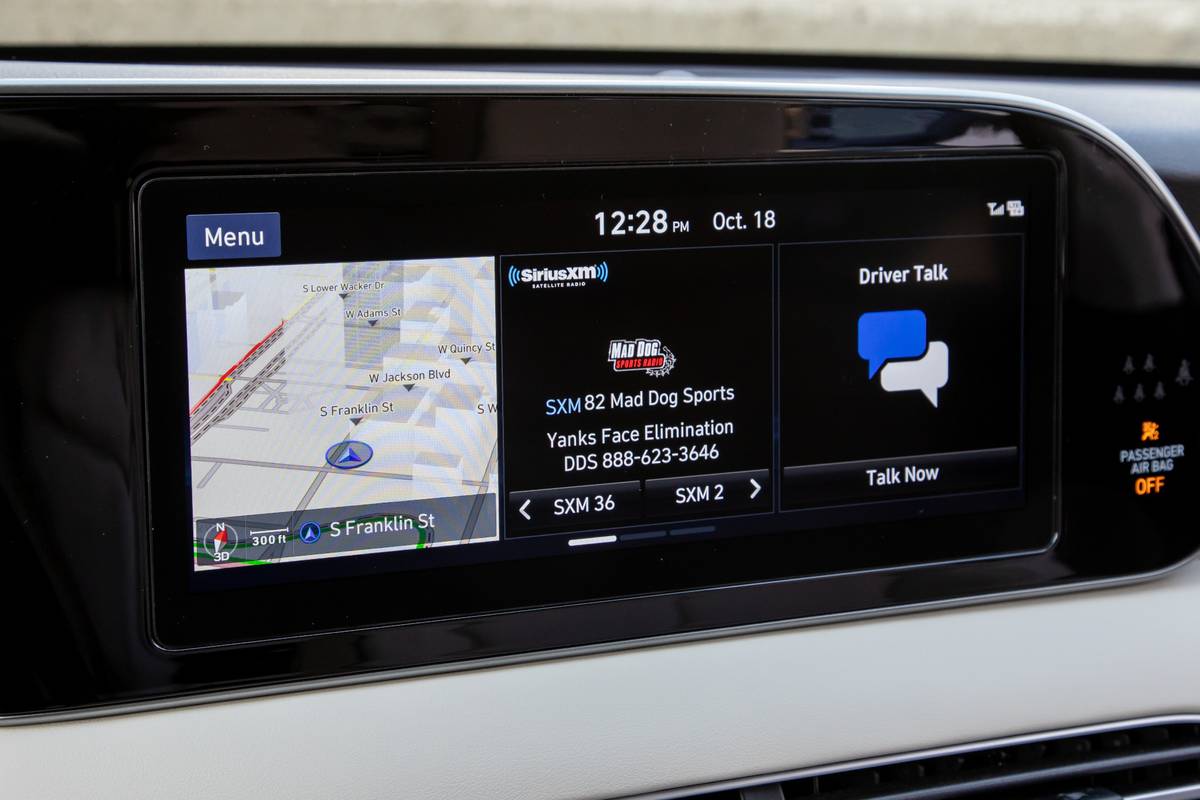
Understanding SiriusXM Integration in Your Vehicle
Purpose
Before diving in, it's essential to understand why we're tackling this task. Disconnecting SiriusXM isn't just about saving money. It can be a necessary step for:
- Repairs: Troubleshooting audio system problems might require isolating or removing the SiriusXM receiver.
- Upgrades: Swapping out your head unit for an aftermarket system often means disconnecting the factory-installed SiriusXM.
- Customization: Some modders prefer to remove features they don't use to streamline the car's electronics.
This knowledge is crucial because disconnecting the wrong component could disable other essential vehicle functions. Careful planning and understanding are key to success.
Key Specs and Main Parts
The SiriusXM receiver is typically a separate module, but it is sometimes integrated into the head unit (the main radio console). Here's a breakdown of the key components:
- SiriusXM Receiver Module: This is the brains of the operation, receiving the satellite signal and decoding it into audio. Its exact location varies, but common spots include under a seat, in the trunk, or behind the dashboard.
- Antenna: Usually mounted on the roof, trunk lid, or embedded in the rear window, this receives the satellite signal. It's connected to the receiver module via a coaxial cable.
- Coaxial Cable: This shielded cable transmits the radio frequency (RF) signal from the antenna to the receiver.
- Power/Data Cable: This cable provides power to the receiver and carries the audio output to the head unit and the control signals from the head unit to the receiver. This is where things get tricky, as the wiring can be complex and integrated with other vehicle systems.
- Head Unit: This is the main radio and display. It usually handles channel selection, volume control, and displaying song information.
Knowing the location of these parts in your specific vehicle model is the first step. Consult your car's service manual for detailed diagrams.
Symbols and Wiring Diagrams
Automotive wiring diagrams use standardized symbols. Here are a few you'll likely encounter:
- Solid Lines: Represent wires. The thickness often indicates wire gauge (thicker lines = thicker wires).
- Dashed Lines: May represent shielded cables or wires that are part of a larger harness and not individually accessible.
- Circles/Squares with Numbers: Indicate connector pins or terminal locations.
- Ground Symbol (often three lines decreasing in length): Shows where a component is grounded to the vehicle chassis.
- Battery Symbol: Indicates the power source.
- Resistor Symbol (zigzag line): Shows a resistor in the circuit.
- Capacitor Symbol (two parallel lines): Shows a capacitor in the circuit.
- Coil Symbol (series of loops): Shows an inductor in the circuit.
Color-coding of wires is also crucial. Common colors include:
- Red: Typically positive (+) power.
- Black: Typically ground (-).
- Yellow: Often constant power (even when the ignition is off).
- Orange: Often switched power (only on when the ignition is on).
- Other colors: Represent various signal and data wires.
Always refer to the specific wiring diagram for your car model. General color codes aren't always reliable.
How It Works: The Signal Path
Let's trace the signal from the satellite to your ears:
- The antenna receives the satellite signal.
- The signal travels through the coaxial cable to the SiriusXM receiver module.
- The receiver decodes the signal and extracts the audio information.
- The audio signal is sent to the head unit via the power/data cable.
- The head unit amplifies the signal and sends it to the speakers.
To disconnect SiriusXM, we essentially need to interrupt this chain. The safest method is usually to disconnect the power/data cable from the SiriusXM receiver module.
Real-World Use: Basic Troubleshooting and Disconnection
Here's a simplified process for disconnecting SiriusXM (always consult your car's service manual first!):
- Locate the SiriusXM receiver module. Use your service manual or online resources to find its location. Common places are under the passenger seat, in the trunk near the antenna base, or behind the glove compartment.
- Disconnect the power/data cable. This is typically a multi-pin connector. Before disconnecting, disconnect the negative terminal on your car battery. This prevents accidental shorts. Carefully unplug the connector. Do not force it. If it's stuck, check for a locking mechanism or retaining clip.
- Test. Reconnect the battery and start your car. Verify that SiriusXM is no longer functioning and that other audio functions (FM radio, Bluetooth, etc.) still work.
- Optional: Remove the antenna cable. If desired, you can also disconnect the coaxial cable from the receiver. This isn't strictly necessary, but it prevents the antenna from being a potential source of interference.
Troubleshooting Tips:
- No power to the head unit: Double-check that you reconnected the battery properly and that no fuses have blown.
- Other audio functions not working: Examine the connector you disconnected for bent pins or damage. Make sure it's fully seated. Consult your car's wiring diagram to ensure you haven't disconnected any other essential wires.
- Error messages on the head unit: Some cars may display error messages related to missing SiriusXM functionality. This is normal, and often cannot be removed without specialized programming.
Safety Considerations
Working with automotive electronics can be risky. Here are some key safety precautions:
- Disconnect the negative battery terminal: This prevents accidental shorts and potential damage to your car's electrical system. Wait at least 15 minutes after disconnecting the battery before working on any airbag-related components.
- Use proper tools: Use insulated tools to avoid electrical shocks.
- Avoid working on live circuits: Never work on a circuit while the engine is running or the ignition is on.
- Refer to your car's service manual: This is the definitive guide for your specific vehicle model.
- Airbags: Be extremely careful around airbags. Incorrectly disconnecting or handling them can cause them to deploy, resulting in serious injury. If you are working near an airbag, research the proper safety procedures, or consider having a professional handle the job.
- High-Voltage Components: Hybrid and electric vehicles have high-voltage components. Do not attempt to work on these unless you are properly trained and equipped.
The SiriusXM receiver itself is not inherently dangerous, but the electrical system of a car can be. Proceed with caution.
We have a sample wiring diagram that might be similar to your vehicle's. While it is not a substitute for the diagram for *your* vehicle, it can be a helpful reference. You can download it here: [Insert hypothetical download link here - DO NOT INCLUDE AN ACTUAL LINK]
Remember, this guide is for informational purposes only. If you're not comfortable working with your car's electronics, it's always best to consult a qualified technician.