How To Change A Brake Switch
The dreaded brake lights. Often overlooked, yet crucial for safety, they communicate your intentions to fellow drivers. A malfunctioning brake light can lead to dangerous situations and, quite frankly, is a quick way to attract unwanted attention from law enforcement. More often than not, the culprit behind a stubborn brake light issue isn't the bulb itself, but rather the unsung hero tucked away near your brake pedal: the brake light switch.
So, how do you go about diagnosing and replacing this vital component? Let's dive into the mechanics and practical steps involved in changing a brake switch, ensuring you're back on the road safely and with confidence.
The Case of the Phantom Brake Lights (or Lack Thereof)
Imagine this: you're cruising down the highway, foot gently resting on the accelerator. You tap the brakes to slow down, but behind you, nothing. No tell-tale red glow. Or worse, your brake lights are perpetually illuminated, even when your foot is nowhere near the pedal, draining your battery and confusing everyone on the road. These are classic symptoms of a faulty brake light switch.
Think of the brake light switch as a simple on/off switch connected to your brake pedal. It's like a tiny sentry, constantly monitoring the position of your brake pedal and relaying that information to your brake lights. When you press the pedal, the switch closes the circuit, sending power to the brake lights. Release the pedal, and the circuit opens, extinguishing the lights.
How the System Works: A Mechanical Deep Dive
The brake light switch operates on a relatively straightforward principle of mechanical linkage and electrical conductivity. Here's a breakdown:
Components
- Switch Housing: The outer shell that encases the internal components, usually made of durable plastic.
- Plunger: A spring-loaded pin that is either compressed or released by the movement of the brake pedal arm. This is the mechanical interface.
- Contacts: Internal electrical contacts that close (make a connection) or open (break a connection) depending on the plunger's position.
- Wiring Harness Connector: The interface where the switch connects to the vehicle's electrical system, providing power to the brake lights.
Operation
- Rest Position (Brake Pedal Released): In this state, the brake pedal arm typically presses against the plunger, keeping it depressed. Depending on the switch design (normally open or normally closed), this can either open or close the circuit. The majority of modern vehicles use a normally closed system, meaning the circuit is open in this state, and the brake lights are off.
- Activation (Brake Pedal Depressed): When you press the brake pedal, the pedal arm moves away from the plunger. The spring inside the switch housing pushes the plunger outward. This movement either closes the circuit (in a normally open system) or opens the circuit (in a normally closed system). The resulting change in the electrical circuit sends power to the brake lights, illuminating them.
Variations and Technologies
While the basic principle remains the same, brake light switches can vary in their design and technology:
- Mechanical Switches: These are the most common type, relying purely on mechanical movement to make or break the electrical connection.
- Hall Effect Switches: Some newer vehicles use Hall effect sensors. These sensors detect changes in a magnetic field caused by the movement of the brake pedal. They offer greater reliability and longevity compared to mechanical switches, as there are no physical contacts to wear out.
Pros, Cons, Use Cases, and Manufacturer Examples
Mechanical Brake Light Switches
- Pros: Simple design, relatively inexpensive, easy to replace.
- Cons: Prone to wear and tear, susceptible to corrosion, can be less reliable in extreme conditions.
- Use Cases: Found in a wide range of vehicles, especially older models.
- Manufacturer Examples: Standard Motor Products, BWD Automotive.
Hall Effect Brake Light Switches
- Pros: More reliable, longer lifespan, less susceptible to wear and tear.
- Cons: More expensive, can be more complex to diagnose and replace.
- Use Cases: Increasingly common in newer, high-end vehicles.
- Manufacturer Examples: HELLA, Bosch.
The Replacement Process: A Step-by-Step Guide
Now for the practical part. Replacing a brake light switch is a relatively straightforward task that most DIY enthusiasts can tackle with basic tools. However, safety is paramount. Always disconnect the negative terminal of your car battery before working on any electrical components.
Tools You'll Need:
- New Brake Light Switch (Ensure it's the correct part for your vehicle)
- Wrench or Socket Set
- Screwdriver (Phillips or Flathead, depending on the switch mounting)
- Test Light or Multimeter (Optional, for testing the circuit)
- Gloves (Recommended)
Steps:
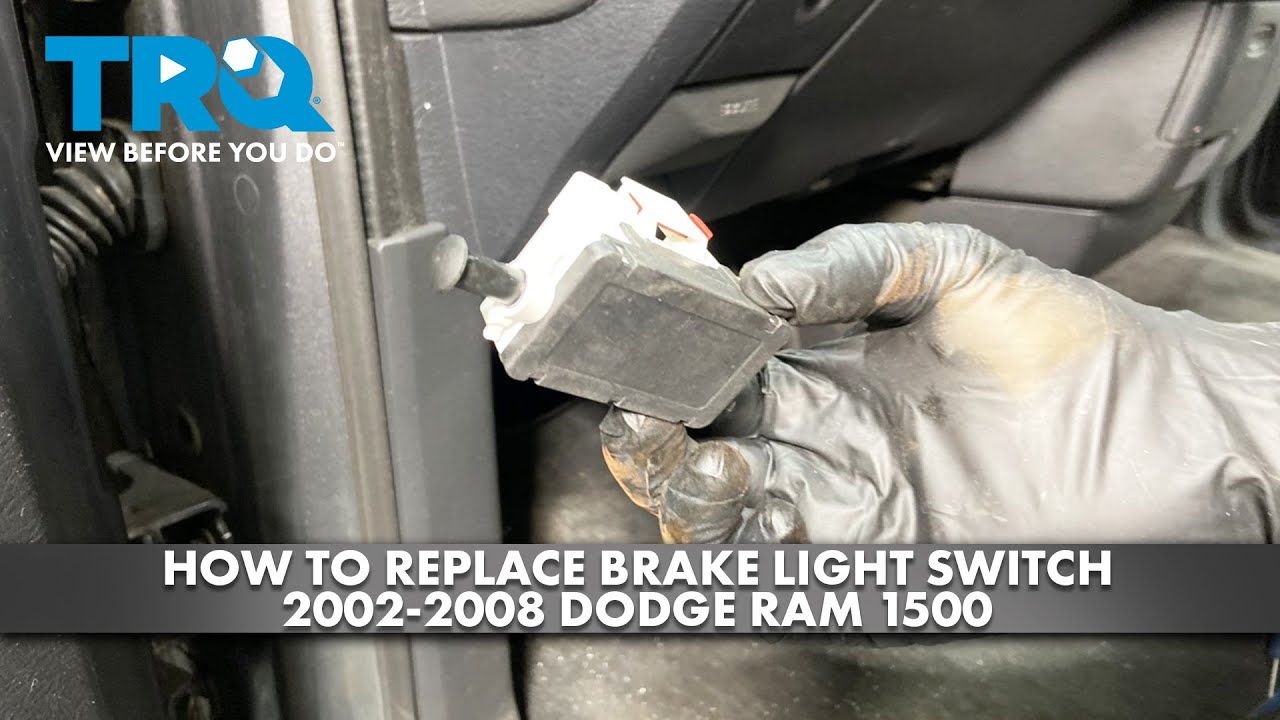
- Locate the Brake Light Switch: The switch is typically located near the top of the brake pedal arm, often mounted to a bracket. You'll likely need to contort yourself a bit to get a good view.
- Disconnect the Wiring Harness: Carefully disconnect the wiring harness connector from the switch. There's usually a locking tab that needs to be depressed. Do not yank on the wires.
- Remove the Old Switch: Depending on the design, the switch may be threaded into the bracket or secured with screws or clips. Use the appropriate wrench, socket, or screwdriver to remove it. Note the orientation of the switch as you remove it – this will help you install the new one correctly.
- Install the New Switch: Install the new switch in the reverse order of removal. Ensure it's securely mounted and properly aligned with the brake pedal arm.
- Reconnect the Wiring Harness: Reconnect the wiring harness connector to the switch. Make sure it clicks into place securely.
- Reconnect the Battery: Reconnect the negative terminal of your car battery.
- Test the Brake Lights: Have someone press the brake pedal while you observe the brake lights. They should illuminate when the pedal is pressed and turn off when released.
Troubleshooting Tips:
- No Brake Lights: Double-check the wiring harness connection, the fuse for the brake lights, and the bulb itself. A test light or multimeter can be used to verify voltage at the switch.
- Brake Lights Stay On: This can indicate a misadjusted switch or a faulty switch that's stuck in the closed position. Ensure the switch is properly aligned and the plunger is moving freely.
- Incorrect Switch: Using the wrong switch can lead to various problems, including improper brake light operation or even damage to the electrical system. Always verify that the new switch is the correct part for your vehicle.
Real-World Insights and Recommendations
From personal experience, I've found that purchasing a high-quality replacement switch is worth the investment. Cheaper aftermarket switches can sometimes have fitment issues or a shorter lifespan. Read online reviews and opt for a reputable brand.
Also, pay close attention to the adjustment of the switch. Some switches are adjustable, allowing you to fine-tune the point at which the brake lights activate. A misadjusted switch can cause the brake lights to come on too late or stay on continuously.
Finally, don't underestimate the importance of regular brake light checks. Make it a habit to visually inspect your brake lights periodically, especially before long trips. A quick check can save you from potential accidents and legal headaches.
In conclusion, replacing a brake light switch is a relatively simple and inexpensive repair that can significantly improve your safety on the road. By understanding how the system works and following the steps outlined above, you can confidently tackle this task yourself and ensure your brake lights are functioning properly.