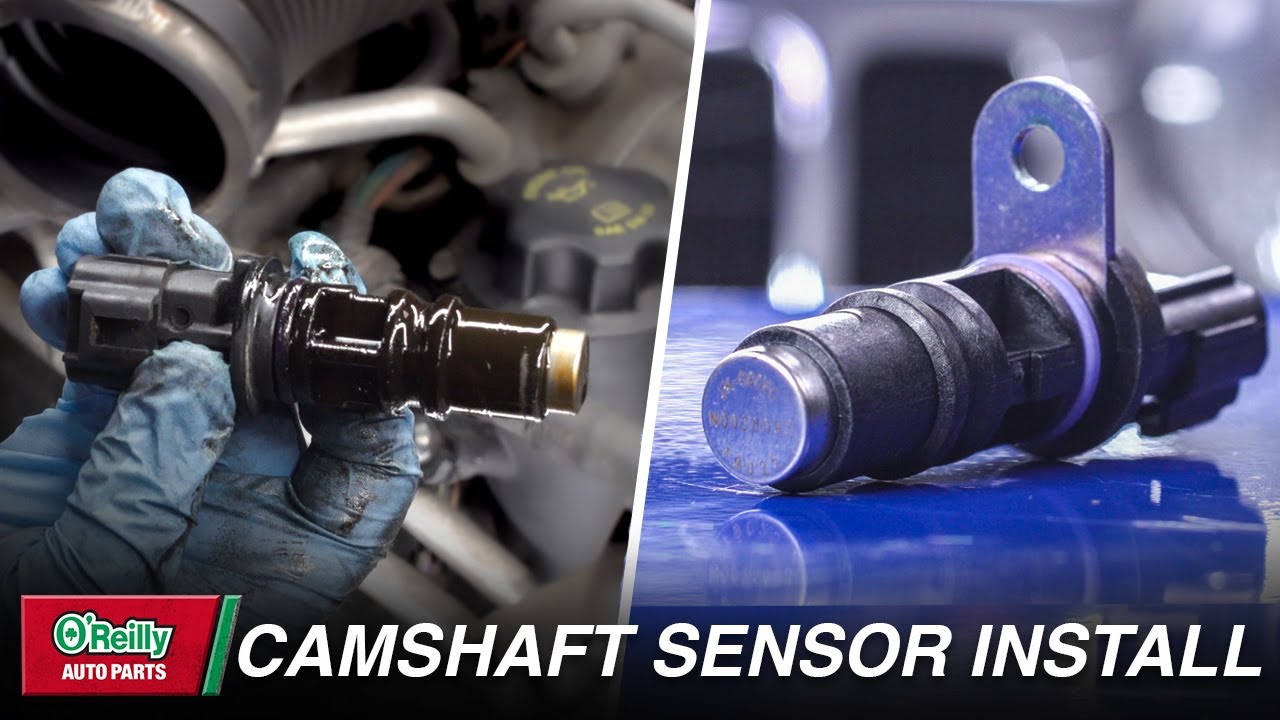
How To Change A Camshaft Position Sensor
The camshaft position sensor (CMP) is a crucial component in your vehicle's engine management system. It provides the engine control unit (ECU) with information about the position of the camshaft, which is essential for proper ignition timing and fuel injection. When the CMP sensor fails, it can lead to a variety of performance problems, including a check engine light, rough running, stalling, and even a no-start condition. Fortunately, replacing a camshaft position sensor is often a relatively straightforward process that many DIYers can handle, potentially saving money on labor costs.
Why Changing Your Camshaft Position Sensor Matters
A malfunctioning camshaft position sensor can have serious consequences for your vehicle's performance and longevity. Understanding why this sensor is so important will motivate you to address any issues promptly.
- Engine Performance: The CMP sensor plays a vital role in precise engine timing. Without accurate camshaft position information, the ECU can't properly time the ignition and fuel injection, leading to reduced power, poor fuel economy, and rough idling.
- Check Engine Light: One of the most common symptoms of a failing CMP sensor is the illumination of the check engine light. The ECU detects the discrepancy in sensor readings and triggers the warning. While a check engine light can indicate many issues, a diagnostic scan will often reveal a CMP sensor code (typically P0340, P0341, P0342, P0343, or similar).
- Stalling and No-Start Condition: In severe cases, a faulty CMP sensor can cause the engine to stall or even prevent it from starting altogether. This is because the ECU relies on the CMP sensor signal to determine the correct firing order and fuel delivery. Without this information, the engine can't function properly.
- Potential for Further Damage: Ignoring a failing CMP sensor can potentially lead to further damage to the engine. If the engine is running poorly due to improper timing, it can put stress on other components, such as the crankshaft and connecting rods.
Therefore, promptly addressing a faulty camshaft position sensor is crucial for maintaining optimal engine performance, fuel efficiency, and overall vehicle reliability.
How to Choose the Right Camshaft Position Sensor
Selecting the correct replacement camshaft position sensor is critical for ensuring proper engine operation and avoiding future problems. Here's what to consider when choosing a new sensor:
1. Vehicle Compatibility:
This is the most important factor. Make sure the sensor is specifically designed for your vehicle's make, model, and year. You can usually find this information on the product description of online retailers or by providing your vehicle information to an auto parts store. Using a sensor that isn't compatible can lead to incorrect readings, engine misfires, and even damage to the ECU.
2. Sensor Type:
Camshaft position sensors come in different types, such as Hall-effect sensors and inductive sensors. The type of sensor used in your vehicle depends on the specific engine design. Consult your vehicle's repair manual or an online parts catalog to determine the correct sensor type for your vehicle.
3. Brand Reputation:
Opt for a sensor from a reputable brand known for producing high-quality automotive parts. Well-known brands often have better quality control and offer warranties on their products. While generic or off-brand sensors might be cheaper, they may not be as reliable or durable as those from established manufacturers. Some popular and trusted brands include: Bosch, Delphi, Denso, and Standard Motor Products.
4. Sensor Location and Access:
Before purchasing the sensor, locate its position in your engine bay. Camshaft sensors are typically located near the cylinder head, valve cover, or timing cover. Ensure that the replacement sensor is easily accessible and that you have the necessary tools to remove and install it.
5. Check Engine Light Codes:
If you have a check engine light illuminated, use an OBD-II scanner to retrieve the diagnostic trouble codes (DTCs). The codes will often point to a specific problem with the camshaft position sensor, such as a circuit malfunction or signal issue. Knowing the specific DTC can help you choose the correct sensor and diagnose any related problems.
6. Warranty:
Choose a sensor that comes with a warranty. A warranty provides peace of mind and protects you against manufacturing defects. Make sure to read the warranty terms and conditions carefully to understand the coverage and claim process.
By carefully considering these factors, you can select the right camshaft position sensor for your vehicle and ensure a successful repair.
Step-by-Step Guide: How to Change a Camshaft Position Sensor
Disclaimer: This guide is for informational purposes only. Always consult your vehicle's repair manual for specific instructions and safety precautions. If you're not comfortable working on your vehicle, it's best to seek professional assistance.
Tools and Materials Needed:
* New camshaft position sensor (correct part for your vehicle) * Socket set and wrench set * Screwdrivers (Phillips and flathead) * OBD-II scanner (optional, for clearing codes) * Work gloves * Safety glasses * Penetrating oil (optional, for stubborn bolts) * Vehicle repair manual (recommended)Procedure:
- Safety First: Disconnect the negative terminal of your vehicle's battery. This will prevent electrical shocks and accidental activation of any components. Wear safety glasses to protect your eyes.
- Locate the CMP Sensor: Consult your vehicle's repair manual or an online resource to find the exact location of the camshaft position sensor. It's typically located near the cylinder head, valve cover, or timing cover.
- Disconnect the Electrical Connector: Carefully disconnect the electrical connector from the CMP sensor. There may be a clip or locking mechanism that needs to be released. Be gentle to avoid damaging the connector.
- Remove the Old Sensor: Use the appropriate socket or wrench to remove the bolt or screws holding the CMP sensor in place. If the sensor is stuck, you can try applying penetrating oil to the threads. Be careful not to damage the surrounding components.
- Inspect the Old Sensor: Examine the old sensor for any signs of damage, such as cracks, corrosion, or melted plastic. This can provide clues about the cause of the failure.
- Install the New Sensor: Install the new camshaft position sensor in the same location and orientation as the old one. Tighten the bolt or screws to the manufacturer's recommended torque specification. Overtightening can damage the sensor.
- Reconnect the Electrical Connector: Reconnect the electrical connector to the new CMP sensor. Make sure it clicks into place securely.
- Reconnect the Battery: Reconnect the negative terminal of your vehicle's battery.
- Clear Diagnostic Codes (Optional): If you have an OBD-II scanner, use it to clear any diagnostic trouble codes (DTCs) related to the CMP sensor.
- Start the Engine: Start the engine and check for any error lights or unusual noises. Monitor the engine performance for any signs of misfiring or rough running.
- Test Drive: Take the vehicle for a test drive to ensure that the engine is running smoothly and that the check engine light does not reappear.
Important Tips:
* Take pictures before disconnecting anything to help you remember how everything goes back together. * Work in a well-lit and clean area. * If you're unsure about any step, consult your vehicle's repair manual or seek professional assistance. * Dispose of the old sensor properly according to local regulations.Real-World Owner Experiences
Many vehicle owners have successfully replaced their camshaft position sensors and experienced significant improvements in engine performance. Here are a few common experiences:
* "I had a persistent check engine light and the code pointed to the camshaft position sensor. After replacing it, the light went off, and my car's fuel economy improved noticeably." - John S. * "My engine was stalling frequently, especially at idle. Replacing the CMP sensor fixed the problem completely. The car now runs smoothly and reliably." - Mary K. * "I noticed a significant decrease in power and acceleration. The OBD-II scanner showed a faulty CMP sensor. After replacing it with a new one from a reputable brand, the engine power returned to normal." - David L. * "The biggest challenge I faced was removing the old sensor, as it was corroded and stuck in place. I used penetrating oil and carefully wiggled it loose. It's important to be patient and avoid forcing it." - Emily R. * "Make sure to disconnect the battery before starting the repair. I forgot to do that once and accidentally shorted something out. Lesson learned!" - Tom B.These experiences highlight the importance of addressing CMP sensor issues promptly and the potential benefits of DIY replacement. However, remember to exercise caution and consult professional assistance if you're not comfortable with the repair.
Frequently Asked Questions (FAQs)
Here are some frequently asked questions about camshaft position sensors:
Q: How much does it cost to replace a camshaft position sensor?
A: The cost can vary depending on the vehicle make and model, as well as the location of the repair. The sensor itself typically costs between $20 and $100. Labor costs can range from $50 to $200, depending on the complexity of the job. DIY replacement can save you on labor costs.
Q: How long does it take to replace a camshaft position sensor?
A: The replacement process usually takes between 30 minutes and 2 hours, depending on the vehicle and your experience level.
Q: Can I drive with a bad camshaft position sensor?
A: It's generally not recommended to drive with a bad CMP sensor. It can cause poor engine performance, stalling, and potential damage to other components. If possible, have the vehicle towed to a repair shop.
Q: How do I test a camshaft position sensor?
A: You can test a CMP sensor using a multimeter to check for continuity, voltage, and resistance. Consult your vehicle's repair manual for specific testing procedures.
Q: What are the symptoms of a failing crankshaft position sensor (CKP)?
A: The symptoms of a failing CKP sensor are similar to those of a bad CMP sensor, including a check engine light, rough running, stalling, and no-start condition. Both sensors play critical roles in engine timing, so diagnosing which sensor is faulty requires an OBD-II scanner.
Q: Are there any maintenance tips to prevent CMP sensor failure?
A: While you can't completely prevent CMP sensor failure, you can take steps to minimize the risk. Regularly check your engine oil level and condition, as low or dirty oil can damage the sensor. Also, ensure that your vehicle's electrical system is in good condition, as voltage fluctuations can affect sensor performance.