How To Change A Crankshaft Seal
The dreaded oil stain on your driveway. It's a telltale sign of a potential problem brewing beneath the hood of your car. While many leaks can be attributed to simple things like a loose drain plug or a worn oil filter gasket, a persistent leak near the front or rear of the engine often points to a culprit that requires a bit more attention: the crankshaft seal. But before you resign yourself to a costly trip to the mechanic, let's explore the fascinating world of crankshaft seals and delve into how you can, with the right tools and knowledge, tackle this repair yourself.
Understanding the Crankshaft Seal Leak
Imagine your engine as a complex clockwork mechanism. The crankshaft, the heart of the engine, spins rapidly, converting the linear motion of the pistons into rotational force that ultimately drives your wheels. This crucial component sits snugly within the engine block, bathed in lubricating oil. The crankshaft seal, a humble yet vital component, is tasked with the unenviable job of preventing this oil from escaping, while simultaneously allowing the crankshaft to rotate freely.
Think of it like the seal around a washing machine door. It's designed to keep water inside while allowing the drum to spin at high speeds. Over time, the constant friction, heat cycling, and chemical exposure from engine oil can cause the seal to harden, crack, or lose its elasticity. This degradation leads to gaps forming between the seal and the crankshaft, creating a pathway for oil to leak out. The result? A messy engine bay, a dwindling oil level, and potentially catastrophic engine damage if left unattended.
How the Crankshaft Seal Works Mechanically
The crankshaft seal is generally a simple ring, typically made of rubber or a similar elastomeric material, often reinforced with a metal casing. Its construction allows for both flexibility and structural integrity. It fits snugly around the crankshaft journal, the smooth, polished part of the crankshaft that extends outside the engine block. The seal's inner lip is designed with a spring that provides constant pressure against the crankshaft, maintaining a tight seal even as the seal material wears down over time.
There are two primary types of crankshaft seals: front crankshaft seals and rear crankshaft seals. The front seal is located at the front of the engine, near the timing belt or chain, while the rear seal is located at the back of the engine, typically behind the flywheel or flexplate (in automatic transmissions). Both seals perform the same function, but their location dictates the complexity of the repair. The rear seal, in particular, often requires removal of the transmission, making it a significantly more involved task.
The effectiveness of the seal relies on several factors: the smoothness of the crankshaft journal, the integrity of the seal material, and the proper installation technique. Nicks or scratches on the crankshaft journal can create pathways for oil to leak, even with a new seal. Similarly, a poorly installed seal can be damaged during installation, negating its sealing capabilities.
Pros, Cons, Use Cases, and Manufacturer Examples
Pros of Replacing a Crankshaft Seal:
- Prevents Oil Leaks: The most obvious benefit is stopping the oil leak, preventing further oil loss and environmental contamination.
- Protects Engine: Maintaining proper oil levels prevents engine damage caused by oil starvation.
- Cost-Effective (DIY): Replacing the seal yourself can save you a significant amount of money compared to a mechanic's labor costs.
Cons of Replacing a Crankshaft Seal:
- Complexity: The rear crankshaft seal replacement, in particular, can be quite complex, requiring specialized tools and significant mechanical knowledge.
- Time-Consuming: The repair can take several hours, especially for a novice mechanic.
- Potential for Damage: Incorrect installation can damage the new seal or even the crankshaft journal.
Use Cases:
- Visible Oil Leaks: The most common use case is when you notice a persistent oil leak near the front or rear of the engine.
- Low Oil Levels: If you are constantly adding oil to your engine, even without a visible leak, a worn crankshaft seal could be the culprit.
- Preventative Maintenance: In some cases, you might choose to replace the crankshaft seal as part of a larger engine overhaul or timing belt replacement, even if it isn't actively leaking.
Manufacturer Examples:
Different manufacturers use slightly different designs and materials for their crankshaft seals, but the underlying principle remains the same. For example:
- Honda often uses seals with a Teflon coating to reduce friction and improve sealing performance.
- Toyota is known for using high-quality rubber compounds in their seals for increased durability.
- BMW frequently utilizes seals with a complex multi-lip design for enhanced sealing capabilities in high-performance engines.
It's important to use the correct replacement seal specified for your vehicle's make and model. Using a generic or incorrect seal can lead to premature failure and further oil leaks.
Step-by-Step Guide to Replacing a Crankshaft Seal (Simplified)
Disclaimer: This is a simplified overview. Always consult your vehicle's repair manual for specific instructions and safety precautions. Replacing a rear crankshaft seal requires significantly more steps than the front.
- Safety First: Disconnect the negative battery cable and use jack stands to support the vehicle securely.
- Access the Seal:
- Front Seal: Remove the drive belts, harmonic balancer (crankshaft pulley), and timing cover.
- Rear Seal: This often requires removing the transmission, flywheel/flexplate, and possibly the rear engine cover. This is a significantly more involved process.
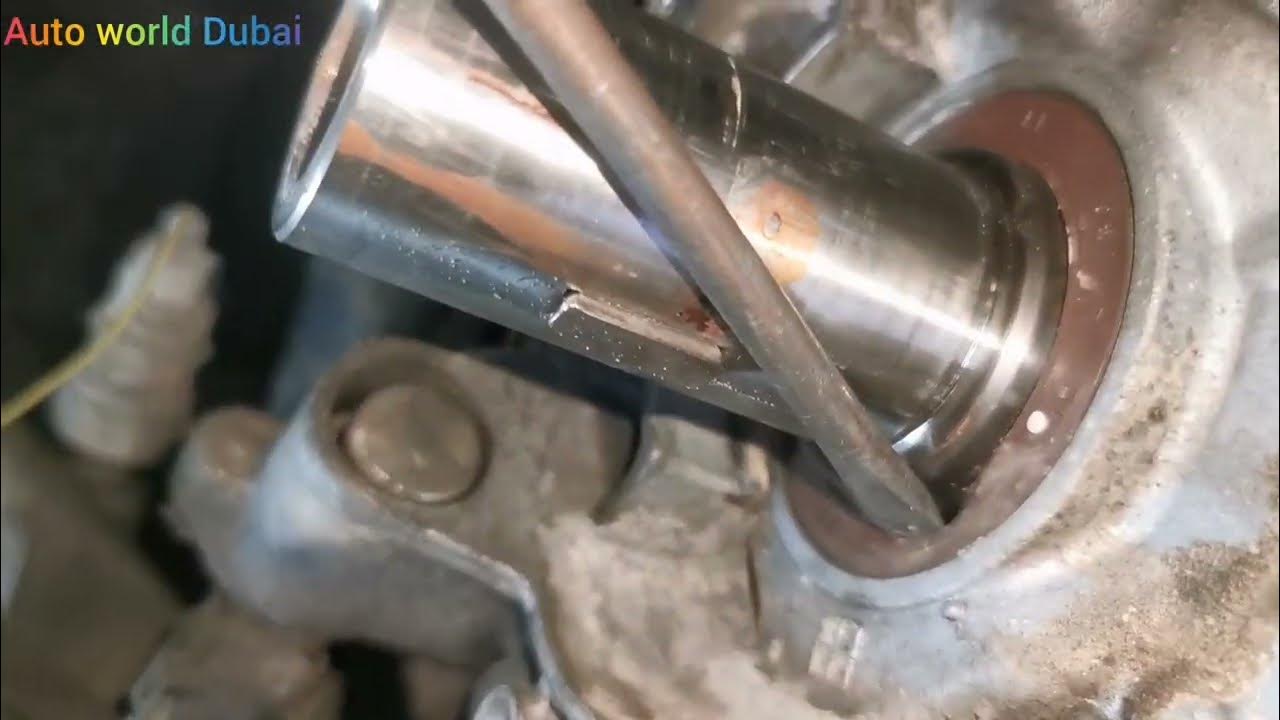
- Remove the Old Seal: Use a seal puller tool or a carefully applied screwdriver to pry out the old seal. Be extremely cautious not to damage the crankshaft journal.
- Clean the Area: Thoroughly clean the sealing surface on the engine block and the crankshaft journal. Remove any old gasket material or debris.
- Install the New Seal: Apply a thin coat of oil to the inner lip of the new seal. Use a seal installation tool or a socket of the appropriate size to gently tap the new seal into place. Ensure the seal is flush with the engine block. Proper installation is crucial!
- Reassemble: Reinstall all components in the reverse order of removal. Torque all fasteners to the manufacturer's specifications.
- Refill Oil: Add engine oil to the correct level.
- Test for Leaks: Start the engine and inspect for any signs of leaks around the new seal.
Tools and Materials You'll Need:
- New crankshaft seal (correct for your vehicle)
- Socket set and wrenches
- Torque wrench
- Seal puller tool
- Seal installation tool (or appropriately sized socket)
- Screwdrivers
- Shop towels
- Engine oil
- Jack and jack stands
- Wheel chocks
- Penetrating oil
- Gloves
- Safety glasses
Real-World Insights and Recommendations
Replacing a crankshaft seal can be a rewarding experience, allowing you to save money and gain a deeper understanding of your vehicle's inner workings. However, it's essential to be realistic about your skill level and the complexity of the repair. The front crankshaft seal replacement is generally more straightforward and manageable for a novice mechanic. The rear crankshaft seal replacement, on the other hand, often requires specialized tools, extensive mechanical knowledge, and a significant time commitment. If you're not comfortable working on transmissions or performing major engine repairs, it's best to leave the rear seal replacement to a professional.
When purchasing a new crankshaft seal, opt for a high-quality replacement from a reputable brand. Cheap seals may not be made from durable materials and can fail prematurely. Pay close attention to the seal's orientation during installation. Many seals have a specific direction they need to be installed in to function correctly. Use a seal installation tool to ensure the seal is properly seated without damaging the inner lip. Applying a thin coat of oil to the seal's inner lip before installation can help prevent damage during installation.
Before embarking on this repair, take the time to thoroughly research your vehicle's specific procedure and gather all the necessary tools and materials. Consulting your vehicle's repair manual or online forums can provide valuable insights and help you avoid common mistakes. With careful preparation, attention to detail, and a bit of patience, you can successfully replace your crankshaft seal and keep your engine running smoothly for years to come.