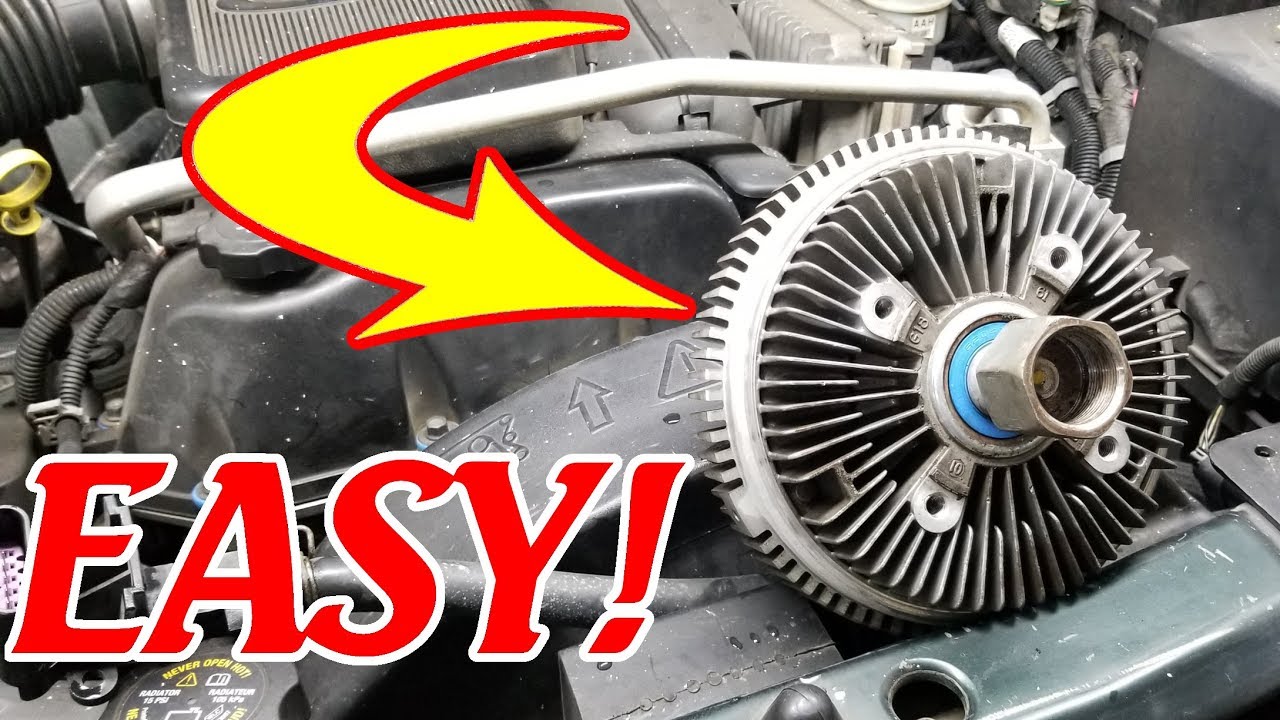
How To Change A Fan Clutch
The fan clutch: it's one of those engine components that often gets overlooked until it starts causing problems. A failing fan clutch can lead to decreased engine performance, overheating, and even damage to other parts of your cooling system. Replacing it is a job that's within the reach of a moderately experienced DIY mechanic, saving you a significant amount of money compared to taking it to a shop. This article will walk you through the process, providing the technical know-how and best practices to ensure a successful fan clutch replacement.
Background: The Engine Cooling System and the Fan Clutch's Role
Before diving into the replacement procedure, let's quickly review the engine cooling system and understand the fan clutch's place within it. Modern combustion engines generate a tremendous amount of heat as a byproduct of the combustion process. If this heat isn't managed effectively, it can lead to catastrophic engine failure. The cooling system is designed to dissipate this heat, maintaining the engine at its optimal operating temperature.
The major components of a typical cooling system include:
- Radiator: A heat exchanger that dissipates heat from the coolant to the atmosphere.
- Water Pump: Circulates the coolant throughout the engine block and radiator.
- Thermostat: Regulates coolant flow based on engine temperature, helping the engine reach and maintain optimal operating temperature quickly.
- Coolant Hoses: Provide pathways for coolant to travel between the various components.
- Coolant: A specialized fluid designed to transfer heat efficiently and prevent corrosion.
- Fan and Fan Clutch (or Electric Fan): Draws air through the radiator to enhance heat dissipation, especially at lower vehicle speeds or during idling.
The fan clutch is the component we're focusing on. Unlike older vehicles with direct-drive fans (where the fan is bolted directly to the water pump pulley and spins at engine speed constantly), the fan clutch provides a variable engagement system. This is important because running the fan at full speed all the time would be inefficient and noisy. The fan clutch only engages the fan when it's needed, typically when the vehicle is at low speeds or idling, and the engine temperature starts to rise.
Technical Breakdown: How a Fan Clutch Works
Fan clutches come in two main types: thermal and non-thermal (viscous). Both rely on the principle of viscous shear to transfer torque from the water pump pulley to the fan, but they differ in how they control the engagement.
Thermal Fan Clutches
Thermal fan clutches are the most common type. They feature a bimetallic spring on the front of the clutch. This spring is sensitive to air temperature. When the air passing through the radiator is hot (indicating a higher engine temperature), the bimetallic spring expands. This expansion opens a valve inside the clutch, allowing a silicone-based fluid to flow from a reservoir into the working area of the clutch. This fluid increases the viscous shear between the input (driven by the water pump pulley) and the output (the fan), causing the fan to engage and spin faster. When the air temperature cools down, the bimetallic spring contracts, closing the valve and reducing the amount of fluid in the working area. This reduces the viscous shear, allowing the fan to slip more, conserving energy and reducing noise.
Non-Thermal (Viscous) Fan Clutches
Non-thermal fan clutches, sometimes called standard or viscous clutches, don't have a bimetallic spring. They rely on the internal characteristics of the silicone fluid and the internal geometry of the clutch to determine the level of engagement. They typically provide a consistent level of slip, meaning they never fully disengage like a thermal clutch can. They are generally less expensive but also less efficient. While there is no mechanical temperature control, they still reduce fan speed at higher RPMs as the viscous drag has less of an impact in those scenarios.
In both types, the viscous fluid is key. This fluid is designed to resist shearing, creating a drag force that couples the input and output. As the fluid's viscosity increases or the area of contact increases, the fan spins faster.
Common Issues and Maintenance Concerns
Fan clutches are wear items and will eventually fail. Common symptoms of a failing fan clutch include:
- Overheating, especially at low speeds or while idling: This is a primary indicator, suggesting the fan isn't engaging properly to draw air through the radiator.
- Loud roaring noise from the fan, especially when the engine is cold: This can indicate the clutch is locked up, causing the fan to spin at full speed constantly. While it might seem like it's working well, it's placing unnecessary strain on the water pump and consuming more fuel.
- Reduced engine performance: A locked-up fan clutch saps engine power, reducing acceleration and fuel economy.
- Visible leaks from the fan clutch: This indicates the silicone fluid is leaking, rendering the clutch ineffective.
- Excessive fan wobble or play: This could mean the bearings inside the fan clutch are worn out.
There isn't much preventative maintenance you can perform on a fan clutch. The best approach is to regularly inspect it for leaks, excessive play, and proper operation. You can perform a simple test by trying to spin the fan with the engine off. There should be some resistance, but it shouldn't be locked solid. With the engine running at operating temperature, carefully observe the fan's behavior. It should engage more noticeably when the engine is hot and disengage somewhat when the engine cools down.
Do's and Don'ts / Best Practices for Fan Clutch Replacement
Replacing a fan clutch is a straightforward process, but attention to detail is crucial. Here's a breakdown of the do's and don'ts:
Do's:
- Disconnect the Negative Battery Terminal: This is a fundamental safety precaution to prevent accidental electrical shorts during the repair.
- Use the Correct Tools: You'll typically need a wrench or socket to remove the fan clutch retaining nut, a fan clutch holding tool to prevent the water pump pulley from turning, and possibly a hammer to loosen the nut if it's stubborn. Using the wrong tools can damage the nut or the water pump pulley.
- Use a Fan Clutch Holding Tool: Attempting to remove the fan clutch nut without a holding tool will likely damage the water pump pulley or even the water pump itself. The correct holding tool is designed to grip the pulley securely without causing damage. There are universal tools, as well as vehicle-specific tools.
- Inspect the Water Pump Pulley: While you have the fan clutch removed, inspect the water pump pulley for signs of damage or wear. Cracks, bends, or excessive corrosion should be addressed before installing the new fan clutch.
- Clean the Mating Surfaces: Before installing the new fan clutch, clean the mating surfaces on the water pump pulley and the fan itself. This will ensure a proper fit and prevent vibrations.
- Torque the Fan Clutch Nut to Specification: Over-tightening the nut can damage the water pump bearings, while under-tightening can cause the fan clutch to loosen. Consult your vehicle's service manual for the correct torque specification. Use a torque wrench for accurate tightening.
- Inspect the Fan Blade: Look for cracks or damage to the fan blade. Replace the fan blade if necessary, as a damaged fan can become unbalanced and cause vibrations, leading to further component failure.
- Use the Correct Replacement Part: Ensure the replacement fan clutch is the correct type and specification for your vehicle. Using an incompatible part can lead to poor cooling performance or damage to the engine.
Don'ts:
- Don't Use Excessive Force: If the fan clutch nut is stuck, avoid using excessive force, as this can damage the water pump or the nut itself. Try using a penetrating oil and let it soak for a while before attempting to remove the nut. Impact wrenches can be very helpful here but use caution as they can also damage parts if misused.
- Don't Reuse Damaged Hardware: If the fan clutch retaining nut or any other hardware is damaged, replace it with new hardware.
- Don't Overfill the Clutch if Rebuilding: Some viscous clutches can be refilled. Use the correct type and amount of silicone fluid. Overfilling can cause the clutch to lock up.
- Don't Neglect Other Cooling System Components: Replacing the fan clutch is a good opportunity to inspect other cooling system components, such as the radiator hoses, thermostat, and coolant. Address any issues you find to ensure the entire cooling system is functioning properly.
Step-by-Step Replacement Procedure (General Guide):
- Safety First: Disconnect the negative battery terminal.
- Gain Access: Remove any shrouds or components that are obstructing access to the fan clutch.
- Loosen the Nut: Use the fan clutch holding tool to secure the water pump pulley. Then, use a wrench or socket to loosen the fan clutch retaining nut. Note the thread direction; some are reverse-threaded.
- Remove the Fan and Clutch Assembly: Once the nut is loosened, carefully remove the fan and fan clutch assembly from the water pump pulley.
- Separate the Fan from the Clutch (If Necessary): Some fan clutches are sold separately from the fan. If necessary, remove the fan from the old clutch and attach it to the new clutch, ensuring the fan blades are facing the correct direction.
- Install the New Fan Clutch: Align the new fan clutch with the water pump pulley and install the retaining nut.
- Torque to Specification: Use the fan clutch holding tool to secure the water pump pulley and torque the retaining nut to the manufacturer's specified torque.
- Reassemble: Reinstall any shrouds or components that were removed to gain access to the fan clutch.
- Reconnect Battery: Reconnect the negative battery terminal.
- Test: Start the engine and observe the fan's behavior. It should engage more noticeably when the engine is hot and disengage somewhat when the engine cools down. Check for any leaks or unusual noises.
Conclusion
Replacing a fan clutch is a manageable task for the experienced DIYer. By understanding the function of the fan clutch, recognizing the symptoms of a failing unit, and following the best practices outlined above, you can save money and ensure your engine's cooling system is operating efficiently. Remember to always prioritize safety, use the correct tools, and consult your vehicle's service manual for specific instructions and torque specifications. If you're unsure about any aspect of the procedure, it's always best to consult a qualified mechanic.