How To Change A Throwout Bearing
Changing a throwout bearing, also known as a clutch release bearing, is a fairly involved automotive repair task, but one that a mechanically inclined individual with the right tools and patience can accomplish. This article will guide you through the process, highlighting important considerations and offering helpful tips to ensure a successful repair.
Why Changing a Throwout Bearing Matters
The throwout bearing plays a crucial role in the smooth operation of a manual transmission. It's responsible for engaging and disengaging the clutch when you press and release the clutch pedal. Here's why a failing throwout bearing is a problem you shouldn't ignore:
- Clutch Engagement Problems: A worn throwout bearing can lead to difficulty shifting gears, clutch slippage, and even complete clutch failure. You might experience grinding noises or difficulty getting the car into gear.
- Transmission Damage: If left unchecked, a failing throwout bearing can cause damage to other components of the transmission, such as the clutch fork, pressure plate, and even the input shaft. This can result in much more extensive and expensive repairs.
- Noise: One of the first signs of a bad throwout bearing is often a distinctive noise, usually a squealing, chirping, or grinding sound that occurs when the clutch pedal is depressed. This noise may disappear when the pedal is released.
- Safety: In extreme cases, a completely failed throwout bearing can leave you stranded, potentially in a dangerous situation.
Choosing the Right Throwout Bearing
Selecting the correct replacement throwout bearing is essential for a successful and long-lasting repair. Here's what to consider:
Vehicle Specificity
The most important factor is to ensure the throwout bearing is specifically designed for your make, model, and year of vehicle. Using an incompatible bearing can lead to improper clutch engagement and premature failure. Always consult your vehicle's service manual or a reputable parts supplier to verify compatibility. You can usually find this information by looking at the old bearing itself, or by using online part finders.
Bearing Type
Throwout bearings come in different types, including:
- Mechanical Throwout Bearings: These are the traditional type, using a mechanical linkage to actuate the clutch.
- Hydraulic Throwout Bearings: These use a hydraulic system to engage and disengage the clutch, offering smoother operation and easier pedal feel. If your vehicle uses a hydraulic system, you must replace it with the same type.
Quality and Brand
Opt for a throwout bearing from a reputable manufacturer known for producing high-quality automotive parts. While it might be tempting to save money with a cheaper, off-brand bearing, the potential for premature failure and the labor involved in replacing it again make it a poor long-term investment. Brands like Luk, Sachs, and National are generally considered reliable choices. Reading reviews can help you find a suitable brand for your budget.
Kit or Individual Bearing?
Consider purchasing a clutch kit that includes the throwout bearing, pressure plate, and clutch disc. This is often a more cost-effective solution than buying the components separately, and it ensures that all the parts are compatible and designed to work together optimally. Furthermore, if you're already replacing the throwout bearing, it's wise to inspect the clutch disc and pressure plate, as they may also be nearing the end of their service life.
Step-by-Step Guide: How to Change a Throwout Bearing
Disclaimer: This guide provides general information. Always consult your vehicle's service manual for specific instructions and torque specifications. If you are not comfortable performing this repair, it is best to seek the assistance of a qualified mechanic.
Tools and Materials Needed
- New throwout bearing
- Floor jack and jack stands
- Wheel chocks
- Socket set and wrenches
- Torque wrench
- Screwdrivers
- Pliers
- Clutch alignment tool
- Penetrating oil
- Grease (for lubricating the bearing)
- Drain pan
- Transmission jack (highly recommended)
- Safety glasses and gloves
Procedure
- Preparation: Secure the vehicle on a level surface with wheel chocks. Loosen the lug nuts on the wheels that will be removed.
- Raise and Secure the Vehicle: Use a floor jack to raise the vehicle and place it securely on jack stands. Never work under a vehicle supported only by a jack. Remove the wheels.
- Disconnect Battery: Disconnect the negative battery cable to prevent electrical shorts.
- Remove Components Obstructing the Transmission: This may include exhaust components, driveshaft, shift linkage, and any other parts that prevent access to the transmission. Refer to your vehicle's service manual for specific instructions.
- Support the Engine: Use an engine support bar or another suitable method to support the engine from above, as the transmission will be removed.
- Disconnect Wiring and Cables: Disconnect all wiring harnesses, cables, and hoses connected to the transmission.
- Drain the Transmission Fluid: Place a drain pan under the transmission and remove the drain plug to drain the fluid.
- Support the Transmission: Position a transmission jack under the transmission to support its weight.
- Remove the Transmission Mount: Unbolt the transmission mount from the vehicle's frame.
- Remove the Transmission: Carefully unbolt the transmission from the engine. With the transmission supported by the jack, slowly lower it and remove it from under the vehicle. This step often requires wiggling and maneuvering.
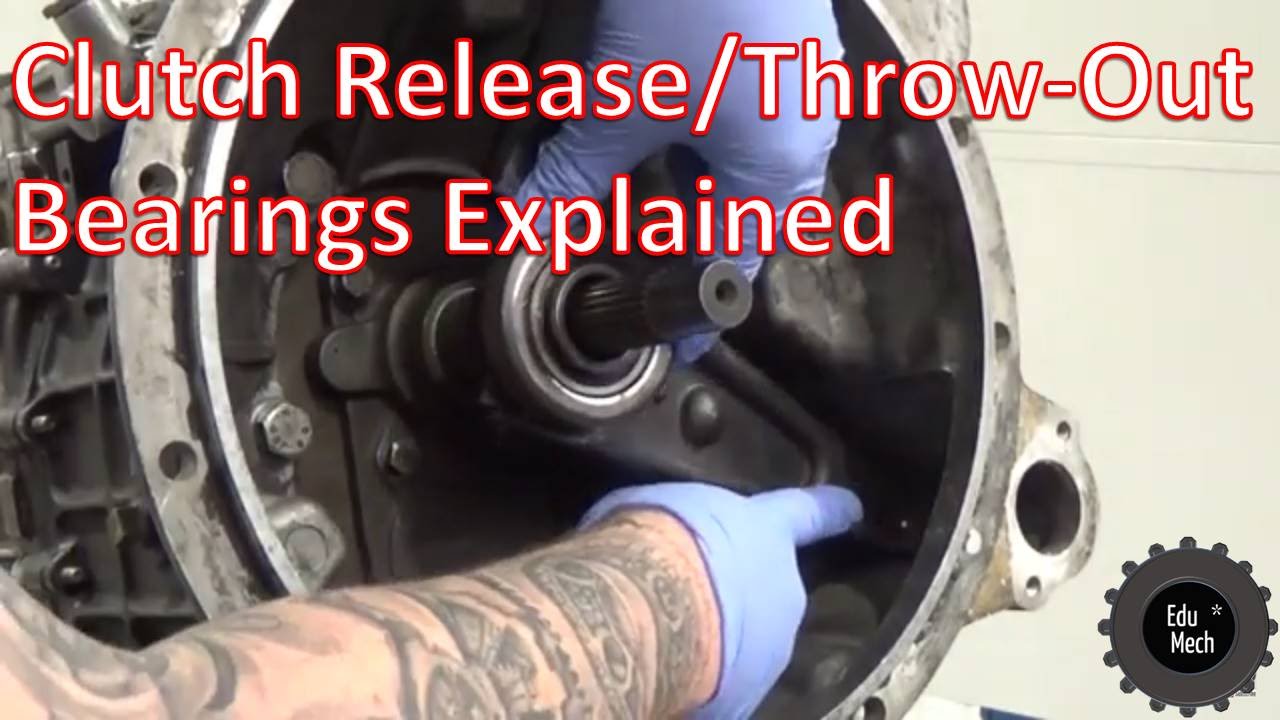
- Access the Throwout Bearing: The throwout bearing is located on the input shaft of the transmission, or on the clutch fork.
- Remove the Old Throwout Bearing: Depending on the vehicle, the throwout bearing may be held in place by clips, bolts, or a spring. Carefully remove the old bearing.
- Clean and Inspect: Clean the area where the new throwout bearing will be installed. Inspect the clutch fork and input shaft for any signs of wear or damage. Replace if necessary.
- Install the New Throwout Bearing: Lubricate the new throwout bearing with the appropriate grease and install it in the correct orientation. Secure it with the clips, bolts, or spring, as required.
- Reinstall the Transmission: Carefully raise the transmission back into position using the transmission jack. Align the transmission with the engine and bolt it back in place. Torque the bolts to the manufacturer's specifications.
- Reinstall Remaining Components: Reinstall the transmission mount, driveshaft, exhaust components, shift linkage, wiring harnesses, and any other parts that were removed.
- Refill Transmission Fluid: Refill the transmission with the correct type and amount of fluid.
- Reconnect Battery: Reconnect the negative battery cable.
- Lower the Vehicle: Remove the jack stands and lower the vehicle.
- Test Drive: Test drive the vehicle to ensure the clutch is operating smoothly and there are no unusual noises or vibrations.
Real-World Owner Experiences
Many owners who've tackled this job themselves report significant savings compared to professional mechanic quotes. However, the complexity can be daunting. Common challenges include dealing with rusted bolts, the sheer weight of the transmission, and properly aligning the clutch disc during reassembly. Several DIYers recommend having a friend assist, especially during the transmission removal and installation. Others emphasized the importance of taking photos throughout the process to aid in reassembly. Reading forum discussions specific to your vehicle model can provide valuable insights and model-specific tips.
Frequently Asked Questions (FAQs)
Q: How long does it take to change a throwout bearing?
A: The time required can vary depending on your experience level and the complexity of your vehicle. It can take anywhere from 6 to 12 hours for a DIYer.
Q: How much does it cost to have a mechanic change a throwout bearing?
A: Expect to pay between $500 and $1500 for labor and parts at a professional shop, depending on your location and the vehicle.
Q: Can I drive with a bad throwout bearing?
A: While you might be able to drive with a bad throwout bearing initially, it's not recommended. Continued use can lead to further damage and eventually complete clutch failure.
Q: How can I prevent throwout bearing failure?
A: Properly lubricating the throwout bearing and avoiding riding the clutch pedal can help extend its lifespan.
Q: What are the symptoms of a failing throwout bearing?
A: Common symptoms include a squealing or grinding noise when the clutch pedal is pressed, difficulty shifting gears, and clutch slippage.