How To Change A Washer Belt
The serpentine belt, also known as the accessory drive belt or fan belt in older vehicles, is a critical component responsible for powering several key systems in your car. A failing belt can lead to a whole host of problems, from a lack of power steering to overheating, making its timely replacement essential. This article will guide you through the process of replacing a washer belt, assuming you're a DIY enthusiast with some experience and basic tools.
Background: The Accessory Drive System
Modern internal combustion engines rely on a network of belt-driven accessories to function correctly. The crankshaft, driven by the engine's pistons, provides the rotational power that is then transferred to these accessories via a system of pulleys and belts. The serpentine belt, named for its winding path around multiple pulleys, is the most common type of belt used in modern vehicles. Older vehicles might use multiple V-belts, each dedicated to a single accessory, but the serpentine belt offers greater efficiency and compactness.
The accessories typically driven by the serpentine belt include:
- Alternator: Generates electrical power to recharge the battery and run electrical components.
- Power Steering Pump: Provides hydraulic assistance for steering.
- Air Conditioning Compressor: Compresses refrigerant to cool the cabin.
- Water Pump: Circulates coolant through the engine to regulate temperature.
- (In some cases) Air Pump: Part of the emissions control system.
In this article, we'll focus on the washer belt. While most modern vehicles integrate the windshield washer pump directly into the washer fluid reservoir and power it electrically, some older or specialized vehicles might utilize a belt-driven washer pump. The pump draws fluid from the reservoir and directs it to the windshield nozzles when activated. This is especially common on older trucks and some off-road vehicles.
Technical Breakdown: How a Washer Belt System Works
The washer belt system, in its most basic form, consists of the following components:
- Crankshaft Pulley: Driven directly by the engine's crankshaft. This pulley provides the initial rotational force.
- Washer Pump Pulley: Connected to the washer pump itself. When the pulley rotates, the pump activates.
- Washer Belt: A small, typically V-shaped belt that transmits power between the crankshaft pulley and the washer pump pulley. Unlike a serpentine belt, it usually only serves the washer pump.
- Washer Pump: The mechanical pump that draws washer fluid from the reservoir and sprays it onto the windshield.
- Tensioner (possibly): Some systems might include a small tensioner to maintain proper belt tension. This is less common than on a serpentine belt system.
When the engine is running, the crankshaft pulley spins continuously. This rotation is transferred via the washer belt to the washer pump pulley. As the washer pump pulley rotates, it drives the internal mechanisms of the washer pump, drawing fluid from the reservoir and pressurizing it. When the driver activates the windshield washer system, a valve opens, allowing the pressurized fluid to flow through the hoses to the windshield nozzles.
Synchronization is key: The belt must be properly tensioned to prevent slippage. Slippage reduces the efficiency of the washer pump, potentially resulting in weak or no washer fluid spray.
Replacing the Washer Belt: A Step-by-Step Guide
Replacing a washer belt is generally a straightforward process, but it's crucial to follow these steps carefully to ensure proper operation and avoid damaging any components.
- Safety First: Disconnect the negative terminal of the battery. This prevents accidental electrical shorts during the repair. Wear appropriate safety glasses and gloves.
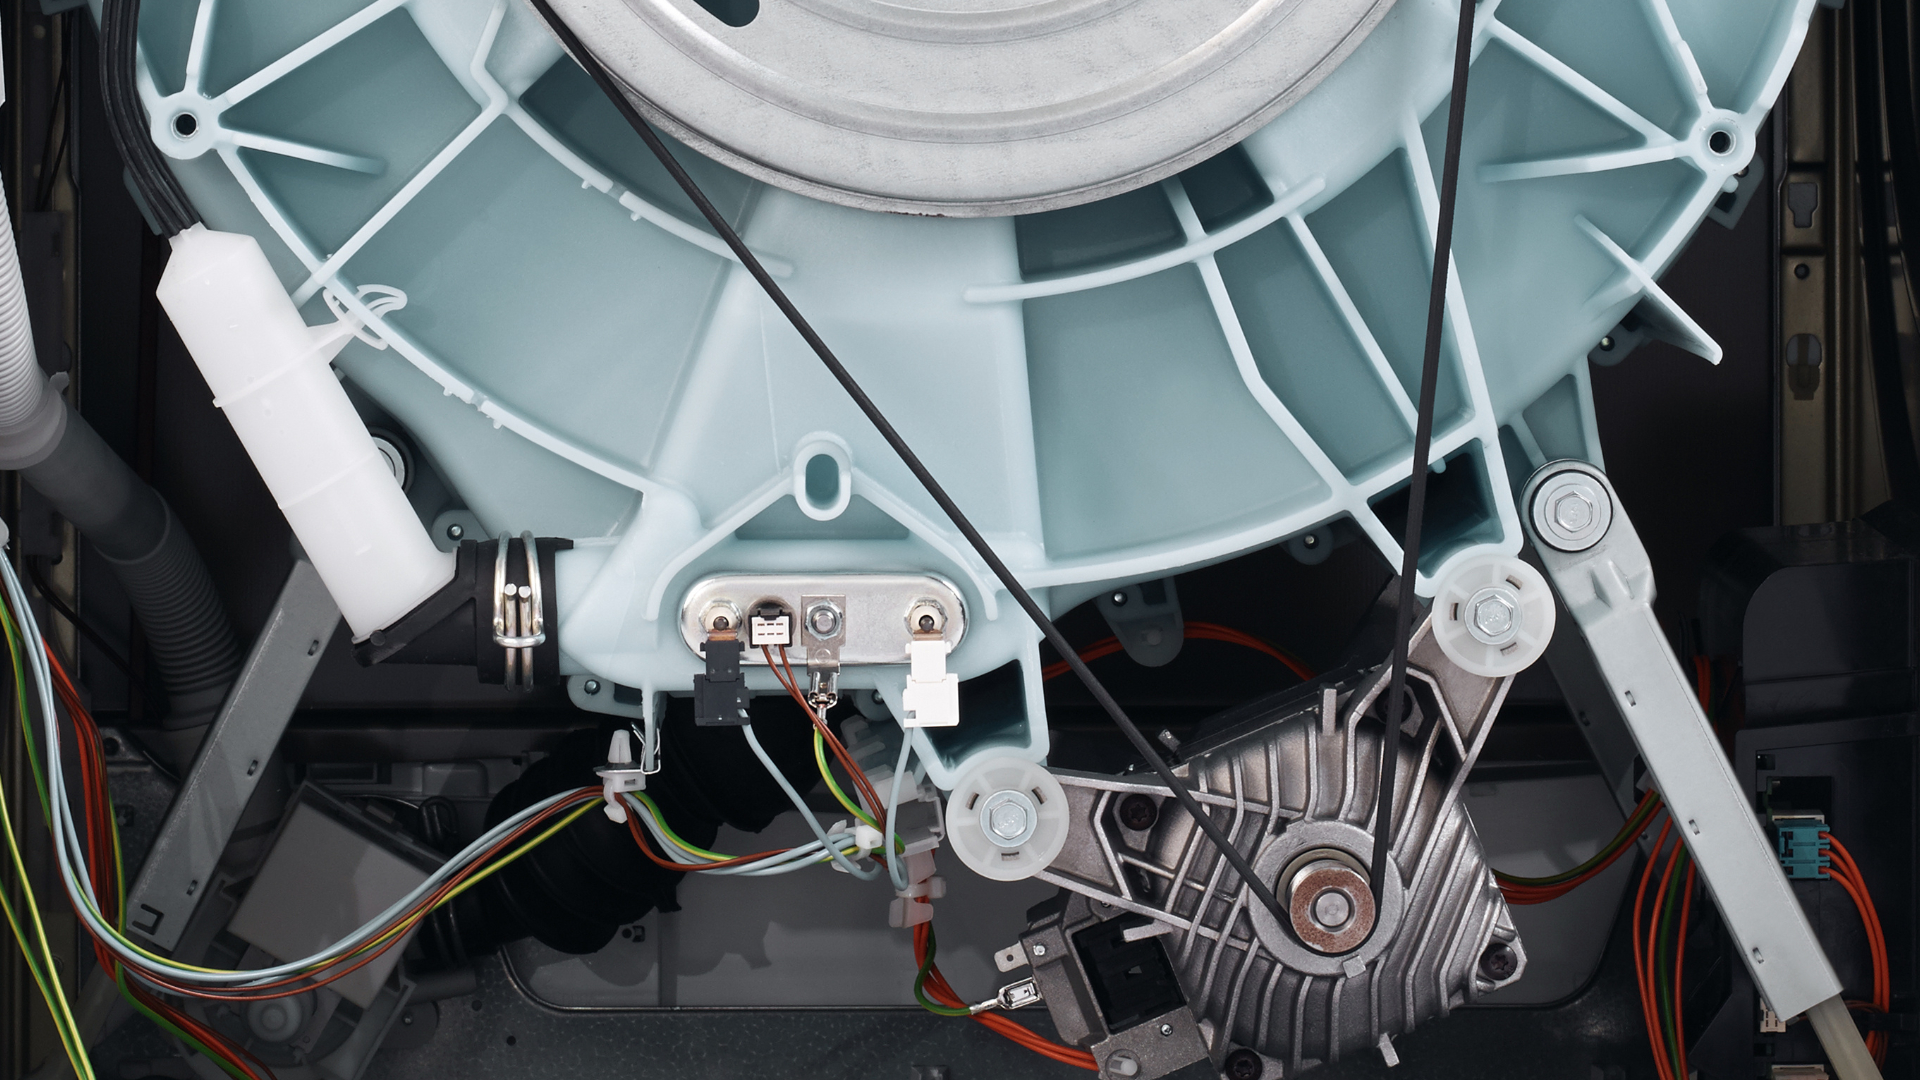
- Locate the Washer Belt: Identify the washer belt and its associated pulleys. Consult your vehicle's service manual if you're unsure of its location. It is often found near the front of the engine. It may be obscured by other components.
- Inspect the Belt: Carefully examine the old belt for signs of wear, such as cracks, fraying, glazing, or missing chunks. This inspection confirms the need for replacement and provides clues about potential underlying problems (e.g., misaligned pulleys).
- Release Belt Tension: This is crucial for removing the old belt and installing the new one. The method for releasing tension depends on the specific design of your vehicle.
- With a Tensioner: Locate the tensioner pulley. It's usually spring-loaded. Use a wrench (often a socket wrench with an extension) to rotate the tensioner, compressing the spring and creating slack in the belt. Some tensioners have a square hole specifically designed for a breaker bar.
- Without a Tensioner: In this case, the washer pump is usually mounted in a way that allows it to be adjusted. Loosen the mounting bolts of the washer pump slightly. This will allow you to move the pump, creating slack in the belt. You might need to use a pry bar carefully to move the pump.
- Remove the Old Belt: Once the tension is released, carefully slip the old belt off the pulleys. Take note of the belt's routing around the pulleys for reference during installation. A diagram or photograph can be helpful.
- Install the New Belt: Route the new belt around the pulleys, following the same path as the old belt. Ensure the belt is properly seated in the grooves of each pulley.
- Tension the Belt:
- With a Tensioner: Slowly release the tensioner, allowing it to apply tension to the new belt. Ensure the belt remains properly seated on all pulleys as you release the tensioner.
- Without a Tensioner: Tighten the mounting bolts of the washer pump to secure it in place. Adjust the position of the pump until the belt has the correct tension. The belt should deflect slightly when pressed firmly with your thumb (typically about 1/4 to 1/2 inch of deflection is ideal, but consult your service manual for specific recommendations). Over-tightening can damage the pump bearings; under-tightening can lead to slippage.
- Inspect and Adjust: Double-check that the belt is correctly routed and properly tensioned. Rotate the engine by hand (using a wrench on the crankshaft pulley) to ensure the belt tracks smoothly and doesn't slip off any pulleys.
- Reconnect the Battery: Reconnect the negative terminal of the battery.
- Test the System: Start the engine and activate the windshield washer system. Observe the washer fluid spray pattern. If the spray is weak or non-existent, re-check the belt tension and routing. Also inspect the washer fluid reservoir level and hoses for leaks or blockages.
Common Issues and Maintenance Concerns
- Belt Slippage: Caused by insufficient tension, worn pulleys, or a contaminated belt (e.g., oil or coolant). Slippage can damage the belt and reduce the effectiveness of the washer pump.
- Belt Wear and Tear: Over time, the belt can crack, fray, or glaze due to age, heat, and friction. Regular inspection is crucial.
- Pulley Misalignment: Misaligned pulleys can cause premature belt wear and noise. Use a straight edge or laser alignment tool to check pulley alignment.
- Contamination: Oil or coolant leaks can contaminate the belt, causing it to deteriorate rapidly. Address any leaks promptly.
- Incorrect Belt Tension: Too much tension can damage the pump bearings; too little tension can cause slippage.
Do's and Don'ts / Best Practices
- DO consult your vehicle's service manual for specific instructions and torque specifications.
- DO use the correct type and size of belt. Refer to your service manual or a reputable parts supplier.
- DO inspect the pulleys for wear and damage before installing the new belt. Replace worn or damaged pulleys.
- DO ensure the pulleys are clean and free of debris.
- DO use a belt tension gauge if available to ensure accurate tension.
- DON'T overtighten the belt.
- DON'T use sharp objects to pry the belt on or off the pulleys.
- DON'T ignore signs of belt wear. Replace the belt proactively to avoid breakdowns.
- DON'T contaminate the belt with oil or coolant. Clean the belt immediately if it becomes contaminated.
- DON'T reuse an old belt, even if it looks "okay." Belts stretch and wear over time.
Conclusion
Replacing a washer belt is a manageable task for the experienced DIYer. By understanding the system's components, following the steps outlined above, and adhering to best practices, you can successfully replace your washer belt and ensure the proper functioning of your windshield washer system. Always prioritize safety and consult your vehicle's service manual for specific guidance. If you are uncomfortable performing this repair, it's always best to seek the assistance of a qualified mechanic.