How To Change Air Conditioner Filter In Car
Your car's air conditioning system is a haven on a sweltering summer day, blasting cool air to keep you comfortable. But what happens when that refreshing breeze starts to feel weak, or worse, carries a musty odor? The culprit is often a neglected cabin air filter. This unassuming component plays a crucial role in keeping your vehicle's interior air clean, and replacing it is a simple maintenance task that any car owner can tackle. Let's delve into how to change your car's air conditioner filter, understanding the mechanics involved, and why this seemingly small task makes a significant difference.
The Problem: Stale Air and Reduced Efficiency
Imagine your home's air filter coated in dust and debris – it wouldn't effectively clean the air circulating through your house, right? The same principle applies to your car's cabin air filter. Over time, this filter becomes clogged with pollen, dust, leaves, insects, and other airborne particles. This blockage restricts airflow, making your air conditioning system work harder to produce the same level of cooling. The result? Reduced cooling efficiency, decreased airflow, and potentially a noticeable decrease in fuel economy. Furthermore, a dirty filter can become a breeding ground for mold and bacteria, leading to unpleasant odors permeating your car's interior.
Scenario: The Allergic Commuter
Consider a commuter who suffers from seasonal allergies. During peak pollen season, driving can become an exercise in misery, with constant sneezing and watery eyes. A clean cabin air filter acts as a first line of defense, trapping pollen and preventing it from entering the car's cabin. However, a clogged filter not only fails to trap these allergens effectively but can also release trapped particles back into the air, exacerbating allergy symptoms. Regularly replacing the cabin air filter becomes even more critical for individuals with respiratory sensitivities.
Understanding the HVAC System and Filter Location
To understand the importance of the cabin air filter, we need to look at how your car's Heating, Ventilation, and Air Conditioning (HVAC) system works. The system draws air from either outside the car or from the interior (recirculated air). This air passes through the cabin air filter, which removes contaminants before the air is heated or cooled by the HVAC system's core. Finally, the treated air is directed through the vents into the cabin.
The location of the cabin air filter varies depending on the car make and model. However, it's typically found in one of three locations:
- Behind the Glove Compartment: This is the most common location. You usually need to empty the glove compartment and release a couple of retaining clips to access the filter housing.
- Under the Dashboard: In some vehicles, the filter is located beneath the dashboard on the passenger side. Accessing it might require some contortion, but the process is generally straightforward.
- Under the Hood: Less frequently, the filter is located under the hood, near the windshield cowl. This location is often easier to access than the other two.
Consulting your car's owner's manual is the best way to pinpoint the exact location of your cabin air filter.
The Mechanics of Replacement: A Step-by-Step Guide
Replacing your car's cabin air filter is a relatively simple process that can be completed with basic tools and a little patience.
- Gather Your Tools and Supplies: You'll need a new cabin air filter (ensure it's the correct one for your vehicle – check your owner's manual or a parts store catalog), a screwdriver (possibly, depending on the filter housing), and a vacuum cleaner (optional, for cleaning the filter housing).
- Locate the Cabin Air Filter: Refer to your owner's manual or search online for your specific car model's filter location.
- Access the Filter Housing: Depending on the location, you may need to empty the glove compartment, remove panels under the dashboard, or open a panel under the hood. Be gentle when removing panels to avoid breaking any clips.
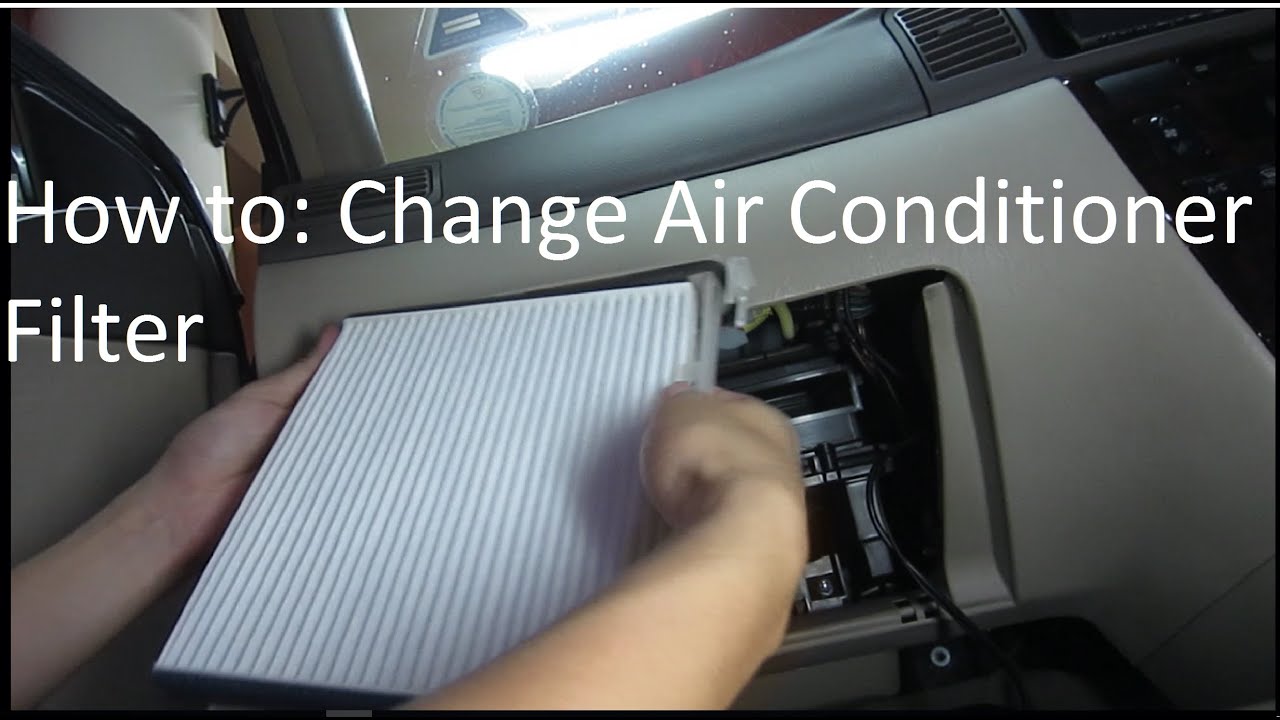
- Remove the Old Filter: Carefully slide out the old filter. Note the direction of airflow indicated by an arrow on the filter frame. This is crucial for installing the new filter correctly. The old filter will likely be dirty and full of debris.
- Clean the Filter Housing: Use a vacuum cleaner to remove any remaining debris from the filter housing.
- Install the New Filter: Insert the new filter into the housing, ensuring the airflow arrow matches the direction you noted on the old filter.
- Reassemble the Housing: Reinstall any panels, clips, or screws that you removed to access the filter.
- Test the System: Start your car and turn on the air conditioning to verify that the airflow is improved.
Pros and Cons of DIY Replacement
Replacing your cabin air filter yourself offers several advantages:
- Cost Savings: You'll save on labor costs compared to having a mechanic perform the replacement. Cabin air filters themselves are relatively inexpensive.
- Convenience: You can replace the filter at your convenience, without scheduling an appointment with a mechanic.
- Peace of Mind: You know the job is done correctly, as you performed it yourself.
However, there are also potential drawbacks:
- Time Commitment: While the process is simple, it still requires some time and effort.
- Potential for Damage: If you're not careful, you could accidentally break plastic clips or panels while accessing the filter housing.
- Incorrect Filter Installation: Installing the filter backwards can reduce its effectiveness.
Use Cases and Manufacturer Recommendations
The frequency of cabin air filter replacement depends on your driving conditions and the manufacturer's recommendations. Generally, it's recommended to replace the filter every 12,000 to 15,000 miles, or once a year. However, if you drive in dusty or heavily polluted areas, you may need to replace it more frequently.
Many car manufacturers, such as Toyota, Honda, and Ford, include cabin air filter replacement as part of their scheduled maintenance services. These manufacturers often recommend using OEM (Original Equipment Manufacturer) filters to ensure proper fit and performance. While OEM filters may be slightly more expensive than aftermarket options, they are designed to meet the specific requirements of your vehicle's HVAC system.
Aftermarket filter brands like Fram, Bosch, and Purolator offer a wide range of cabin air filters, including options with activated carbon to further reduce odors and allergens. These filters can be a cost-effective alternative to OEM filters, but it's essential to choose a reputable brand and ensure the filter is compatible with your vehicle.
Example: Tesla's HEPA Filter Upgrade
Tesla takes air filtration to another level with its optional HEPA (High-Efficiency Particulate Air) filter system. This system, available on some Model S and Model X vehicles, is significantly more effective at removing particulate matter than standard cabin air filters. Tesla claims that its HEPA filter can remove up to 99.97% of particulate pollutants, including allergens, bacteria, and viruses. This advanced filtration system highlights the growing importance of air quality in vehicles, especially for drivers who are concerned about air pollution and respiratory health.
Insights and Recommendations
Based on real-world use, here are a few insights and recommendations for maintaining your car's cabin air filter:
- Inspect Your Filter Regularly: Even if you don't replace the filter annually, it's a good idea to inspect it every few months. If it looks dirty or clogged, it's time for a replacement.
- Consider Activated Carbon Filters: If you're sensitive to odors or live in an area with high air pollution, consider using a cabin air filter with activated carbon. These filters can help to remove unpleasant smells and harmful gases from the air.
- Document the Replacement Date: Use a permanent marker to write the date of replacement on the new filter. This will help you keep track of when it's time for another change.
- Don't Neglect the Housing: Always clean the filter housing before installing the new filter. This will help to prevent debris from contaminating the new filter.
- Check for Leaves and Debris: Occasionally, check the area around the air intake vents (usually located near the base of the windshield) for leaves and other debris. Removing this debris can help to improve airflow and prevent it from clogging the filter.
Changing your car's cabin air filter is a simple yet vital maintenance task that can improve air quality, enhance cooling efficiency, and protect your health. By understanding the mechanics involved and following these recommendations, you can keep your car's interior air fresh and clean for years to come.