How To Change An Oil Pressure Sensor
Changing an oil pressure sensor is a task many experienced DIYers can tackle. This article will walk you through the process, providing the necessary technical background and practical tips to ensure a successful outcome. Maintaining proper oil pressure is crucial for engine health, and a faulty sensor can lead to false warnings or, even worse, mask a real problem. Understanding the system and knowing how to replace the sensor is a valuable skill for any car enthusiast.
Background: The Engine Lubrication System
To properly understand the function of the oil pressure sensor, it's vital to grasp the fundamentals of the engine lubrication system. This system's primary job is to distribute oil throughout the engine, reducing friction between moving parts. Without adequate lubrication, metal-to-metal contact would rapidly lead to wear and tear, overheating, and ultimately, engine failure. The main components of the lubrication system include:
- Oil Pan: The reservoir that holds the engine oil.
- Oil Pump: This pump, typically driven by the crankshaft or camshaft, circulates the oil throughout the engine.
- Oil Filter: Removes contaminants and debris from the oil, preventing them from damaging engine components.
- Oil Galleries: Passageways within the engine block and cylinder head that distribute oil to critical areas.
- Oil Pressure Relief Valve: Prevents excessive oil pressure by bypassing the oil pump's output when the pressure exceeds a predetermined limit.
- Oil Pressure Sensor/Switch: Monitors the oil pressure and provides a signal to the vehicle's computer (ECU/PCM) and/or the oil pressure gauge on the instrument cluster.
The oil pump draws oil from the oil pan and forces it through the oil filter. The clean oil then flows through the oil galleries, lubricating the crankshaft bearings, connecting rod bearings, camshaft bearings, cylinder walls, and valve train components. The oil pressure relief valve is a crucial safety device. If the oil becomes too thick (especially in cold weather) or if there's a blockage in the system, the relief valve opens to prevent the pressure from exceeding safe levels, potentially damaging the oil pump or other engine components.
Technical Breakdown: How the Oil Pressure Sensor Works
The oil pressure sensor (sometimes referred to as an oil pressure sender or switch) is a transducer that converts oil pressure into an electrical signal. There are two primary types of oil pressure sensors:
- Oil Pressure Switch: This is a simple on/off switch. It's typically set to a specific pressure threshold (e.g., 5 PSI). If the oil pressure drops below this threshold, the switch closes, grounding the circuit and triggering a warning light on the dashboard. This type is less precise and only indicates the presence or absence of adequate oil pressure.
- Oil Pressure Sensor (Variable Resistance): This type of sensor provides a more accurate and continuous reading of the oil pressure. It uses a pressure-sensitive diaphragm or bellows that deflects in proportion to the oil pressure. This deflection changes the resistance of a piezoresistive element within the sensor. The ECU/PCM reads this variable resistance and interprets it as a specific oil pressure value. This value is then used to drive the oil pressure gauge on the instrument cluster and can also be used by the ECU/PCM to adjust engine parameters or trigger diagnostic trouble codes (DTCs).
The sensor typically has one or more terminals. A single-terminal sensor is usually an oil pressure switch, where the terminal connects to ground when the pressure is below the threshold. Multi-terminal sensors (typically two or three terminals) use one terminal for power (usually 5V from the ECU/PCM), one terminal for ground, and one terminal for the signal output that goes back to the ECU/PCM. The ECU/PCM then interprets the voltage signal as a specific oil pressure. The signal is typically a voltage that varies linearly with pressure – for example, 0.5V might represent 0 PSI, and 4.5V might represent 100 PSI.
Common Issues and Maintenance Concerns
Several factors can lead to oil pressure sensor failure:
- Mechanical Failure: The diaphragm or other internal components can become damaged due to age, vibration, or exposure to extreme temperatures.
- Electrical Failure: Corrosion, loose connections, or short circuits in the wiring harness can disrupt the sensor's signal.
- Oil Contamination: Debris or sludge in the oil can clog the sensor's port, leading to inaccurate readings.
- Over-Tightening: Over-tightening the sensor during installation can damage the threads on the sensor or the engine block, leading to leaks or sensor failure.
Common symptoms of a failing oil pressure sensor include:
- Erratic or inaccurate oil pressure gauge readings.
- Oil pressure warning light illuminating intermittently or staying on constantly.
- False oil pressure readings even though the engine oil level is correct and there are no other obvious signs of engine problems.
- Diagnostic trouble codes (DTCs) related to the oil pressure sensor being stored in the ECU/PCM (e.g., P0520, P0521, P0522, P0523).
Regular oil changes, using the correct grade of oil, and ensuring proper engine maintenance can help prevent oil pressure sensor problems. Inspecting the sensor and its wiring harness during routine maintenance can also help identify potential issues early on.
Do’s and Don’ts / Best Practices
Here's a step-by-step guide and best practices for replacing an oil pressure sensor:
- Safety First: Disconnect the negative battery terminal to prevent electrical shorts during the replacement process.
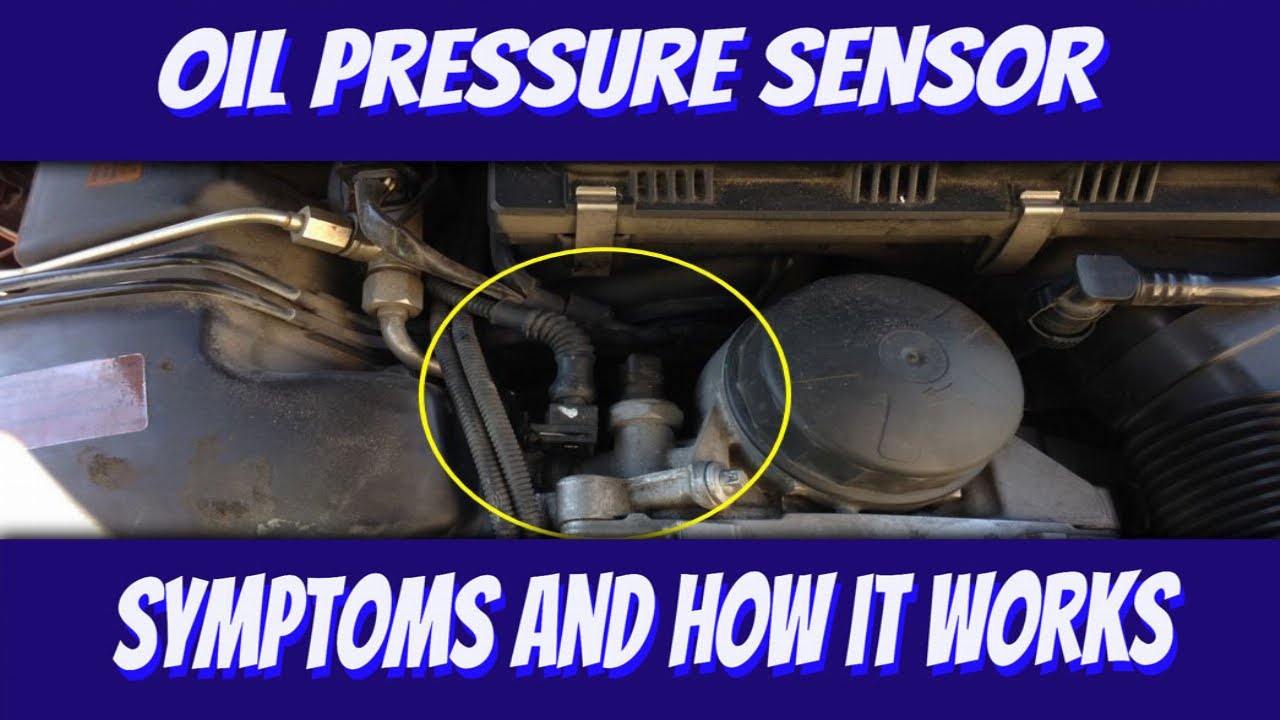
- Locate the Sensor: The oil pressure sensor is typically located on the engine block, near the oil filter or oil pump. Consult your vehicle's service manual or online resources for the exact location. It will generally be a small cylindrical device with a wire connector attached.
- Prepare the Area: Clean the area around the sensor with a parts cleaner to remove any dirt, oil, or debris. This prevents contamination from entering the engine when the sensor is removed.
- Disconnect the Electrical Connector: Carefully disconnect the electrical connector from the sensor. Be gentle to avoid damaging the connector or the wiring harness. Some connectors may have a locking tab that needs to be depressed before disconnecting.
- Remove the Old Sensor: Use a socket or wrench (typically a deep socket) to remove the old sensor. Be aware that some oil may spill out when the sensor is removed, so have a rag or container ready to catch any drips. The specified torque for the sensor will be fairly low, avoid over tightening.
- Inspect the Threads: Before installing the new sensor, inspect the threads on both the sensor and the engine block. Clean any dirt or debris from the threads and ensure they are not damaged.
- Apply Thread Sealant (Optional): Some oil pressure sensors come with thread sealant pre-applied. If not, apply a small amount of Teflon tape or thread sealant to the sensor threads. This will help prevent leaks.
- Install the New Sensor: Carefully thread the new sensor into the engine block by hand until it is snug. Then, use a socket or wrench to tighten the sensor to the manufacturer's specified torque. Over-tightening can damage the sensor or the engine block. A torque wrench is highly recommended for this step.
- Reconnect the Electrical Connector: Reconnect the electrical connector to the sensor, ensuring it is securely attached.
- Check Oil Level: Verify the engine oil level is correct and add oil if necessary.
- Start the Engine: Start the engine and check for leaks around the sensor. Also, observe the oil pressure gauge or warning light to ensure it is functioning correctly.
- Clear DTCs (If Necessary): If the oil pressure sensor failure triggered a diagnostic trouble code (DTC), use a scan tool to clear the code from the ECU/PCM.
Don'ts:
- Don't over-tighten the sensor. This is a common mistake that can damage the sensor or engine block.
- Don't reuse the old sensor. Once an oil pressure sensor has failed, it should be replaced.
- Don't ignore oil leaks. If you notice any oil leaks after replacing the sensor, address them immediately to prevent further damage.
- Don't use excessive force when removing or installing the sensor. If the sensor is stuck, try using a penetrating oil to loosen it.
Conclusion
Replacing an oil pressure sensor is a manageable task for experienced DIYers. By understanding the function of the oil pressure sensor, following the proper procedures, and adhering to best practices, you can successfully replace the sensor and ensure the continued health of your engine. Always consult your vehicle's service manual for specific instructions and torque specifications. If you're uncomfortable with any aspect of this process, it's best to seek assistance from a qualified mechanic. Ignoring a faulty oil pressure sensor can lead to serious engine damage, so addressing the issue promptly is crucial.