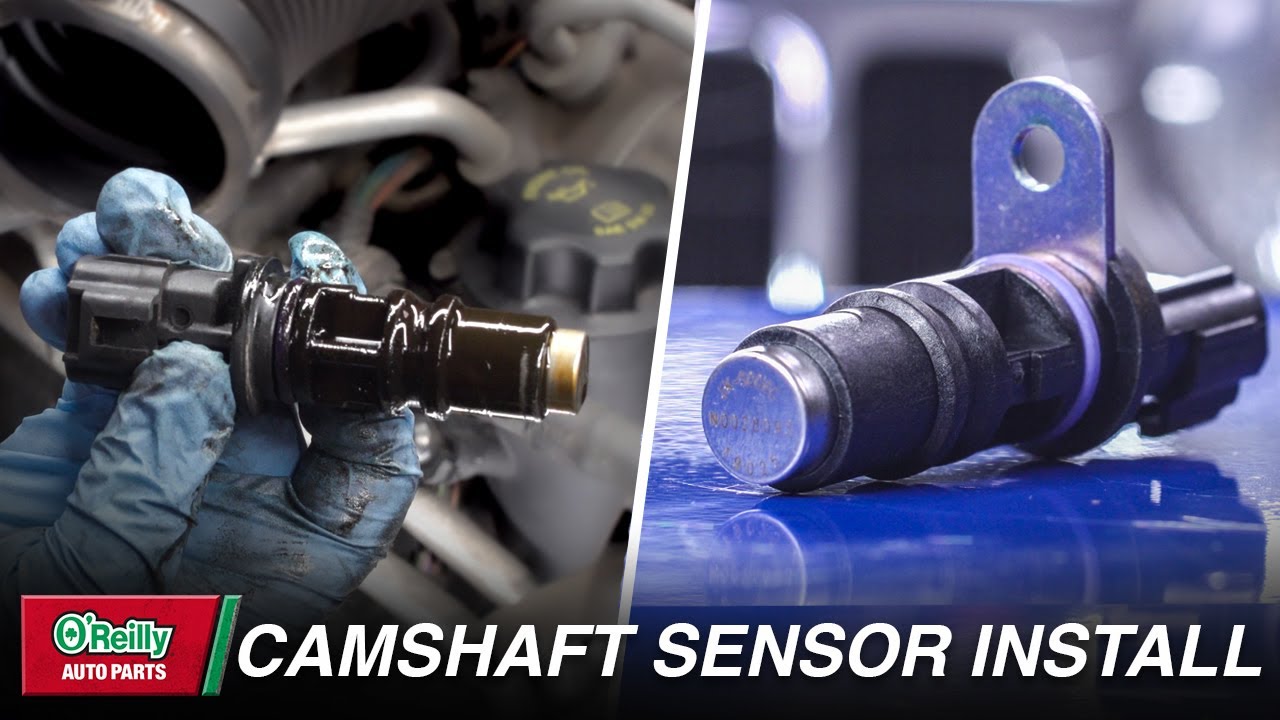
How To Change Camshaft Position Sensor
The dreaded check engine light illuminates on your dashboard. After connecting an OBD-II scanner, the code P0340 (or similar) flashes across the screen: "Camshaft Position Sensor Circuit Malfunction." Panic might set in, visions of expensive repairs dancing in your head. But before you resign yourself to a hefty bill at the mechanic, consider this: replacing a camshaft position sensor (CMP) is often a relatively straightforward task that a mechanically inclined individual can tackle. Let's delve into the world of CMP sensors, understanding their function, troubleshooting potential issues, and walking through the replacement process.
The Case of the Erratic Engine
Imagine a highly coordinated orchestra. Each musician (engine component) plays their part in perfect harmony, guided by the conductor (engine control unit - ECU). The CMP sensor is like a vital piece of sheet music, informing the ECU of the exact position of the camshaft. Without this information, the ECU is effectively blindfolded, unable to accurately time fuel injection and ignition. The result? A rough-running engine, difficulty starting, poor fuel economy, or even a complete stall. Think of it as the percussion section completely losing the beat – the whole performance falls apart.
The Symptoms Speak Volumes
Before diving into a replacement, confirm the CMP sensor is truly the culprit. Typical symptoms include:
- Illuminated Check Engine Light: This is the most obvious indicator.
- Difficulty Starting: The engine might crank for an extended period before starting, or fail to start altogether.
- Rough Idling: The engine may idle erratically, surging or dipping in RPM.
- Poor Fuel Economy: Inaccurate timing can lead to inefficient combustion, resulting in lower MPG.
- Stalling: The engine may stall unexpectedly, particularly at low speeds.
- Lack of Power: The engine may feel sluggish and unresponsive, especially during acceleration.
While these symptoms can point to a faulty CMP sensor, other issues like a faulty crankshaft position sensor (CKP), vacuum leaks, or ignition problems can manifest similarly. Proper diagnosis with an OBD-II scanner and further testing is crucial.
Mechanical Harmony: How the CMP System Works
At its core, the CMP sensor monitors the rotational position of the camshaft. The camshaft, in turn, controls the opening and closing of the engine's valves. Precise valve timing is paramount for efficient combustion. The CMP sensor sends this positional information to the ECU, allowing it to synchronize fuel injection and ignition timing with the engine's cycle.
There are primarily two types of CMP sensors:
- Hall Effect Sensors: These sensors use a small magnet and a semiconductor element (Hall effect sensor) to detect changes in magnetic field. A rotating toothed wheel (reluctor ring) is mounted on the camshaft. As the teeth pass the sensor, they interrupt the magnetic field, generating a voltage pulse. The ECU interprets these pulses to determine the camshaft's position.
- Variable Reluctance Sensors (VRS): These sensors, also known as magnetic pickup sensors, consist of a coil of wire wrapped around a magnetic core. As a toothed wheel rotates near the sensor, it changes the reluctance (magnetic resistance) of the magnetic circuit. This change induces a voltage in the coil, which the ECU interprets.
Both types of sensors provide a signal that the ECU uses to determine the camshaft's position, but they operate on different principles. Hall effect sensors generally require a power supply, while VRS sensors are passive and generate their own voltage. Modern vehicles predominantly use Hall effect sensors due to their greater accuracy and reliability.
Weighing the Options: Pros, Cons, and Use Cases
Pros of DIY Replacement:
- Cost Savings: Labor costs at a repair shop can significantly increase the overall expense. Replacing the CMP sensor yourself can save you a considerable amount of money.
- Learning Experience: It's a great way to gain a deeper understanding of your vehicle's engine and its components.
- Convenience: You can perform the repair at your own pace and on your own schedule.
Cons of DIY Replacement:
- Potential for Errors: Incorrect installation can damage the sensor or other engine components.
- Tools Required: You'll need basic hand tools, and possibly a multimeter for testing.
- Time Commitment: The repair can take a few hours, depending on your experience and the vehicle's design.
- Diagnosis Can Be Tricky: Confirming the CMP sensor is *definitely* the problem requires proper diagnostic skills.
Use Cases:
- High Mileage Vehicles: CMP sensors, like any component, wear out over time. Replacement is common in vehicles with high mileage.
- Sensor Failure: Physical damage, electrical issues, or exposure to extreme temperatures can cause sensor failure.
- Preventative Maintenance: In some cases, replacing the CMP sensor as part of a preventative maintenance schedule can help avoid future problems.
Manufacturer Examples:
Different manufacturers utilize slightly different CMP sensor designs and locations. For instance:
- GM vehicles often have the CMP sensor located near the top of the engine, easily accessible after removing the engine cover.
- Ford vehicles may have the CMP sensor located near the front of the engine, requiring the removal of the serpentine belt and pulley for access.
- Toyota vehicles often have the CMP sensor located near the valve cover, requiring the removal of the air intake system for access.
Always consult your vehicle's repair manual for specific instructions and torque specifications.
The Replacement Process: A Step-by-Step Guide
Disclaimer: This is a general guide. Always refer to your vehicle's specific repair manual for detailed instructions and safety precautions.
- Gather Your Tools: You'll need a socket set, wrench set, screwdriver set, pliers, OBD-II scanner, multimeter (optional), and the new CMP sensor.
- Disconnect the Battery: This is a crucial safety step to prevent electrical shocks and accidental damage to the ECU. Disconnect the negative terminal first.
- Locate the CMP Sensor: Consult your vehicle's repair manual to identify the sensor's location.
- Disconnect the Electrical Connector: Carefully disconnect the electrical connector from the sensor. Some connectors have a locking mechanism that needs to be released.
- Remove the Old Sensor: Use the appropriate socket or wrench to remove the sensor. Note the orientation of the sensor for proper installation of the new one.
- Install the New Sensor: Install the new sensor, ensuring it's properly aligned. Tighten the mounting bolts to the manufacturer's specified torque. Over-tightening can damage the sensor or the engine.
- Reconnect the Electrical Connector: Reconnect the electrical connector to the sensor. Make sure it clicks into place securely.
- Reconnect the Battery: Reconnect the battery terminals, starting with the positive terminal.
- Clear the Diagnostic Trouble Codes (DTCs): Use an OBD-II scanner to clear any stored DTCs related to the CMP sensor.
- Start the Engine: Start the engine and check for any unusual noises or warning lights. Monitor the engine's performance to ensure it's running smoothly.
- Test Drive: Take the vehicle for a test drive to verify that the issue has been resolved.
Important Considerations:
- Sensor Quality: Always use a high-quality replacement sensor from a reputable manufacturer. Cheap aftermarket sensors may be unreliable and prone to failure.
- Connector Inspection: Inspect the electrical connector for any signs of corrosion or damage. Clean or replace the connector if necessary.
- Wiring Harness Inspection: Inspect the wiring harness leading to the sensor for any signs of damage, such as cuts, abrasions, or melted insulation. Repair or replace the wiring harness if necessary.
Real-World Insights and Recommendations
While replacing a CMP sensor is often a relatively simple task, proper diagnosis is paramount. Don't just assume the CMP sensor is the problem based on a single code. Use an OBD-II scanner to read the codes, research the potential causes, and perform further testing to confirm the diagnosis.
Furthermore, consider the overall condition of your vehicle. If your vehicle has high mileage and is experiencing other issues, it might be worth having a professional mechanic inspect the engine to identify any underlying problems. Replacing the CMP sensor might only be a temporary fix if there are more significant issues at play.
In conclusion, replacing a camshaft position sensor can be a rewarding DIY project, saving you money and providing valuable insights into your vehicle's engine. However, it's essential to approach the task with caution, follow the proper procedures, and consult your vehicle's repair manual for specific instructions. With a little knowledge and the right tools, you can confidently tackle this repair and get your engine running smoothly again.