How To Change Color Of Picture
Alright, let's dive into the world of image manipulation and specifically, how to change the color of a picture. We're not just talking about slapping a filter on it; we're going to discuss techniques that give you granular control, allowing for creative effects and subtle adjustments.
Purpose: The Why Behind Color Transformation
Understanding how to alter image colors is crucial for several reasons:
- Repairs: Maybe you've got a faded photograph you want to restore, or a product shot where the color isn't quite right. Color correction skills are invaluable.
- Creative Effects: Ever wanted to turn a sunny landscape into a moonlit scene? Color manipulation is how it's done. From stylized looks to retro vibes, controlling color unlocks endless possibilities.
- Digital Art & Design: From graphic design to photo compositing, understanding color manipulation is a core skill. It allows you to create cohesive and visually appealing artwork.
- Learning Image Processing: The best way to learn about image processing is to get your hands dirty and start manipulating the data!
Key Specs and Main Parts: The Digital Canvas
Before we start twisting hues, let's understand what a digital image actually is. It's not just a pretty picture; it's a matrix of numerical data. Key specs to keep in mind are:
- Color Models: The foundation for how we represent color. The two most common are:
- RGB (Red, Green, Blue): The go-to for digital displays. Each pixel's color is determined by the intensity of red, green, and blue light. Values range from 0 (no light) to 255 (maximum light).
- HSV (Hue, Saturation, Value): A more intuitive model for humans. Hue represents the base color (e.g., red, green, blue). Saturation is the intensity of the color (from grayscale to vibrant). Value is the brightness.
- CMYK (Cyan, Magenta, Yellow, Key/Black): Used primarily for printing, as printer inks use this model.
- Pixels: The smallest addressable unit of an image. Each pixel holds a specific color value. The higher the pixel density (more pixels per inch), the sharper the image.
- Bit Depth: The number of bits used to represent each color component. 8-bit images are common, giving 256 levels per color (28). 16-bit and 32-bit images offer more precision and a wider color gamut (range of colors).
- Image Editing Software: These are your tools. Adobe Photoshop, GIMP (free and open-source), and Affinity Photo are popular choices.
Symbols: Understanding the Image Editing Interface
Image editing software interfaces might seem daunting at first, but they're built upon common visual symbols that allow us to intuitively adjust color. Let's decode some of the key elements:
- Curves: A visual representation of tonal range. The X-axis represents the input values (original brightness), and the Y-axis represents the output values (modified brightness). By manipulating the curve, you can adjust the contrast and brightness of specific tones. A straight line means no change. A curve above the line increases the output brightness for that input range, while a curve below it decreases the brightness.
- Levels: Similar to curves, but uses sliders to adjust black point, white point, and midtones. Think of it as setting the boundaries for your tonal range.
- Color Wheels/Color Pickers: Used to select specific colors. Often use the HSV model for intuitive selection.
- Layer Masks: Allows for non-destructive editing, enabling you to apply color changes to specific areas of the image without permanently altering the original pixels.
- Adjustment Layers: Apply color and tonal adjustments as a separate layer, leaving the original image intact. This is crucial for non-destructive workflows.
How It Works: The Nitty-Gritty of Color Change
There are several methods for changing the color of an image, each with its own strengths and weaknesses. Here's a breakdown of some common techniques:
- Hue/Saturation Adjustment: This allows you to shift the hue (base color), adjust the saturation (intensity), and modify the lightness of the entire image or specific color ranges. It’s good for making broad color changes, but less precise for intricate adjustments.
- Color Balance Adjustment: Modify the overall color balance by adding or subtracting specific colors (red, green, blue, cyan, magenta, yellow) to the shadows, midtones, and highlights. Useful for correcting color casts or creating subtle mood changes.
- Selective Color Adjustment: Allows you to adjust the amount of cyan, magenta, yellow, and black within specific color ranges (reds, yellows, greens, cyans, blues, magentas, whites, neutrals, blacks). This is a powerful tool for fine-tuning individual colors.
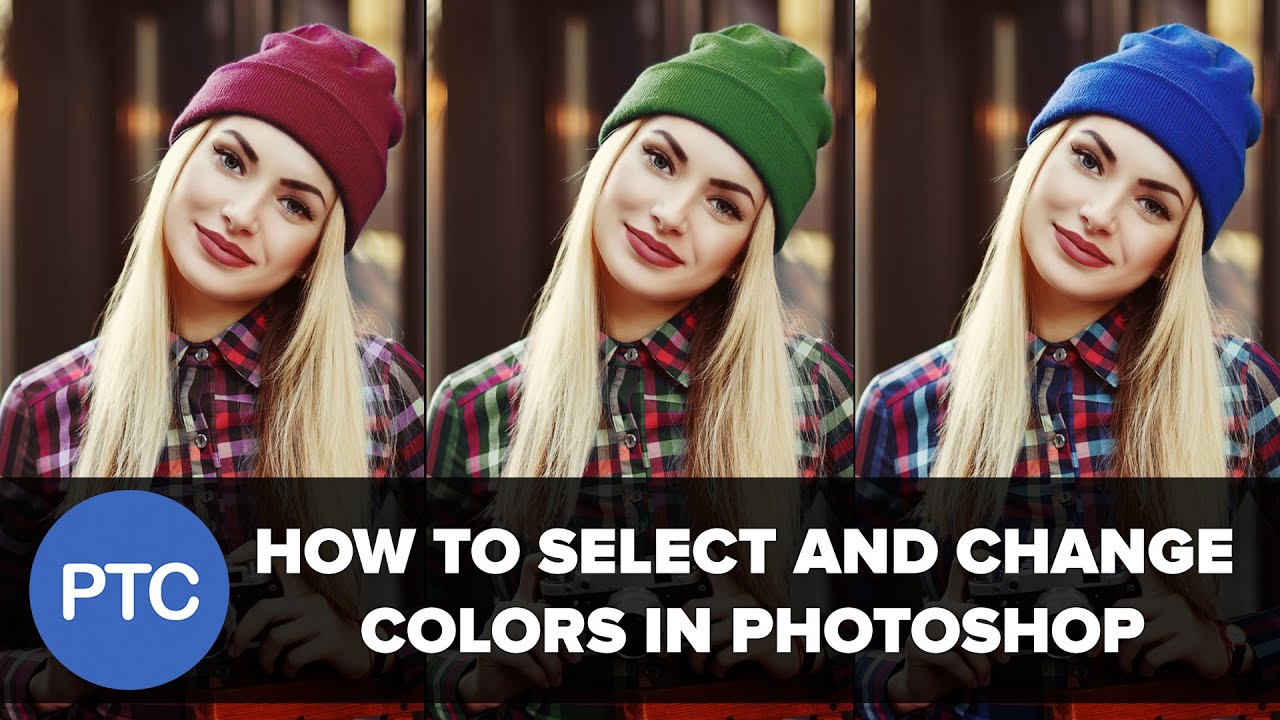
- Color Replacement Tool: Directly replaces one color with another. The effectiveness depends on the accuracy of the color selection and the complexity of the image. Often used for quickly changing the color of a specific object.
- Color Grading using Lookup Tables (LUTs): LUTs are pre-defined color transformations that map input colors to output colors. They're often used to achieve specific cinematic looks or to standardize color across multiple images.
The general process involves:
- Opening the Image: Load the image into your chosen editing software.
- Creating an Adjustment Layer: This is crucial for non-destructive editing. It allows you to experiment without permanently altering the original image data.
- Selecting the Adjustment: Choose the appropriate adjustment layer based on the desired effect (e.g., Hue/Saturation, Color Balance, Selective Color).
- Making Adjustments: Use the sliders, color wheels, or other controls to modify the color values. Observe the changes in real-time and experiment until you achieve the desired result.
- Masking (Optional): Use layer masks to apply the adjustment to specific areas of the image. This allows for precise control and prevents unwanted color changes.
- Saving the Image: Once you're satisfied, save the image in a suitable format (e.g., JPEG for web use, TIFF for print).
Real-World Use: Basic Troubleshooting Tips
Things don't always go smoothly. Here are some common problems and how to address them:
- Color Bleeding: Unintended color changes affecting adjacent areas. This often happens when adjusting colors too aggressively. Use layer masks and refine your color selections.
- Unnatural Skin Tones: Overly saturated or desaturated skin tones. Use Selective Color adjustment or Curves to fine-tune the red, yellow, and magenta channels in the skin tone areas.
- Harsh Transitions: Visible lines or abrupt changes between different color regions. Use feathering on your layer masks to create smoother transitions.
- Color banding: Noticeable steps in color, especially in gradients. This occurs when the image doesn't have enough bit depth to represent the full range of colors. Try working with 16-bit or 32-bit images.
- Over-Saturation: Colours become too intense and look unnatural. Reduce the saturation slider to make the colours softer.
Safety: Non-Destructive Editing is Key
The most dangerous thing you can do is directly modify the original image data without creating backups or using adjustment layers. Always work non-destructively! Here's why:
- Irreversible Changes: Once you've saved an image with destructive edits, the original data is gone.
- Limited Flexibility: Non-destructive editing allows you to easily undo changes, experiment with different settings, and revisit your edits at any time.
- Improved Workflow: Non-destructive workflows promote experimentation and creativity. You're free to try new things without the fear of permanently damaging your image.
Always create a backup of your original image before making any modifications. Employ adjustment layers and layer masks to maintain flexibility and control. Remember that these principles save you from a lot of headaches.
Ready to start experimenting with colors? We've compiled a diagram showing the common workflows for color adjustments, the relationship between different color models, and some troubleshooting tips. You can download the comprehensive diagram here.