How To Change Cv Axle Boot
Alright, so you're looking to tackle a CV axle boot replacement. This isn't a job for the faint of heart, but with the right tools, a bit of patience, and this guide, you can definitely save yourself some serious money. We're going to walk through the process step-by-step, focusing on the critical aspects and potential pitfalls. We'll assume you've already identified a torn CV boot (Constant Velocity boot) as the culprit behind that tell-tale clicking sound when turning.
Purpose: Why Bother with a CV Axle Boot Replacement?
Let's be clear: replacing a CV axle boot isn't just about aesthetics. Its primary purpose is protecting the CV joint itself. The CV joint is what allows your vehicle's drive wheels to turn and move up and down with the suspension. It's a complex mechanism packed with bearings and grease. The boot acts as a barrier against dirt, debris, and moisture. Once that boot tears, contaminants get in, the grease leaks out, and the CV joint quickly begins to degrade. Left unchecked, this will lead to a complete CV axle failure, requiring a much more expensive replacement of the entire axle assembly. Doing just the boot is preventative and saves money in the long run. Also, failing to repair a torn boot can cause the CV joint to seize, which could potentially cause a loss of control of the vehicle. So, this isn't just a repair; it's about safety and preventing further damage.
Key Specs and Main Parts
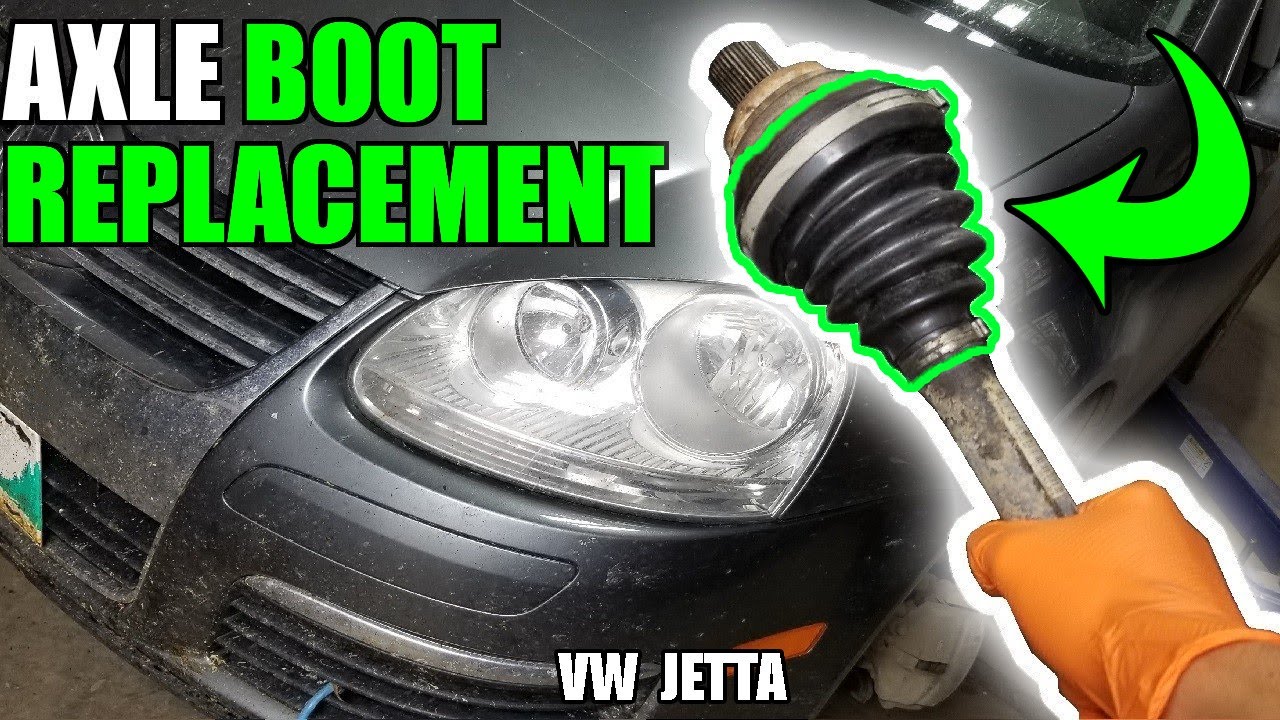
Before we dive in, let's get familiar with the key components. The CV axle itself is a shaft that transmits torque from the transmission (or differential) to the wheel hub. At each end of the axle is a CV joint – one inboard (closer to the transmission) and one outboard (closer to the wheel). The CV boot is a flexible, rubber or plastic covering that seals and protects each CV joint.
Key Parts:
- CV Axle: The complete assembly.
- CV Joint (Inboard and Outboard): The joints at either end of the axle that allow for articulation.
- CV Boot (Inboard and Outboard): The rubber/plastic covers protecting the CV joints.
- Boot Clamps: Metal bands that secure the boot to the axle and joint.
- Grease: Special high-pressure grease specifically designed for CV joints.
Key Specs: Torque specifications for the axle nut (the large nut that holds the axle to the wheel hub) are critical. These vary significantly depending on the vehicle make and model. Always consult your vehicle's service manual for the correct torque value. Ignoring this can lead to bearing failure or even axle separation. The size of the axle nut can also vary significantly (ranging from 30mm to 36mm or larger in some cases), requiring a specific socket.
How It Works: The Boot Replacement Process
We'll outline the general process here. Always consult your vehicle-specific repair manual for detailed instructions.
- Preparation: Gather your tools: socket set (including the axle nut socket), torque wrench, breaker bar, pliers, screwdrivers, hammer, punch, jack stands, wheel chocks, new CV boot kit (including boot, clamps, and grease), penetrating oil, and degreaser.
- Loosen the Axle Nut: With the vehicle on the ground and the parking brake engaged, loosen the axle nut. This often requires significant force, hence the breaker bar.
- Raise and Secure the Vehicle: Jack up the vehicle, place it securely on jack stands, and chock the rear wheels. Safety first!
- Remove the Wheel: Remove the wheel on the side you're working on.
- Disconnect Suspension Components: You'll likely need to disconnect some suspension components to allow enough room to remove the axle. This might include the tie rod end, ball joint, or sway bar link. Use penetrating oil to loosen any stubborn bolts. Mark the position of these components before disconnecting them to aid in reassembly.
- Remove the Axle: Carefully tap the axle out of the wheel hub using a hammer and punch (use a brass punch to avoid damaging the axle threads). Then, gently pry the inboard end of the axle out of the transmission or differential. Be prepared for some transmission fluid to leak out. Have a drain pan ready.
- Remove the Old Boot: Cut away the old CV boot and clean the CV joint thoroughly with degreaser. Inspect the joint for any signs of damage (excessive play, roughness, or discoloration). If the joint is damaged, consider replacing the entire axle.
- Install the New Boot: Pack the CV joint with the new grease provided in the kit. Slide the new boot over the axle and position it over the CV joint. Secure the boot with the new clamps, using a specialized CV boot clamp tool or pliers. Make sure the clamps are tight and properly crimped.
- Reinstall the Axle: Carefully reinstall the axle, ensuring the inboard end is properly seated in the transmission or differential and the outboard end is aligned with the wheel hub.
- Reconnect Suspension Components: Reconnect all the suspension components you disconnected earlier, torquing the bolts to the specified values.
- Reinstall the Wheel: Reinstall the wheel and tighten the lug nuts to the specified torque.
- Lower the Vehicle: Lower the vehicle to the ground.
- Torque the Axle Nut: Torque the axle nut to the specified value. This is a crucial step.
Real-World Use: Basic Troubleshooting
Problem: Cannot remove the axle nut.
Solution: Use penetrating oil, a longer breaker bar, or even a cheater pipe for extra leverage. If all else fails, an impact wrench might be necessary. Applying heat (carefully!) can also help.
Problem: CV joint is damaged.
Solution: If the CV joint shows signs of significant wear or damage (play, roughness, discoloration), it's best to replace the entire axle. The cost of a new axle is often less than the time and effort required to rebuild a damaged CV joint.
Problem: Transmission fluid leaking excessively.
Solution: Check the condition of the differential seal where the axle enters the transmission. If it's damaged, it should be replaced. Make sure to top off the transmission fluid after completing the repair.
Problem: Boot clamp tool not working correctly.
Solution: Practice with the tool before installing the boot. Ensure the clamp is positioned correctly and the tool is properly engaged. If the clamp is still loose, try using a different type of clamp or tool.
Safety: Highlight Risky Components
Several components present potential hazards:
- Springs: The vehicle's suspension springs are under tremendous pressure. Never attempt to disassemble a suspension strut assembly without the proper spring compressors. Serious injury or death can result.
- Brakes: Brake components can contain asbestos (in older vehicles). Avoid creating dust when working on brake components.
- Jacking: Always use jack stands to support the vehicle. Never work under a vehicle supported only by a jack.
- Axle Nut Torque: As mentioned before, improperly torqued axle nuts can lead to catastrophic failure. Double-check the torque specification and use a properly calibrated torque wrench.
- Sharp Edges: CV axles and suspension components often have sharp edges. Wear gloves to protect your hands.
- Transmission Fluid: Although usually not highly toxic, avoid ingestion and prolonged skin contact with transmission fluid.
Important note: Always dispose of used parts and fluids properly. Check with your local regulations for disposal guidelines.
This is a complex repair, but with careful attention to detail and a thorough understanding of the process, you can successfully replace a CV axle boot and save yourself a significant amount of money. Remember to always prioritize safety and consult your vehicle's service manual for specific instructions and torque specifications. Good luck!