How To Change My Oil On My Car
So, you're ready to tackle an oil change on your own. Excellent! Performing routine maintenance like this is a fantastic way to save money, get to know your car better, and ensure it stays running smoothly. This guide assumes you have some basic mechanical knowledge and access to common tools. We'll cover everything you need to know, from the purpose of changing your oil to troubleshooting potential issues. Let's get started.
Purpose: Why Oil Changes Matter
The primary purpose of engine oil is to lubricate moving parts within the engine, reducing friction and wear. As the engine runs, oil also helps to:
- Cool the engine: Oil absorbs heat from hot components and carries it away.
- Clean the engine: Oil suspends contaminants like dirt, metal particles, and combustion byproducts, preventing them from accumulating and causing damage.
- Seal the combustion chamber: Oil helps to create a tight seal between the piston rings and cylinder walls, maximizing compression and power.
- Prevent corrosion: Oil coats metal surfaces, protecting them from rust and corrosion.
Over time, oil degrades and becomes contaminated. This reduces its ability to perform these crucial functions, leading to increased engine wear, reduced performance, and potentially even catastrophic engine failure. Regular oil changes with a quality oil and filter are essential for maintaining the health and longevity of your engine.
Key Specs and Main Parts
Before you begin, you need to gather the right supplies and understand the key components involved:
- Engine Oil: Choose the correct viscosity (e.g., 5W-30, 10W-40) and API service rating (e.g., SN, SP) as specified in your owner's manual. Using the wrong oil can damage your engine. Synthetic, semi-synthetic, and conventional oils are available, each offering different levels of performance and protection. Synthetic oils generally provide superior performance and longevity.
- Oil Filter: This filters out contaminants from the oil. Use the correct oil filter for your vehicle, as incorrect filters can cause leaks or reduce oil flow.
- Drain Plug Washer/Gasket: This seals the drain plug to prevent leaks. Always replace this washer with a new one each time you change the oil. They are typically made of copper, aluminum, or fiber.
- Oil Filter Wrench: A specialized wrench for removing and installing the oil filter. Different types are available, including cap-type, strap-type, and adjustable pliers.
- Wrench for Drain Plug: The correct size wrench to remove and tighten the oil drain plug.
- Drain Pan: To catch the old oil.
- Funnel: For pouring the new oil into the engine.
- Rags or Shop Towels: For cleaning up spills.
- Jack and Jack Stands (Optional but Recommended): To safely lift the vehicle for easier access to the drain plug and oil filter.
- Gloves: To protect your hands.
Oil Viscosity: This refers to the oil's resistance to flow. The numbers in a viscosity rating (e.g., 5W-30) indicate the oil's viscosity at different temperatures. The 'W' stands for winter, and the first number indicates the viscosity at low temperatures. The second number indicates the viscosity at operating temperature.
Step-by-Step Oil Change Procedure
- Warm Up the Engine: Run the engine for a few minutes to warm the oil. Warm oil flows more easily, allowing more contaminants to drain out. Do *not* overheat the engine; slightly warm is sufficient.
- Prepare the Vehicle: Park the vehicle on a level surface. Engage the parking brake. If necessary, use a jack to raise the vehicle and securely support it with jack stands. Never work under a vehicle supported only by a jack.
- Locate the Drain Plug and Oil Filter: Consult your owner's manual or a repair manual to identify the location of the oil drain plug (usually on the bottom of the oil pan) and the oil filter.
- Position the Drain Pan: Place the drain pan under the drain plug.
- Remove the Drain Plug: Using the correct size wrench, carefully loosen and remove the drain plug. Be prepared for the oil to flow out quickly. Let the oil drain completely. This can take 15-30 minutes.
- Remove the Oil Filter: Place the drain pan under the oil filter. Use the oil filter wrench to loosen and remove the old oil filter. Some oil will spill out, so be prepared.
- Prepare the New Oil Filter: Lightly lubricate the rubber gasket on the new oil filter with clean engine oil. This helps to ensure a good seal.
- Install the New Oil Filter: Screw the new oil filter onto the engine by hand until the gasket makes contact with the engine block. Then, tighten it an additional 1/2 to 3/4 turn, as instructed on the filter. Do not overtighten.
- Install a New Drain Plug Washer: Replace the old drain plug washer with a new one.
- Install the Drain Plug: Carefully tighten the drain plug to the torque specification listed in your repair manual. Overtightening can damage the oil pan. A typical torque spec is around 20-30 ft-lbs, but always confirm.
- Lower the Vehicle: If you raised the vehicle, carefully lower it back to the ground.
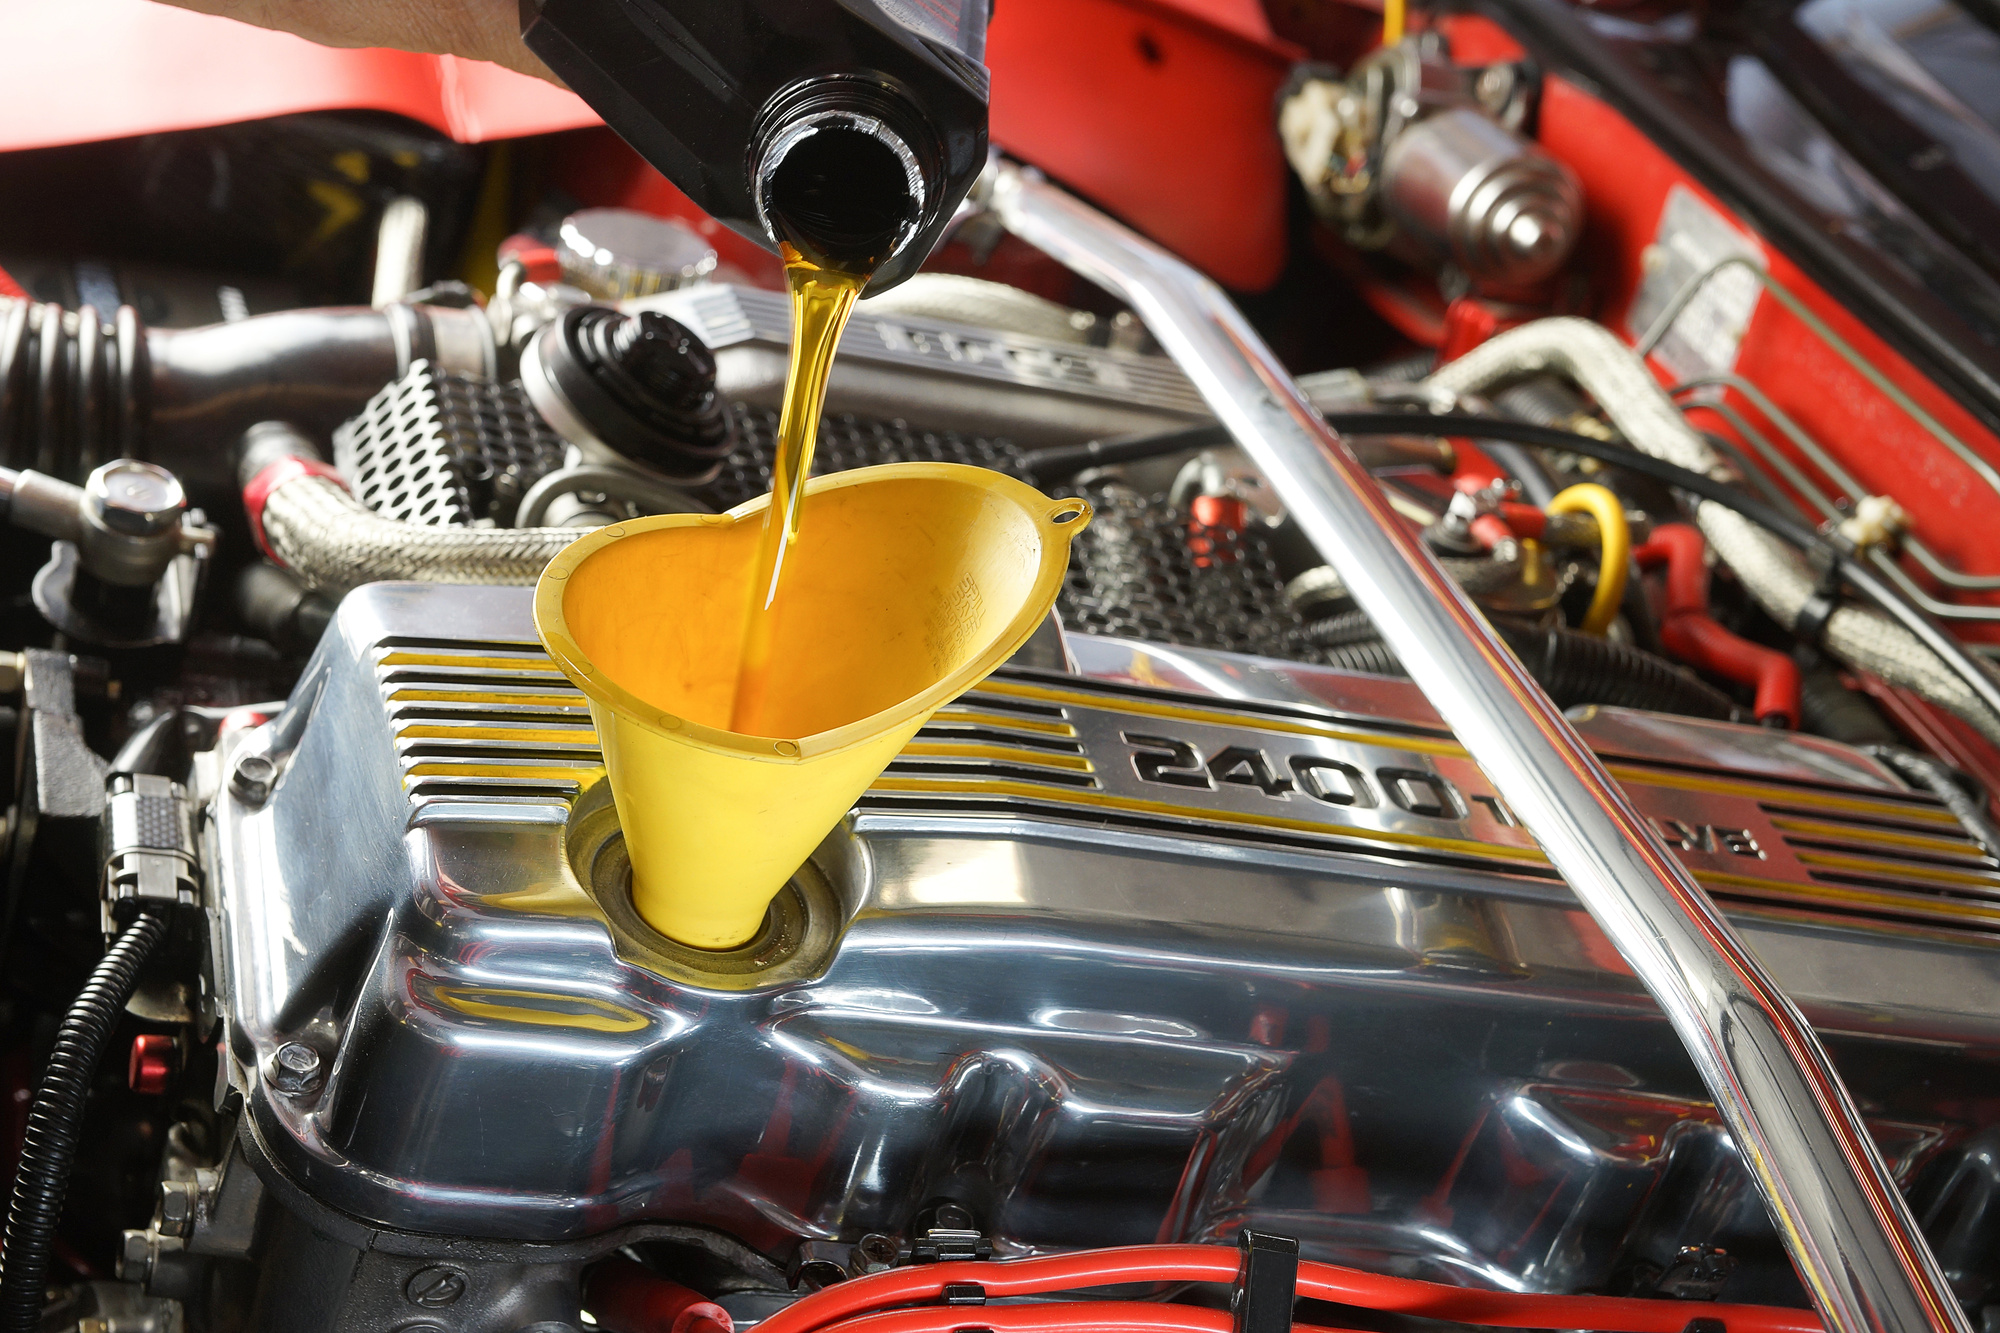
- Add New Oil: Remove the oil filler cap (usually located on the top of the engine). Using a funnel, pour the correct amount of new oil into the engine. Refer to your owner's manual for the oil capacity. Start by adding slightly less than the recommended amount.
- Check the Oil Level: Use the dipstick to check the oil level. The oil level should be between the 'min' and 'max' marks. Add more oil as needed to reach the correct level.
- Start the Engine: Start the engine and let it run for a few minutes. Check for leaks around the drain plug and oil filter.
- Recheck the Oil Level: Turn off the engine and let it sit for a few minutes to allow the oil to drain back into the pan. Recheck the oil level on the dipstick. Add more oil if necessary.
- Reset the Oil Life Monitoring System (If Applicable): Many modern vehicles have an oil life monitoring system that needs to be reset after an oil change. Consult your owner's manual for instructions.
- Dispose of the Old Oil and Filter Properly: Take the used oil and filter to a recycling center or auto parts store for proper disposal. Do not pour used oil down the drain or into the ground.
Real-World Use: Basic Troubleshooting Tips
- Leaking Drain Plug: If the drain plug is leaking after tightening, try tightening it slightly more. If it still leaks, the drain plug washer may be damaged or missing, or the oil pan threads may be damaged. In this case, you may need to replace the drain plug or repair the oil pan threads.
- Leaking Oil Filter: If the oil filter is leaking, make sure it is tightened properly. If it is still leaking, the oil filter gasket may be damaged, or the oil filter may be defective. In this case, you need to replace the oil filter.
- Difficulty Removing the Oil Filter: If the oil filter is stuck, try using a different type of oil filter wrench or a penetrating oil.
- Stripped Drain Plug Threads: If you strip the drain plug threads in the oil pan, you'll need to repair them. Options include using a self-tapping drain plug, installing a thread repair kit (e.g., Heli-Coil), or replacing the oil pan.
Safety: Highlight Risky Components
- Hot Engine: Be careful when working around a hot engine. Allow the engine to cool down slightly before starting the oil change to avoid burns.
- Hot Oil: Hot oil can cause severe burns. Wear gloves and use caution when draining the oil.
- Jack and Jack Stands: Always use jack stands to support the vehicle before working underneath it. A jack can fail, causing the vehicle to fall and potentially cause serious injury or death.
- Oil Disposal: Dispose of used oil properly to protect the environment. Used oil is a hazardous waste and should not be poured down the drain or into the ground.
- Flammability: Engine oil is flammable. Keep it away from open flames or sources of ignition.
Diagrams and Further Assistance
While this guide provides a comprehensive overview of how to change your oil, a detailed diagram specific to your vehicle can be extremely helpful. These diagrams typically show the exact location of the drain plug, oil filter, and other relevant components.
We have a generic oil system diagram available. You can imagine a specific vehicle diagram would be more detailed, with specific torque specs for fasteners and the precise location of key components.
Remember to always consult your vehicle's owner's manual or a reputable repair manual for specific instructions and torque specifications. Taking your time and being careful will help ensure a successful and safe oil change. Good luck!