How To Charge A Chevy Volt
Alright, let's dive into the charging system of your Chevy Volt. Understanding how your Volt charges is crucial, not just for maximizing range, but also for potential DIY repairs, modifications (within safe limits, of course!), and generally knowing your vehicle inside and out. We're going to focus on a simplified charging system diagram and break down the components, safety considerations, and troubleshooting basics. Consider this your advanced-level guide to keeping your Volt juiced up and running smoothly.
Purpose: Understanding the Volt's Charging System
This isn't just about plugging in and hoping for the best. A deep understanding of the charging system allows you to:
- Diagnose Charging Issues: Identify problems like slow charging, no charging, or error messages.
- Optimize Charging Habits: Learn how to maximize battery life and charging efficiency.
- Perform Basic Repairs: With proper knowledge and safety precautions, you can tackle some charging-related issues yourself.
- Understand the Vehicle's Electrical Architecture: The charging system is a key part of the Volt's high-voltage electrical system. Understanding it provides a deeper understanding of the entire car.
Key Specs and Main Parts
Before we jump into the diagram, let's define the major players:
- Onboard Charger (OBC): This is the brain of the operation. It converts AC power from the wall outlet into DC power that the battery can store. Volts typically have a 3.3 kW or 3.6 kW OBC depending on the model year. Later models offered a 7.2 kW option for faster charging. The OBC handles voltage regulation and current limiting to protect the battery.
- Battery Pack: The heart of the Volt. This is a high-voltage lithium-ion battery pack, typically around 16-18 kWh capacity, depending on the model year. It stores the energy that powers the electric drive motor.
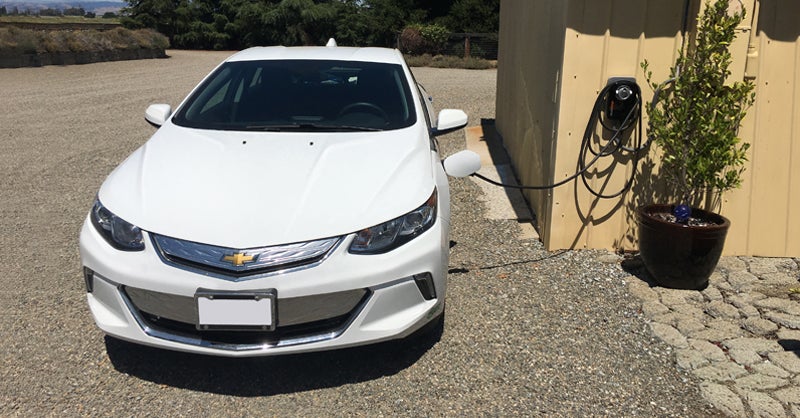
- Charge Port: The physical connector where you plug in your charging cable. It conforms to the SAE J1772 standard for Level 1 and Level 2 charging.
- Battery Management System (BMS): This critical system monitors the battery's voltage, current, temperature, and state of charge. It ensures the battery operates within safe limits and prevents overcharging or deep discharging, crucial for longevity and safety.
- Charging Cable (EVSE - Electric Vehicle Supply Equipment): This cable connects the car to the power source. It comes in two main types:
- Level 1: Standard 120V AC outlet. Provides slow charging, typically adding about 4-5 miles of range per hour.
- Level 2: 240V AC outlet. Provides faster charging, adding around 12-25 miles of range per hour, depending on the OBC capacity.
- High-Voltage Wiring: Special cables designed to safely handle the high voltages within the Volt's electrical system. These are typically orange in color and have robust insulation.
Symbols and Diagram Interpretation
A charging system diagram will use specific symbols to represent components and connections. Here's a general key (note that specifics can vary depending on the diagram's source):
- Solid Lines: Typically represent high-voltage DC power conductors.
- Dashed Lines: Often represent control signals or low-voltage wiring.
- AC Power Source: Symbolized by a sine wave or a stylized outlet.
- DC Power Source (Battery): Represented by stacked lines of alternating polarity (+ and -).
- Resistors: Zigzag lines.
- Capacitors: Two parallel lines.
- Ground: A series of descending horizontal lines, indicating connection to the vehicle's chassis ground.
- Connectors: Depicted as interlocking shapes.
Colors are also important. While not standardized across all diagrams, common conventions include:
- Orange: High-voltage wiring. Treat this with extreme caution!
- Black: Ground.
- Red: Positive DC voltage.
- Blue/White/Other Colors: Control signals or low-voltage wiring.
How It Works: The Charging Process
Here’s a simplified breakdown of the charging process:
- Plug-in and Communication: You connect the EVSE to the charge port. The EVSE communicates with the OBC to establish a safe connection and determine the available charging voltage and current.
- AC to DC Conversion: The OBC takes the AC power from the EVSE and converts it into DC power suitable for charging the battery. This conversion process involves rectification (converting AC to pulsating DC) and then filtering and regulation to produce a stable DC voltage.
- Voltage and Current Control: The OBC carefully controls the charging voltage and current based on feedback from the BMS. The BMS monitors the battery's state of charge, temperature, and voltage, and signals the OBC to adjust the charging parameters accordingly. This prevents overcharging, overheating, and other potentially damaging conditions.
- Battery Charging: The DC power flows from the OBC to the battery pack, replenishing its energy.
- Monitoring and Termination: Throughout the charging process, the BMS continuously monitors the battery's condition. When the battery reaches its target state of charge (typically around 80% for optimal battery health and longevity), the BMS signals the OBC to terminate the charging process.
Real-World Use: Basic Troubleshooting Tips
Here are some basic troubleshooting steps you can take if you encounter charging problems:
- No Charging:
- Check the power outlet. Is it working? Try a different outlet.
- Inspect the EVSE cable for damage. Look for cuts, frays, or exposed wires. Do not use a damaged cable!
- Check the charge port on the car for debris or damage.
- Ensure the EVSE is properly communicating with the car. Look for error messages on the EVSE or the car's display.
- Try a different charging station (if available).
- Slow Charging:
- Verify you're using the correct charging level. Level 1 charging will always be slower than Level 2.
- Check the charging current setting on the car or the EVSE. Make sure it's set to the maximum allowed current.
- Battery temperature can affect charging speed. Very cold or very hot batteries may charge slower.
- If charging at a public charging station, the station might be experiencing reduced output.
- Error Messages: Consult your owner's manual for the specific error message and recommended actions. Some errors may require professional diagnosis.
Safety: High-Voltage Hazards
Working on the Volt's high-voltage system is extremely dangerous and should only be attempted by qualified technicians with the proper training and equipment.
Here are some key safety points:
- High Voltage: The Volt's battery pack operates at hundreds of volts DC. This is potentially lethal.
- Capacitors: Even after disconnecting the battery, large capacitors in the OBC and other components can store a dangerous electrical charge.
- Insulation: Always use properly insulated tools when working near high-voltage components.
- Lockout/Tagout: Before working on the system, properly disconnect the high-voltage battery and follow lockout/tagout procedures to prevent accidental reconnection.
- Personal Protective Equipment (PPE): Wear appropriate PPE, including high-voltage gloves and eye protection.
- Professional Help: If you're not comfortable working with high-voltage systems, seek professional assistance. It's better to be safe than sorry.
Never attempt to disassemble the battery pack or tamper with its internal components. This could result in serious injury or death.
Disclaimer: This information is for educational purposes only and should not be considered a substitute for professional automotive advice. Always consult a qualified technician for repairs and maintenance.
We understand having a diagram can be invaluable. We have a simplified charging system diagram available for download. It provides a visual representation of the components and connections we've discussed. This will help you solidify your understanding of the system.