How To Charge A Electric Car
So, you're ready to dive into the electrifying world of EV charging, huh? Good on you! Understanding how your electric vehicle (EV) gets its juice is crucial, whether you're planning on doing some DIY modifications, need to diagnose a charging problem, or just want to impress your friends at the next car meet. We're going to break down the process, from the wall socket to the battery pack, focusing on a typical Level 2 charging system. We'll be going over a general diagram of a Level 2 charging setup. We have the complete diagram available for download, and it'll be a valuable asset as we go through this explanation.
Purpose: Understanding the EV Charging System
Why bother understanding this? Well, for starters, diagnosing charging issues becomes a lot easier. Instead of throwing parts at the problem, you can systematically trace the power flow and identify the culprit. Thinking about installing your own home charging station? Knowing the basics of how it all works is essential for safe and effective installation. Plus, for the more ambitious among you, understanding the charging system opens the door to potential modifications – perhaps optimizing charging speed within safe limits, or even experimenting with alternative energy sources. However, always remember that safety is paramount when dealing with high-voltage systems.
Key Specs and Main Parts
Let's define some critical components and specifications you'll encounter in an EV charging system. These are present in the accompanying charging system diagram.
- AC Power Source: This is your standard household or commercial electrical grid. Typically, Level 2 charging uses 240V AC power in North America, while other regions may use 230V AC.
- EVSE (Electric Vehicle Supply Equipment): The charging station itself. Commonly referred to as a "charger," but technically it's a glorified extension cord with safety features and communication protocols. It ensures safe power delivery and communicates with the EV.
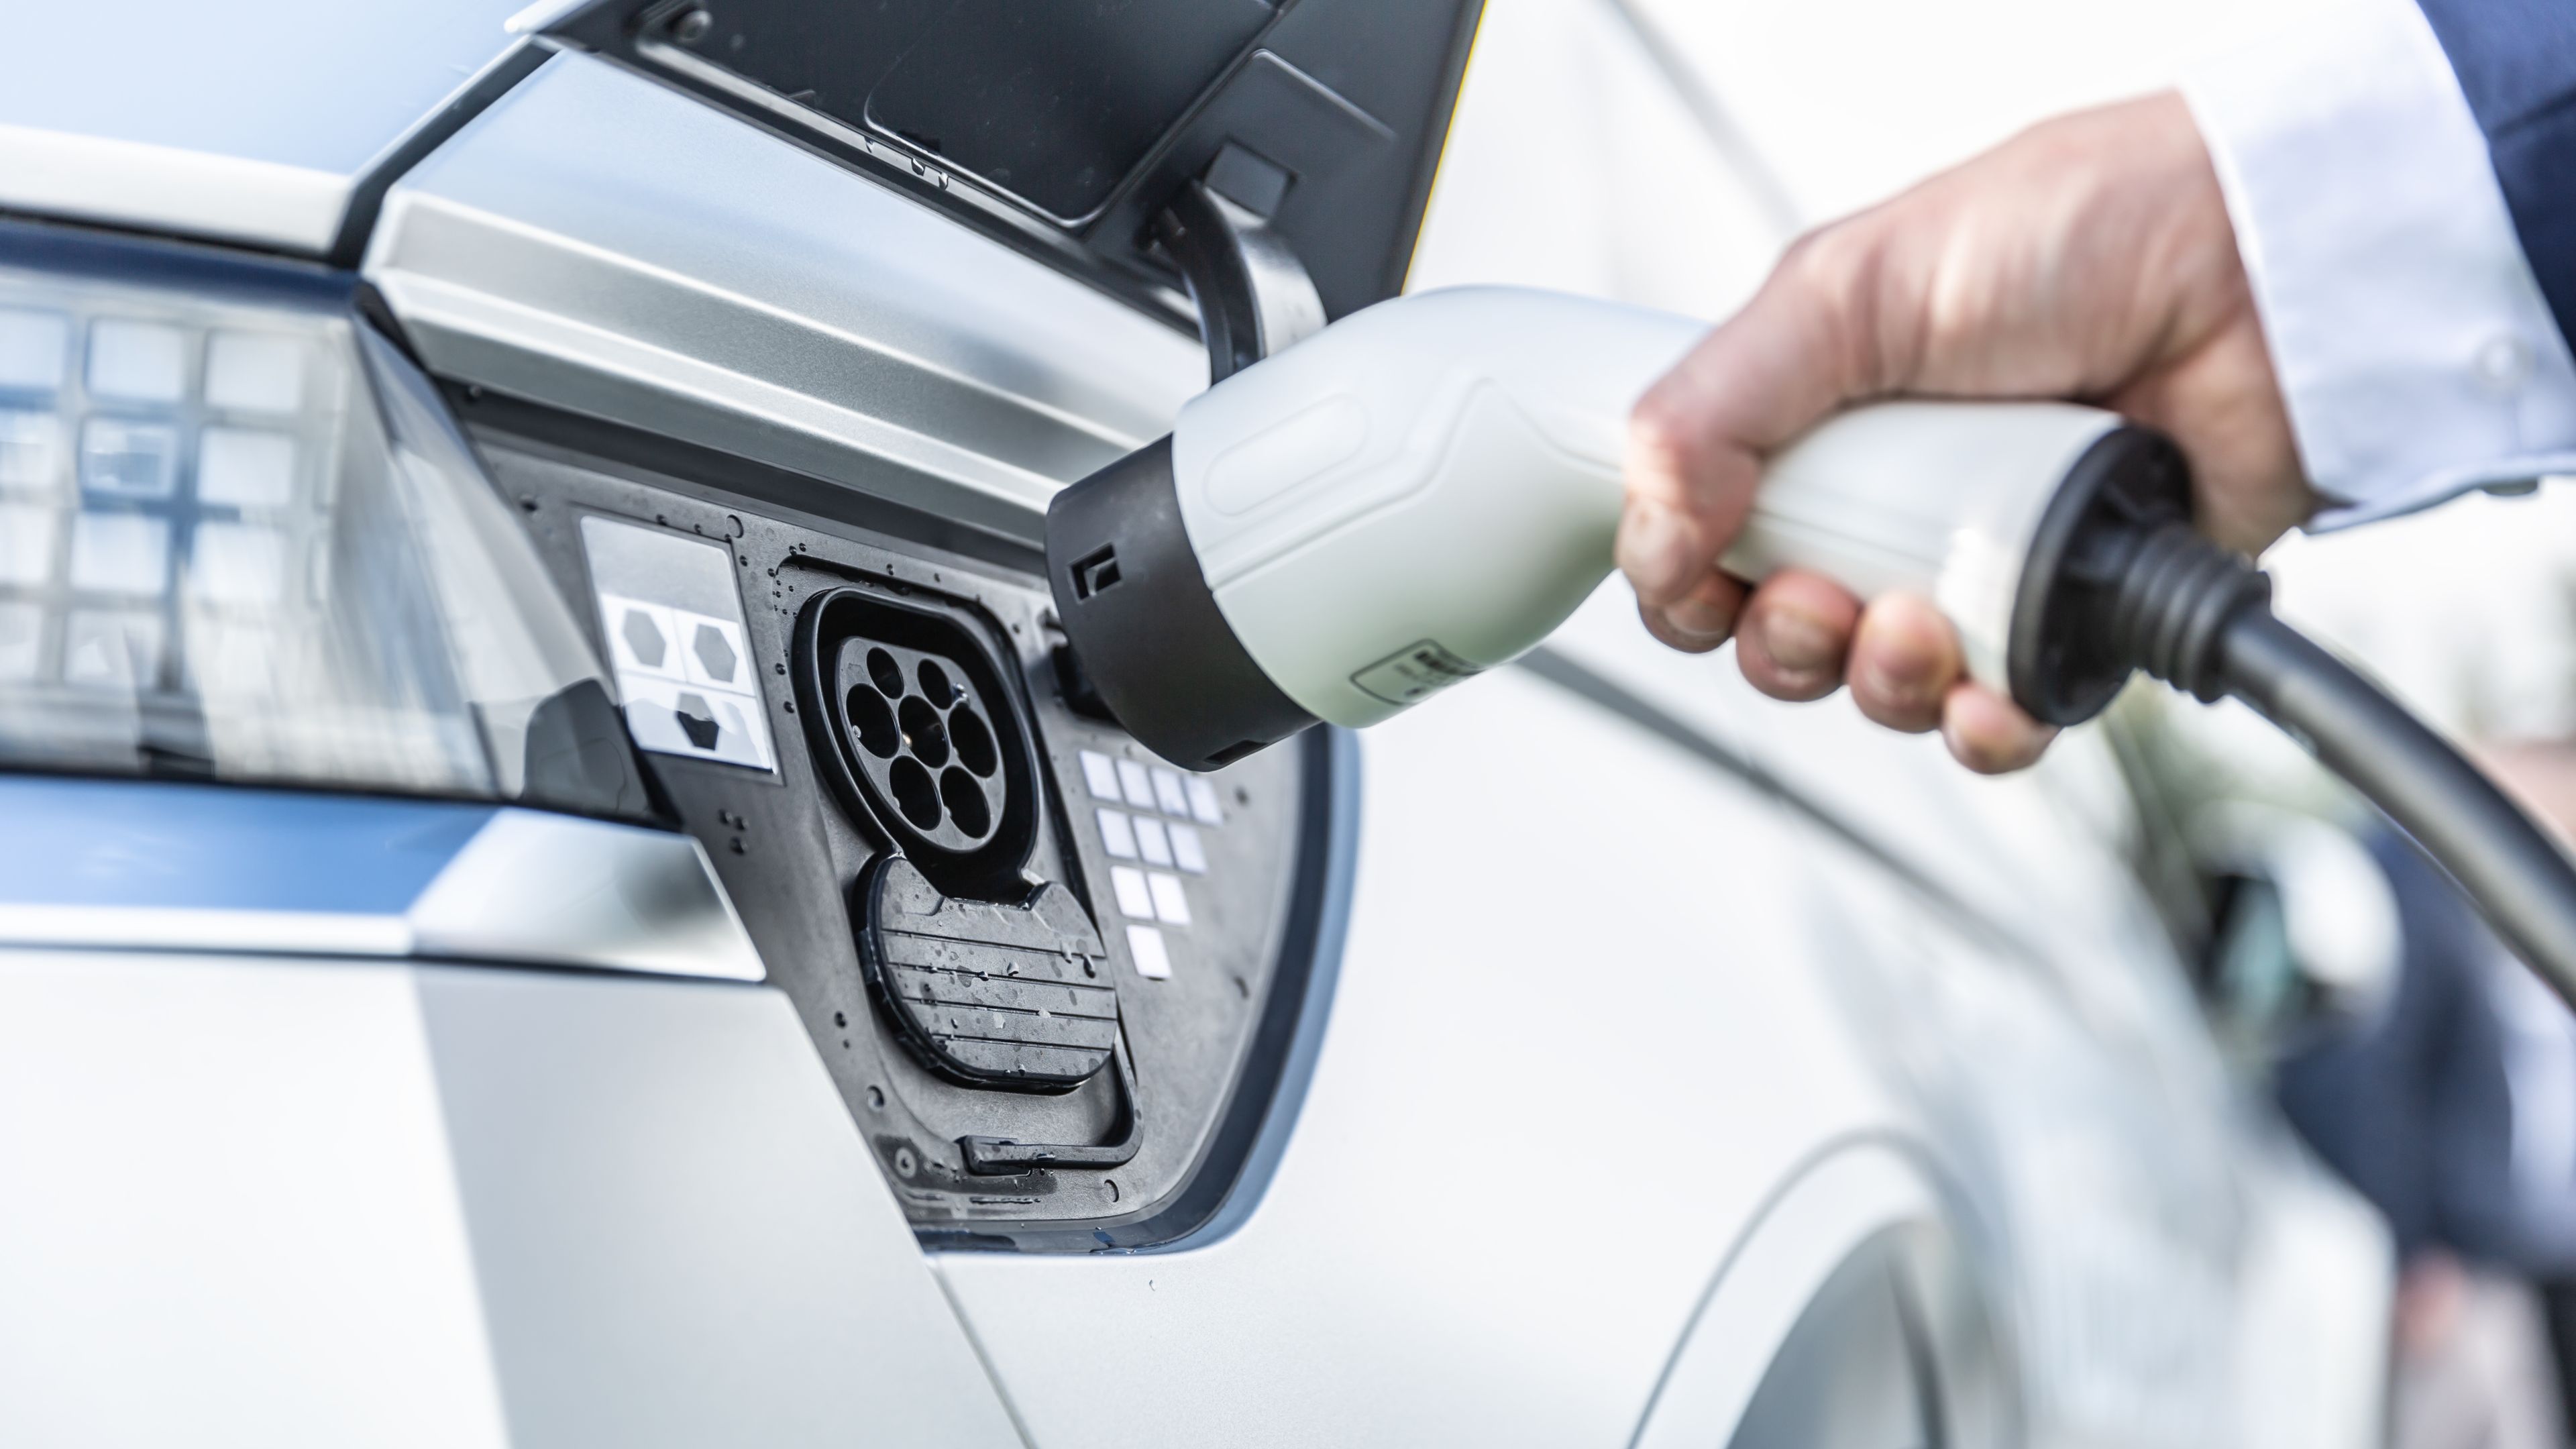
- J1772 Connector (Type 1): The standard connector used for Level 1 and Level 2 charging in North America. It includes pins for AC power, ground, proximity detection, and control pilot signal. Other regions may use Type 2 (Mennekes) or CCS (Combined Charging System) connectors.
- Onboard Charger: This is located *inside* the EV. It takes the AC power from the EVSE and converts it to DC power suitable for charging the battery pack. The onboard charger dictates the maximum AC charging rate your car can accept.
- Battery Management System (BMS): The brain of the battery pack. It monitors cell voltage, temperature, and current, ensuring the battery charges and discharges safely and efficiently. The BMS communicates with the onboard charger to control the charging process.
- Battery Pack: A collection of individual lithium-ion battery cells connected in series and parallel to achieve the desired voltage and capacity.
Symbols Explained
Understanding the symbols in the diagram is crucial for proper interpretation. Here's a breakdown of common symbols:
- Solid Lines: Represent the flow of electrical current. Thicker lines usually indicate higher current carrying capacity.
- Dashed Lines: Typically represent communication signals or control signals.
- Colors: While not always standardized, common color coding includes:
- Black: Neutral (in AC circuits)
- Red or Brown: Live/Hot (in AC circuits)
- Green or Green/Yellow Stripe: Ground
- Orange: High-voltage DC (within the EV)
- Ground Symbol: Usually a series of horizontal lines decreasing in length, indicating a connection to earth ground for safety.
- Connector Symbols: These vary, but generally represent the physical connection points between components (e.g., J1772 connector). They often show the pin configuration.
- Resistors (zigzag line): Used to limit current flow or create voltage dividers.
- Capacitors (two parallel lines): Used to store electrical energy and filter out noise.
- Diodes (triangle pointing to a line): Allow current to flow in only one direction.
- Integrated Circuits (IC chips) Rectangular box with pin numbers.
How It Works: From Socket to Battery
Let's trace the power flow. You plug the J1772 connector of your EVSE into your EV. The EVSE communicates with the car via the control pilot signal. This signal tells the car the maximum current the EVSE can provide. This is crucial for safety, ensuring the car doesn't try to draw more current than the EVSE is rated for.
Once the car confirms it's ready to charge, the EVSE energizes the AC power lines. The 240V AC (or 230V AC) travels through the J1772 connector and into the car's onboard charger. The onboard charger performs a crucial function: it converts the AC power into DC power. The voltage of the DC power is determined by the battery pack's voltage requirements – typically hundreds of volts DC. Think of the onboard charger like the power brick for a laptop, but on a much larger scale.
The DC power then flows to the Battery Management System (BMS). The BMS monitors the battery's state of charge, voltage, temperature, and current. It ensures that the battery is charged safely and efficiently, preventing overcharging, overheating, or other potentially damaging conditions. The BMS communicates with the onboard charger, telling it to adjust the charging current and voltage based on the battery's needs. This closed-loop feedback ensures optimal charging performance and longevity of the battery. The BMS also provides crucial safety shutoff controls. If a cell is overheating the BMS will shutoff the charging circuit to protect the battery pack.
Finally, the DC power is delivered to the battery pack, where it's stored as chemical energy. The individual battery cells are charged and discharged as needed, providing power to the EV's motor and other electrical systems.
Real-World Use: Basic Troubleshooting Tips
Okay, something's not working. Where do you start? Here are a few basic troubleshooting tips:
- Check the basics: Is the EVSE plugged in and powered on? Is the J1772 connector securely connected to both the EVSE and the car? Is there a tripped breaker in your electrical panel?
- Check the EV's display: Is the car indicating a charging error? The error message can provide valuable clues. Consult your car's owner's manual for a list of error codes and their meanings.
- Test with a different EVSE (if possible): This helps determine if the problem lies with the EVSE or the car.
- Inspect the J1772 connector: Look for any signs of damage, corrosion, or debris. Clean the contacts if necessary.
- Check the control pilot signal: This requires a multimeter and some knowledge of electronics. The control pilot signal should be a PWM (Pulse Width Modulated) signal. The duty cycle of the PWM signal indicates the maximum current the EVSE can provide.
Important Note: If you suspect a problem with the onboard charger or the BMS, it's best to consult a qualified EV technician. These components involve high voltages and complex electronics, and attempting to repair them without proper training and equipment can be dangerous.
Safety: Highlighting Risky Components
Safety is absolutely paramount when working with EV charging systems. Here are some key safety considerations:
- High Voltages: The onboard charger and the battery pack operate at high DC voltages (hundreds of volts). Contact with these voltages can be lethal. Always disconnect the power source and discharge any capacitors before working on these components.
- AC Power: The AC power from the EVSE is also dangerous. Ensure the EVSE is properly grounded and protected by a circuit breaker. Never work on the EVSE while it's plugged in.
- Battery Pack: Lithium-ion batteries can be hazardous if mishandled. They can overheat, catch fire, or explode if overcharged, short-circuited, or damaged.
- Improper Grounding: A faulty ground connection can create a shock hazard. Ensure that all components are properly grounded.
- Lack of Expertise: Attempting repairs without proper training and equipment can be dangerous. If you're not comfortable working with high-voltage systems, consult a qualified EV technician.
Always disconnect the power supply before attempting any repairs. Use appropriate personal protective equipment (PPE), such as insulated gloves and safety glasses. Treat every component as potentially live until you've verified that it's de-energized. When in doubt, consult a professional.
By understanding the inner workings of your EV's charging system, you're better equipped to maintain your vehicle, troubleshoot problems, and even explore potential modifications. Just remember to prioritize safety and consult a professional when necessary. Be sure to download the full charging diagram; it's a valuable reference tool as you dive deeper into the world of EV technology.