How To Charge An Electric Car
So, you're ready to dive deeper into the world of electric vehicles (EVs) and understand the nitty-gritty of how they get charged. This guide isn't just about plugging in; it's about understanding the entire charging process, from the power source to the battery, including the crucial components and safety measures involved. We’re going to break down the charging process in a way that's helpful whether you're troubleshooting issues, considering modifications (within safe limits!), or simply aiming to expand your EV knowledge. Consider this your essential deep-dive into EV charging technology.
Why Understanding the Charging Diagram Matters
Having a solid grasp of the EV charging system’s architecture is invaluable. Here's why:
- Troubleshooting: When your EV refuses to charge, understanding the flow of electricity and the function of each component allows you to pinpoint the problem. Is it the charging cable? The onboard charger? The charging port? The diagram helps you isolate the fault.
- DIY Repairs (with caution!): While we strongly advise against directly tampering with high-voltage systems unless you're a qualified technician, understanding the system's layout can assist in diagnosing issues that might be resolved with professional help. It helps you speak the technician's language and understand their recommendations.
- Modifications (Handle with extreme care!): Some enthusiasts explore modifications like upgraded charging ports or even (highly advanced) battery management systems. Knowledge of the system is paramount to ensure any mods are compatible and, above all, safe. Safety is absolutely paramount here. High voltage can be lethal.
- General Education: Simply put, understanding the technology behind your EV empowers you to be a more informed owner. You'll grasp the impact of different charging speeds, the nuances of battery health, and the limitations of the system.
Key Specs and Main Parts of an EV Charging System
Let's identify the core components involved in the EV charging process. Keep in mind that specific components can vary slightly between different EV models and charging standards, but the fundamental principles remain consistent.
Main Components:
- Power Source (AC Grid): This is where it all begins – the alternating current (AC) power from your home outlet or a public charging station. AC power oscillates (changes direction) at a certain frequency (typically 50 or 60 Hz).
- Charging Cable (EVSE - Electric Vehicle Supply Equipment): The physical cable connects the power source to your vehicle. The EVSE isn't "charging" your car, per se; it's a smart cable that communicates with both the power source and the vehicle to ensure a safe and regulated flow of electricity. It also houses safety features like ground fault interrupters (GFCI).
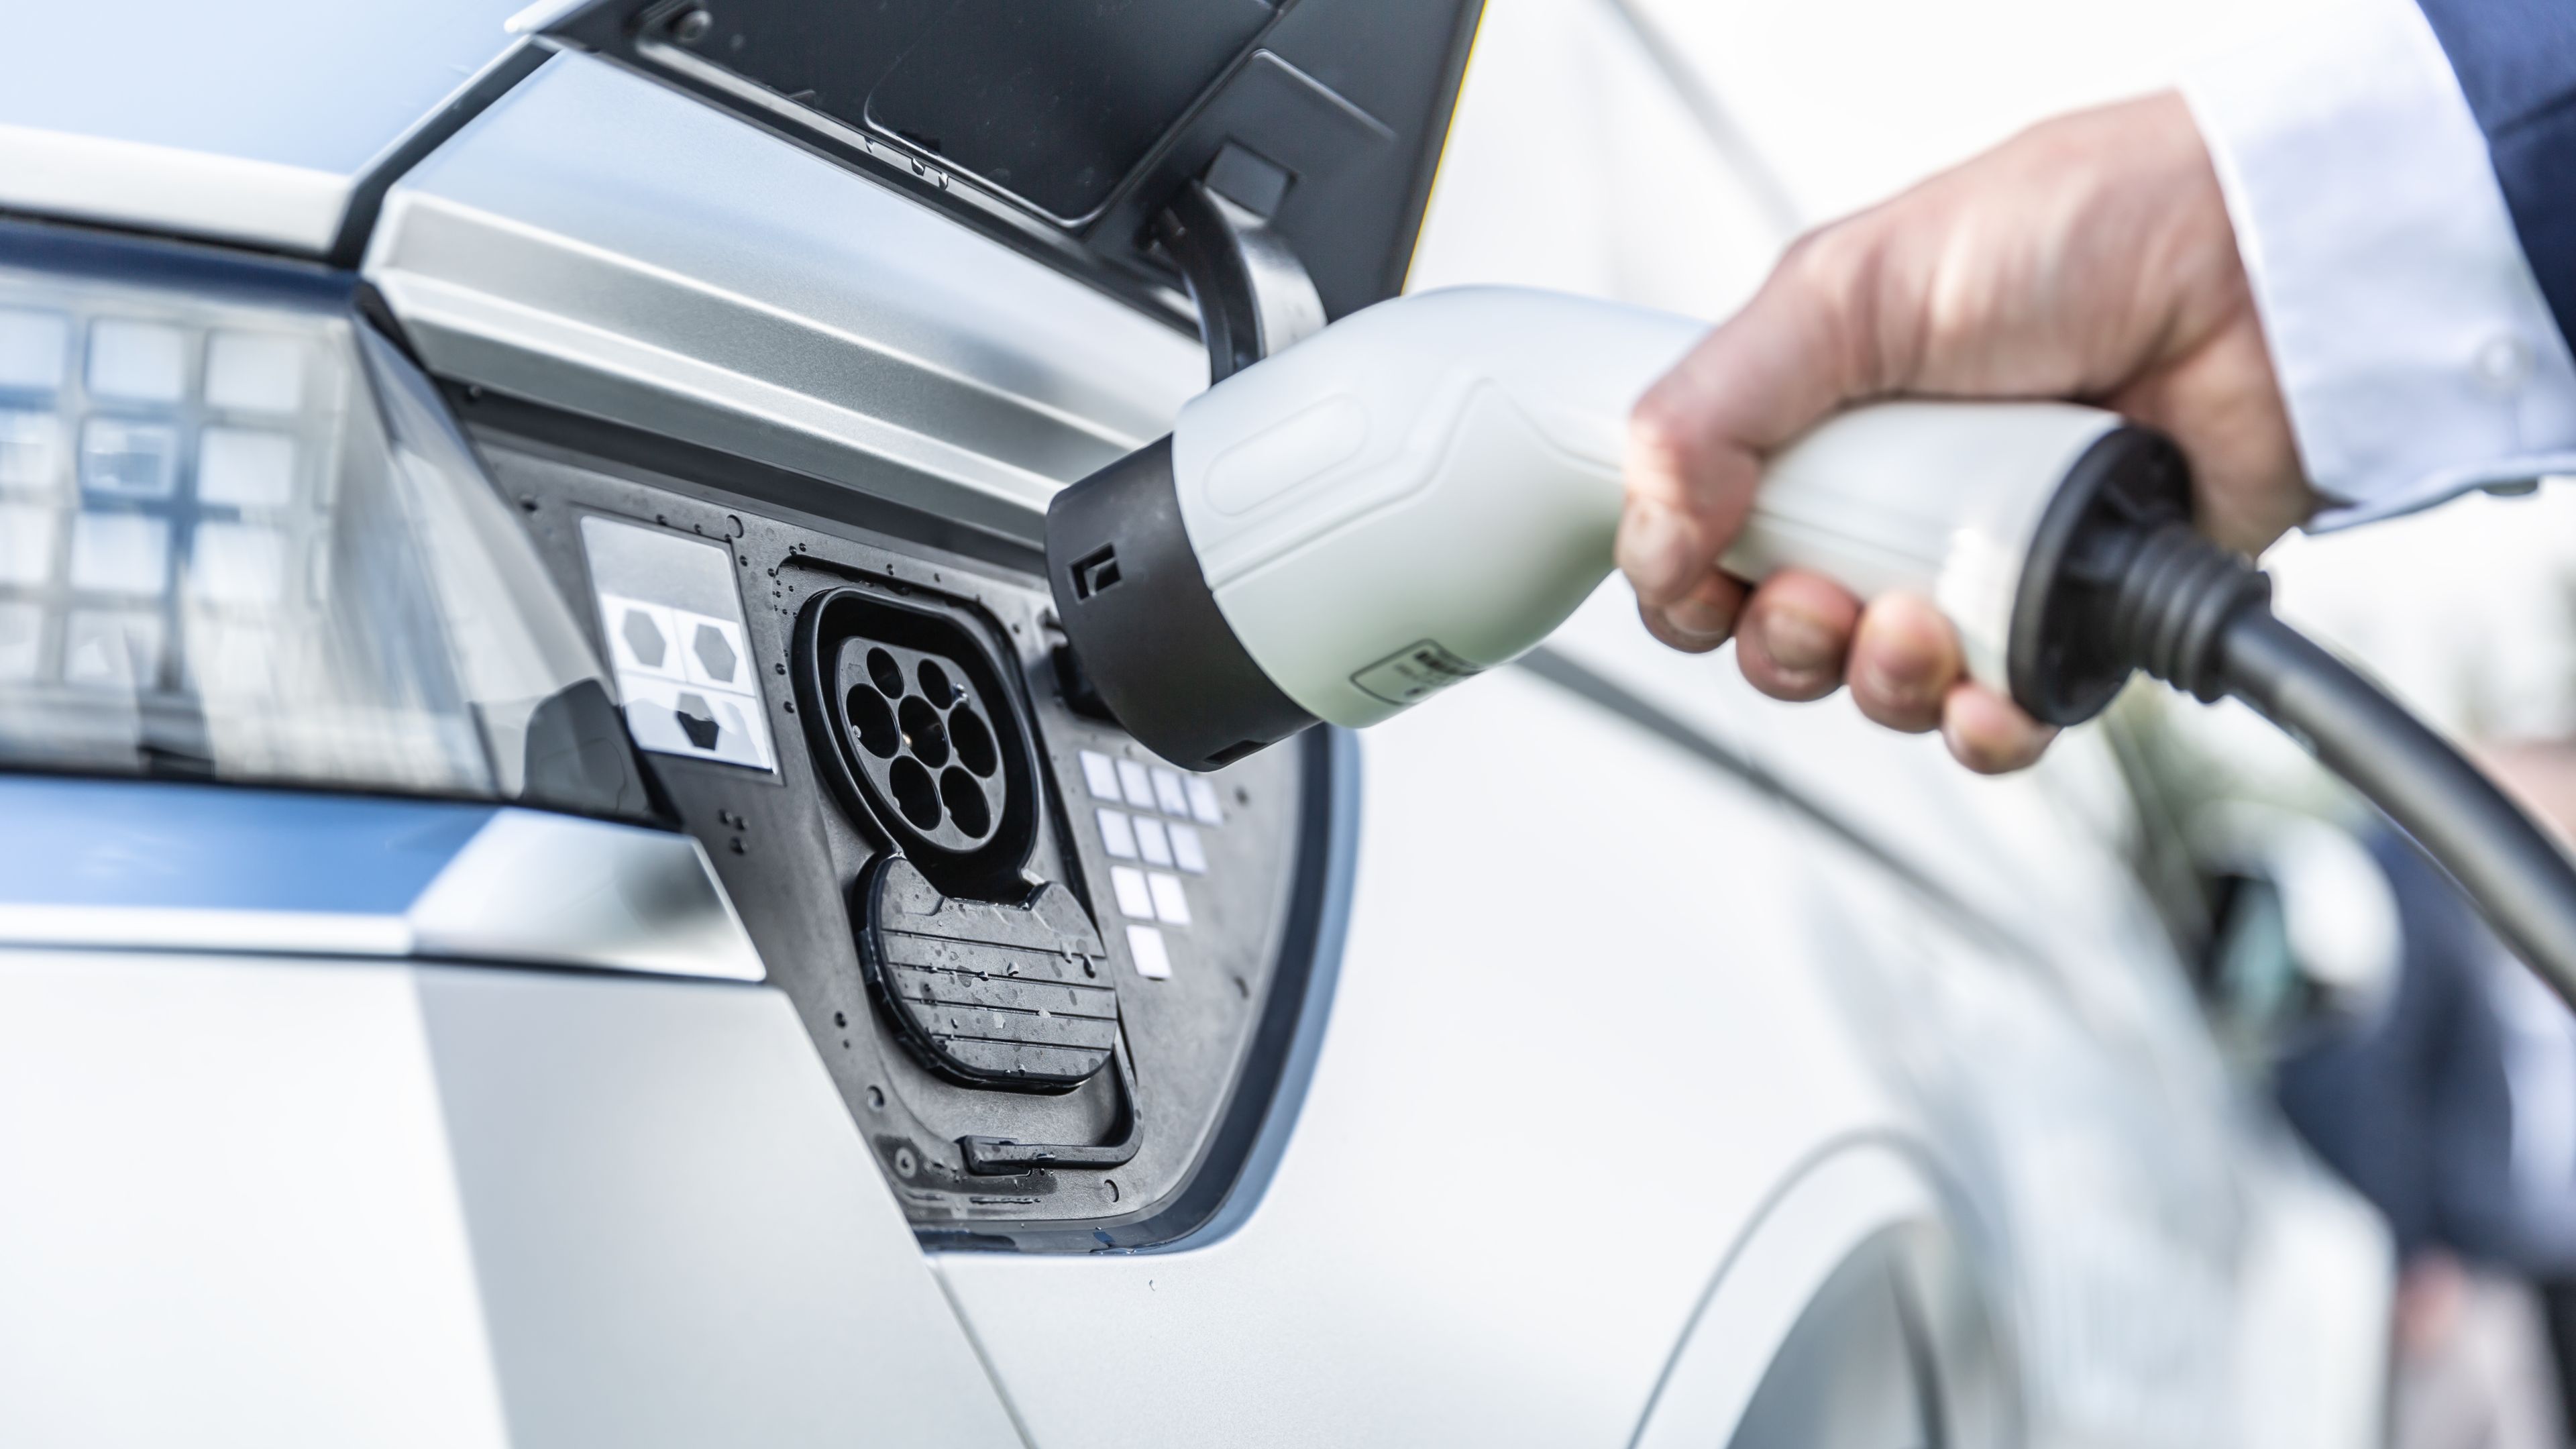
- Charging Port (Vehicle Inlet): The receptacle on your vehicle where you plug in the charging cable. There are different charging port standards (like J1772 for AC Level 1 and Level 2 charging, and CCS or CHAdeMO for DC fast charging).
- Onboard Charger (AC-DC Converter): This component is built into the car and is *crucial* for Level 1 and Level 2 charging. Since EV batteries store direct current (DC) electricity, the onboard charger converts the AC power from the grid into DC power that the battery can use. Its power handling capacity dictates the maximum AC charging rate your vehicle can accept.
- Battery Management System (BMS): The brain of the battery pack. The BMS monitors crucial parameters like cell voltage, temperature, and current flow. It ensures the battery operates within safe limits, prevents overcharging and over-discharging, and optimizes battery life.
- Battery Pack: The heart of the EV, comprising numerous individual battery cells connected in series and parallel to provide the necessary voltage and energy capacity. These cells are usually lithium-ion.
- DC Fast Charger (External AC-DC Converter): With DC Fast Charging, the AC-DC conversion happens *outside* the car, within the charging station itself. This allows for significantly higher power delivery directly to the battery, bypassing the onboard charger and enabling much faster charging times.
Key Specifications:
- Voltage (V): The electrical potential difference, measured in volts. Higher voltage generally means faster charging, but also requires more robust components and safety measures. Common voltages are 120V (Level 1), 240V (Level 2), and 400-800V (DC Fast Charging).
- Current (Amps or A): The rate of electrical flow, measured in amperes. Higher current also translates to faster charging, but is limited by the capacity of the charging cable, charging port, and onboard charger.
- Power (Watts or kW): The rate at which energy is transferred, calculated as Voltage x Current. Charging power is typically expressed in kilowatts (kW). Higher kW ratings mean faster charging.
- Battery Capacity (kWh): The amount of energy the battery can store, measured in kilowatt-hours. This determines the vehicle's range.
- Charging Level:
- Level 1: Standard 120V AC outlet. Slowest charging speed, typically adding 3-5 miles of range per hour.
- Level 2: 240V AC outlet. Faster charging, typically adding 12-30 miles of range per hour. Requires a dedicated charging station.
- DC Fast Charging: High-power DC charging. The fastest charging option, capable of adding significant range in a short amount of time.
Understanding Charging Diagram Symbols
Charging diagrams use standardized symbols to represent different components and electrical connections. Here's a rundown of common symbols:
- Solid Lines: Represent electrical conductors or wires carrying current. Thicker lines may indicate higher current capacity.
- Dashed Lines: Often indicate control signals or communication lines between components.
- Ground Symbol (three horizontal lines): Indicates a connection to ground, providing a safe path for fault currents to prevent electric shock. A proper ground connection is critical for safety.
- Resistor Symbol (zigzag line): Represents a resistor, which limits current flow.
- Capacitor Symbol (two parallel lines): Represents a capacitor, which stores electrical energy.
- Diode Symbol (triangle pointing to a vertical line): Represents a diode, which allows current to flow in only one direction.
- AC Source Symbol (sine wave): Represents an alternating current (AC) power source.
- DC Source Symbol (straight line with a shorter parallel line): Represents a direct current (DC) power source.
- Switch Symbol (line with a break): Represents a switch that can open or close an electrical circuit.
- Transformer Symbol (two coils linked with parallel lines): Represents a transformer, which changes the voltage of AC power.
- Icons: Specific icons will represent components like the onboard charger, battery pack, BMS, and charging port. These are usually labeled clearly on the diagram.
How EV Charging Works: A Step-by-Step Explanation
The charging process, in essence, involves transferring electrical energy from the power grid to the battery pack of your EV. Here's a detailed breakdown:
- AC Charging (Level 1 & 2):
- You plug the charging cable (EVSE) into the power outlet and the charging port on your vehicle.
- The EVSE performs a self-check to ensure the electrical circuit is safe and properly grounded. It communicates with the vehicle to establish a charging protocol.
- AC power flows through the charging cable to the onboard charger inside the car.
- The onboard charger converts the AC power into DC power. The charging rate (kW) is limited by the onboard charger's capacity.
- The DC power flows to the Battery Management System (BMS).
- The BMS monitors the battery's voltage, current, and temperature to ensure safe and efficient charging. It regulates the charging process to prevent overcharging or damage to the battery.
- The DC power is then delivered to the battery pack, storing the energy.
- DC Fast Charging:
- You plug the DC fast charging cable into the vehicle's charging port.
- The charging station (which contains a large AC-DC converter) communicates with the vehicle.
- High-voltage DC power flows directly from the charging station to the BMS, bypassing the onboard charger.
- The BMS still monitors the battery's parameters and regulates the charging process.
- The DC power is delivered directly to the battery pack at a much higher rate than AC charging.
Real-World Use: Basic Troubleshooting Tips
Here are some basic troubleshooting steps you can take if you encounter charging problems. Remember, if you are not a qualified technician, only do visual inspections and basic checks.
- Check the charging cable: Inspect the cable for any physical damage, such as cuts, cracks, or exposed wires. Do not use a damaged charging cable.
- Verify the power outlet: Make sure the outlet is functioning correctly. You can test it with another appliance. For Level 2 charging, ensure the circuit breaker hasn't tripped.
- Check the charging port: Inspect the charging port on your vehicle for any debris or damage.
- Restart the charging process: Unplug the charging cable from both the vehicle and the power outlet, wait a few seconds, and then plug it back in.
- Check the vehicle's display: Look for any error messages or warnings related to charging. Consult your vehicle's owner's manual for troubleshooting information.
- Consult a qualified technician: If you've tried these basic steps and your EV still won't charge, it's time to seek professional help. There could be a more serious issue with the onboard charger, BMS, or battery pack.
Safety Considerations
Working with high-voltage electrical systems is inherently dangerous. EVs contain components that can deliver lethal shocks. Never attempt to repair or modify high-voltage components unless you are a qualified and trained technician with the proper safety equipment and procedures.
- High-Voltage Battery Pack: The battery pack stores a significant amount of energy at high voltage. Contact with the battery pack can result in severe electric shock or death.
- Onboard Charger: The onboard charger converts AC power to DC power at high voltage. It's another source of potential electric shock.
- DC Fast Charging Stations: These stations deliver extremely high-power DC electricity. Improper use or tampering can be extremely dangerous.
- Charging Cables: Damaged charging cables can expose live wires and create a shock hazard. Always inspect charging cables before use.
Always follow these safety precautions:
- Wear appropriate personal protective equipment (PPE), including insulated gloves and safety glasses.
- Use insulated tools.
- Disconnect the power source before working on any electrical components.
- Never work alone. Have someone nearby who can assist in case of an emergency.
- Follow the manufacturer's instructions and safety guidelines.
- If you are unsure about anything, seek professional help.
Now that you have a better understanding of the EV charging system, you're well-equipped to tackle basic troubleshooting and appreciate the complexities of this technology. Remember, safety is paramount. Don't hesitate to consult a qualified technician if you encounter any issues that are beyond your expertise.
We have a detailed charging system diagram available for download. This diagram provides a visual representation of the components and connections discussed in this article, further enhancing your understanding of EV charging technology.