How To Check Compression On An Engine
Checking the compression on your engine is a crucial diagnostic procedure that helps determine the health of its internal components. Essentially, it measures the ability of each cylinder to seal and maintain pressure during the compression stroke. A healthy engine builds good compression, while a worn or damaged engine exhibits lower than expected readings. This article provides a comprehensive guide on how to perform a compression test, why it's important, and what the results can tell you about your engine's condition.
Why Checking Engine Compression Matters
Understanding the importance of engine compression testing is paramount to proactive vehicle maintenance and preventing potentially costly repairs. Here's why it matters:
- Detects Internal Wear and Damage: Compression testing is a direct indicator of the condition of the piston rings, valves, and cylinder walls. Worn rings, leaking valves, or damaged cylinder walls will all result in lower compression readings. Early detection allows you to address these issues before they cause catastrophic engine failure.
- Pinpoints Specific Cylinder Problems: By testing each cylinder individually, you can identify which cylinders are underperforming. This helps narrow down the source of the problem, whether it's a valve issue in one cylinder or ring wear across multiple cylinders.
- Identifies Potential Head Gasket Leaks: While not always definitive, a compression test can suggest a head gasket leak. A leak between cylinders can cause abnormally low compression in adjacent cylinders.
- Optimizes Engine Performance: Low compression leads to reduced power, poor fuel economy, and increased emissions. Addressing compression issues can restore your engine's performance and efficiency.
- Informs Pre-Purchase Inspections: When buying a used vehicle, a compression test can provide valuable insights into the engine's overall health and longevity. It can help you negotiate a fair price or avoid purchasing a vehicle with significant engine problems.
How to Choose the Right Compression Tester
Selecting the appropriate compression tester is crucial for accurate and reliable results. There are two main types:
- Threaded Compression Testers: These are the most common and generally preferred type. They screw directly into the spark plug holes, providing a secure and leak-proof connection. They are typically more accurate and easier to use than rubber-tipped testers. Look for a tester with a long, flexible hose for easier access to spark plug holes in tight engine compartments.
- Rubber-Tipped Compression Testers: These testers feature a rubber cone that you press firmly into the spark plug hole. While they are less expensive, they can be more difficult to use and prone to leaks, leading to inaccurate readings. They are generally not recommended for accurate diagnosis.
Key features to consider when choosing a compression tester:
- Gauge Range: Ensure the gauge has a range that covers the expected compression pressures for your engine. Consult your vehicle's repair manual for the manufacturer's specifications. Most gauges read up to at least 300 PSI.
- Adaptors: The tester should come with a variety of adaptors to fit different spark plug hole sizes.
- Release Valve: A pressure release valve allows you to reset the gauge after each cylinder test.
- Quality and Durability: Invest in a reputable brand and a tester made from durable materials to ensure long-lasting performance.
Step-by-Step Guide to Performing a Compression Test
Before you begin, always consult your vehicle's repair manual for specific instructions and safety precautions. This guide provides a general overview, but specific procedures may vary depending on your vehicle's make and model.
- Gather Your Tools and Materials:
- Compression tester
- Spark plug socket and ratchet
- Wrench for disconnecting fuel pump fuse or relay (if necessary)
- Screwdriver
- Safety glasses
- Gloves
- Repair manual for your vehicle
- Prepare the Engine:
- Warm up the engine to normal operating temperature. This ensures accurate readings.
- Turn off the engine and allow it to cool slightly before proceeding.
- Disconnect the fuel supply to prevent fuel from being injected into the cylinders during the test. This can be done by disconnecting the fuel pump fuse or relay. Refer to your repair manual for the location of these components.
- Disable the ignition system to prevent sparking during the test. This can be done by disconnecting the ignition coil or distributor. Again, consult your repair manual.
- Remove all spark plugs. Keep them organized so you know which cylinder they came from. Inspect the spark plugs for signs of wear or damage.
- Perform the Compression Test:
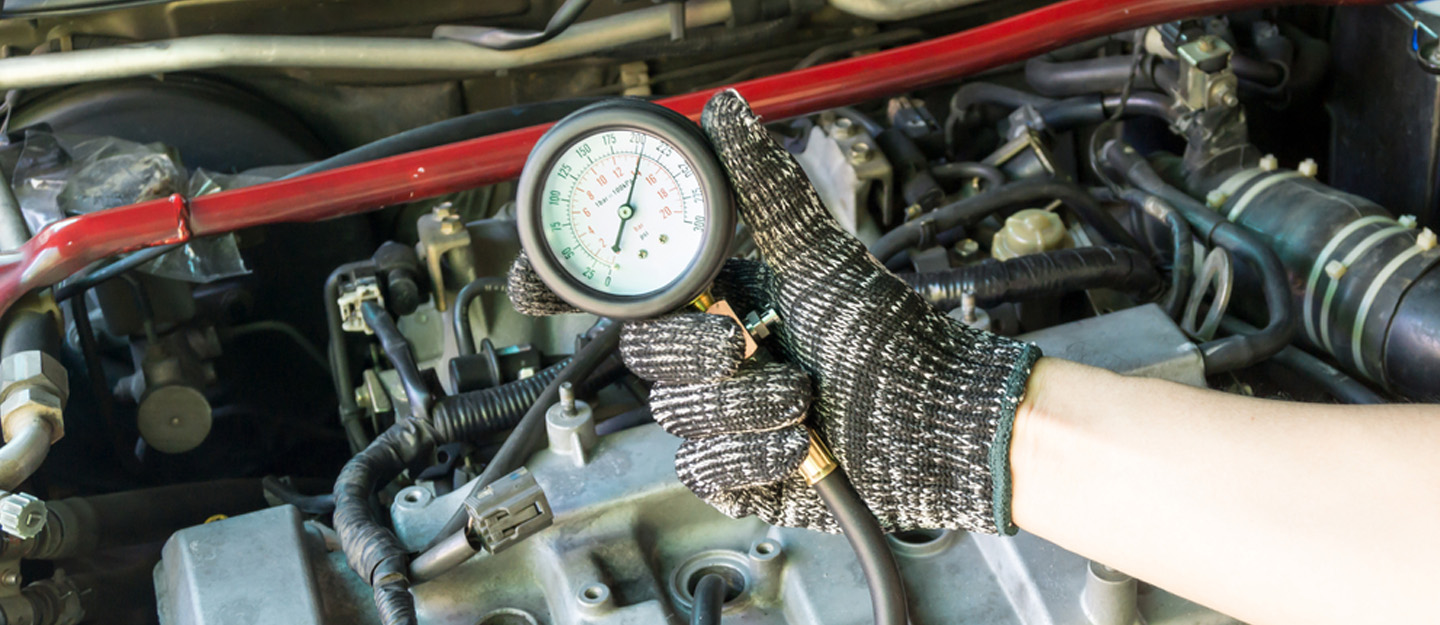
- Insert the compression tester into the spark plug hole of the first cylinder. If using a threaded tester, screw it in snugly by hand. If using a rubber-tipped tester, press it firmly into the hole.
- Crank the engine for several seconds (usually 5-7 cranks) while observing the gauge. The needle should rise steadily.
- Record the highest reading on the gauge.
- Press the release valve on the tester to reset the gauge.
- Repeat the process for each cylinder, recording the compression reading for each one.
- Analyze the Results:
- Compare the compression readings for each cylinder. They should be relatively close to each other. A significant difference (typically more than 10-15%) between cylinders indicates a problem.
- Compare the readings to the manufacturer's specifications. Your repair manual will provide the expected compression range for your engine. Readings that are significantly lower than the specifications indicate a problem.
- Interpreting Compression Test Results:
- Low Compression in One Cylinder: This could indicate a problem with the piston rings, valves, or cylinder wall in that cylinder.
- Low Compression in Two Adjacent Cylinders: This may suggest a head gasket leak between those cylinders.
- Consistently Low Compression Across All Cylinders: This could indicate worn piston rings or valve problems affecting the entire engine.
- Zero Compression in One Cylinder: This could be a sign of a severely damaged valve, a hole in the piston, or a broken connecting rod.
- After the Test:
- Reinstall the spark plugs, tightening them to the manufacturer's specifications.
- Reconnect the fuel supply and ignition system.
- Start the engine and check for any leaks or unusual noises.
- Dispose of used spark plugs and materials properly.
Real-World Owner Experiences
Many car owners have successfully used compression tests to diagnose engine problems. For example, John, a Honda Civic owner, noticed a significant drop in fuel economy and a loss of power. After performing a compression test, he discovered that one cylinder had significantly lower compression than the others. This led him to a mechanic who diagnosed a burnt valve, which was then repaired, restoring his engine's performance.
Sarah, a Ford F-150 owner, noticed her truck was running rough and had difficulty starting. A compression test revealed low compression in two adjacent cylinders, suggesting a head gasket leak. Replacing the head gasket resolved the issue and restored her truck's reliability.
These real-world examples highlight the value of compression testing as a diagnostic tool for identifying and addressing engine problems.
Frequently Asked Questions (FAQs)
Q: How often should I check my engine compression?
A: There's no fixed interval, but it's a good idea to check compression if you notice symptoms like reduced power, poor fuel economy, rough idling, or difficulty starting. It's also a good idea to perform a compression test as part of a pre-purchase inspection of a used vehicle.
Q: Can I perform a compression test on a diesel engine?
A: Yes, but the procedure is slightly different and requires a special diesel compression tester that can handle the much higher compression pressures found in diesel engines. The basic principles remain the same.
Q: What does a "wet" compression test involve, and when should I use it?
A: A wet compression test involves adding a small amount of oil (usually a tablespoon) to the cylinder through the spark plug hole before performing the compression test. If the compression reading increases significantly after adding oil, it suggests that the problem is likely with the piston rings. The oil helps to seal the rings and improve compression. If the compression doesn't improve much, the problem is likely with the valves.
Q: Is a compression test the same as a leak-down test?
A: No, while both tests assess engine sealing, they use different methods. A compression test measures the maximum pressure the cylinder can build, while a leak-down test measures the rate at which pressure leaks out of the cylinder. A leak-down test can help pinpoint the source of the leak (e.g., rings, valves, head gasket) more precisely than a compression test.
Q: Can I damage my engine by performing a compression test?
A: If performed correctly, a compression test should not damage your engine. However, it's crucial to follow the proper procedure and consult your vehicle's repair manual. Be careful not to overtighten the compression tester or strip the spark plug threads. If you're unsure about any step, it's best to consult a qualified mechanic.