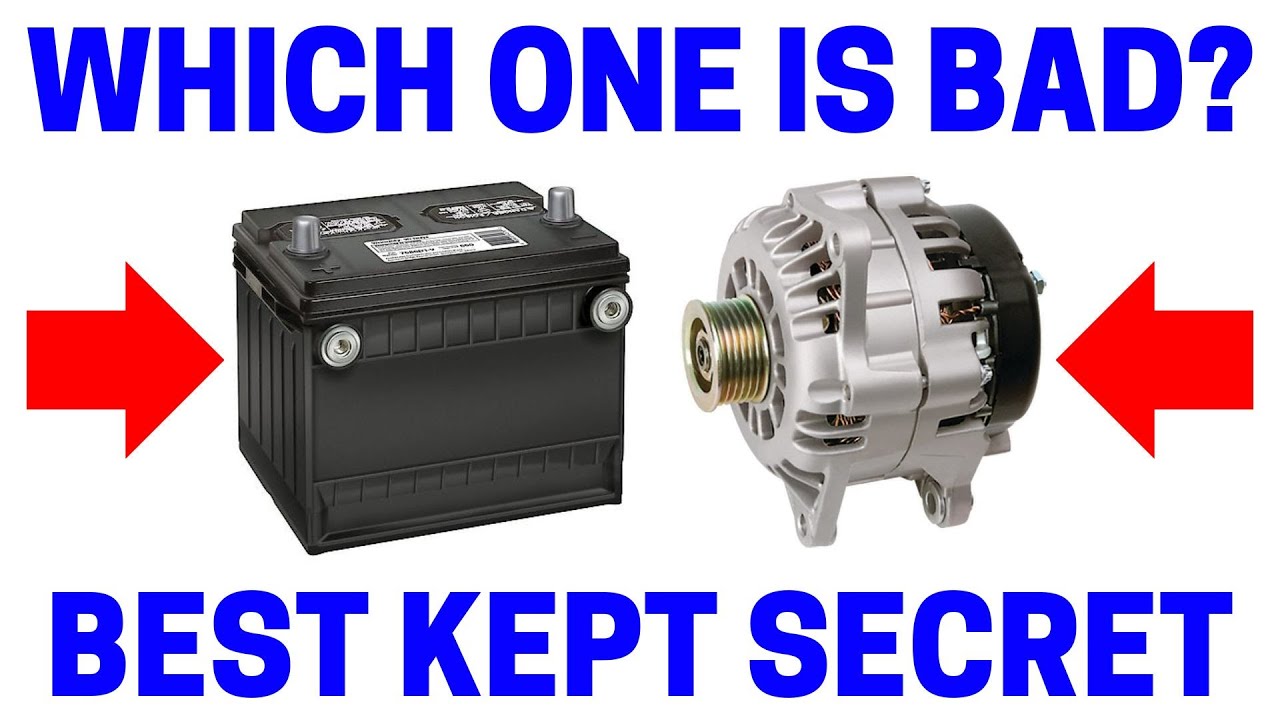
How To Check For Bad Alternator
Hey there, gearheads! Today, we're diving into the nitty-gritty of alternator diagnostics. A healthy alternator is crucial for keeping your car running smoothly. If it's on the fritz, you'll end up with a dead battery and a whole lot of headaches. This guide will equip you with the knowledge to check your alternator like a pro, even without fancy equipment.
Why This Matters: Charging System Diagnostics
Understanding how to check your alternator is essential for several reasons. Firstly, it can save you a ton of money on unnecessary repairs. Many times, a seemingly dead battery is actually a symptom of a failing alternator. Diagnosing the root cause yourself can prevent you from replacing a perfectly good battery. Secondly, it empowers you to perform preventative maintenance. By periodically checking your alternator's output, you can identify potential issues before they lead to a complete breakdown. Finally, it's a valuable skill for anyone modifying their car. Adding electrical accessories like upgraded audio systems or auxiliary lights puts extra strain on the charging system, making a healthy alternator even more critical.
Key Specs and Main Parts
Before we get into the testing procedures, let's briefly cover the key components and specifications to keep in mind.
- Voltage Output: A healthy alternator should typically produce between 13.5 and 14.5 volts when the engine is running. This range is crucial for charging the battery and powering the electrical system.
- Current Output (Amperage): This varies greatly depending on the vehicle and the alternator's design. It's the amount of electrical current the alternator can deliver. If it's not producing enough current, your electrical system will draw from the battery, eventually draining it.
- Stator: The stationary part of the alternator containing the windings where electricity is generated.
- Rotor (Armature): The rotating part of the alternator that creates a magnetic field.
- Regulator: Controls the alternator's output voltage to prevent overcharging and damaging the battery. This is crucial, because too much voltage will damage the car's electronics.
- Rectifier (Diode Bridge): Converts the AC voltage generated by the alternator into DC voltage, which is required by the car's electrical system.
- Brushes: Conduct electricity to the rotor, enabling the magnetic field to be created.
- Pulley: Driven by the engine's belt, providing the mechanical energy needed for the alternator to function.
How It Works
The alternator's job is to convert mechanical energy from the engine into electrical energy. The engine turns the alternator's pulley via a belt. The spinning rotor inside the alternator creates a magnetic field. This magnetic field induces an alternating current (AC) in the stator windings. The rectifier converts this AC current into direct current (DC), which is then used to charge the battery and power the car's electrical systems. The voltage regulator ensures the output voltage stays within the optimal range, preventing overcharging and damage.
Real-World Use: Basic Troubleshooting
Now, let's get to the practical stuff. Here are a few basic troubleshooting tips to help you diagnose alternator issues:
The Visual Inspection
Start with a thorough visual inspection. Check the following:
- Belt Condition: A loose, cracked, or worn belt can prevent the alternator from spinning properly. Replace the belt if necessary.
- Wiring: Look for loose or corroded connections at the alternator, battery, and ground points. Clean and tighten any suspect connections.
- Alternator Housing: Inspect the alternator housing for any signs of damage, such as cracks or leaks.
The Voltmeter Test
This is the most common and straightforward way to check your alternator's output.
- Battery Voltage (Engine Off): Use a multimeter to measure the battery voltage with the engine off. A fully charged battery should read around 12.6 volts. If it's significantly lower, charge the battery before proceeding.
- Charging Voltage (Engine Running): Start the engine and let it idle. Measure the battery voltage again. It should now be between 13.5 and 14.5 volts. If it's lower than 13.5 volts, the alternator may not be charging properly.
- Load Test: With the engine running, turn on several electrical accessories, such as the headlights, air conditioning, and radio. Observe the voltage reading on the multimeter. If the voltage drops significantly (below 13 volts), the alternator may be struggling to keep up with the electrical load.
The Amperage Test (Advanced)
This test requires a clamp-on ammeter. This device measures the current flowing through a wire without having to disconnect it. It can be very helpful to measure alternator current output.
- Clamp the Meter: Clamp the ammeter around the positive battery cable.
- Observe the Reading: Start the engine and turn on some electrical accessories. The ammeter should show a positive reading, indicating that the alternator is charging the battery.
- Compare to Specs: Compare the amperage reading to the alternator's rated output (usually found on a sticker on the alternator). If the amperage is significantly lower than the rated output, the alternator may be failing.
The Diode Ripple Test (Advanced)
This test checks the rectifier diodes inside the alternator. A failing diode can cause excessive AC ripple in the DC output, which can damage sensitive electronic components.
- Set Multimeter to AC Voltage: Set your multimeter to measure AC voltage (ACV).
- Connect to Battery: Connect the multimeter leads to the battery terminals.
- Observe the Reading: With the engine running, observe the AC voltage reading. A healthy alternator should have very low AC ripple, typically less than 0.5 volts AC. Anything significantly higher indicates a failing diode.
Safety First!
Working with electrical systems can be dangerous. Always disconnect the negative battery cable before working on the alternator or any other electrical component. Be extremely cautious when working around the engine, especially when it's running. Avoid touching any moving parts, such as the belt and pulleys. Wear safety glasses to protect your eyes from debris.
Important: The charging system and electrical components can get hot, so be careful not to burn yourself.
Conclusion
Checking your alternator doesn't have to be a daunting task. With a basic understanding of how it works and a few simple tools, you can diagnose most common alternator problems yourself. Remember to always prioritize safety and consult a qualified mechanic if you're unsure about anything.
We have a detailed alternator troubleshooting diagram available for download. It includes visual aids and step-by-step instructions to further assist you in your diagnostics. Click the link below to download:
Note: This information is for general guidance only. Always refer to your vehicle's service manual for specific instructions and specifications.