How To Clean Auto Leather Seats
So, you've got leather seats in your ride. Nice! Leather adds a touch of class and comfort, but unlike cloth, it requires a bit of specialized care. This article walks you through the process of cleaning your auto leather seats like a pro, ensuring they stay supple, clean, and looking their best for years to come. We’ll cover everything from the right products to proper techniques, ensuring you don't damage that beautiful bovine hide.
Purpose: Preserving Your Investment
Why bother with a meticulous leather cleaning routine? Well, it’s more than just aesthetics. Regular cleaning and conditioning prevent the leather from drying out, cracking, and fading due to UV exposure, dirt, and body oils. Neglecting your leather can lead to costly repairs or even premature replacement of the upholstery. Think of it as preventative maintenance for your interior. Proper care can significantly extend the lifespan of your leather and maintain its value. Also, a clean interior just *feels* better, right?
Key Specs and Main Components: Understanding the Leather Landscape
Before we dive into the cleaning process, let’s understand the different types of leather commonly found in cars. This impacts the products and techniques you'll use.
Types of Leather:
- Aniline Leather (Nappa): This is the highest quality and most delicate type. It's dyed with soluble dyes that do not contain opaque pigments. It’s very soft and natural-looking but also the most susceptible to staining and damage.
- Semi-Aniline Leather: Similar to aniline but with a thin protective coating to enhance durability and stain resistance. This is a good balance of luxury and practicality.
- Protected Leather (Pigmented): This is the most common type in automotive applications. It has a durable pigment coating that makes it resistant to stains, scratches, and fading. While less luxurious in feel than aniline, it’s much easier to care for.
- Bonded Leather: Technically not real leather, it’s made from leather scraps bonded together. It looks like leather but won’t wear or age like the real thing. Treat it similarly to protected leather.
Key Cleaning Components:
- Vacuum Cleaner: A good vacuum with a soft brush attachment is essential for removing loose dirt and debris.
- Microfiber Cloths: These are your best friends for cleaning and wiping. Use a few different ones to avoid transferring dirt.
- Leather Cleaner: Choose a cleaner specifically designed for automotive leather. Avoid harsh chemicals or household cleaners, as they can strip the leather's natural oils. Pay attention to the pH level; a neutral pH is generally best.
- Leather Conditioner: After cleaning, a conditioner replenishes the leather's moisture, keeping it soft and supple.
- Soft Brushes: A detailing brush with soft bristles can help loosen dirt from tight crevices. A horsehair brush is a good option.
- Spray Bottles: For diluting cleaner or applying conditioner.
How It Works: The Cleaning Process
Here's a step-by-step guide to cleaning your auto leather seats:
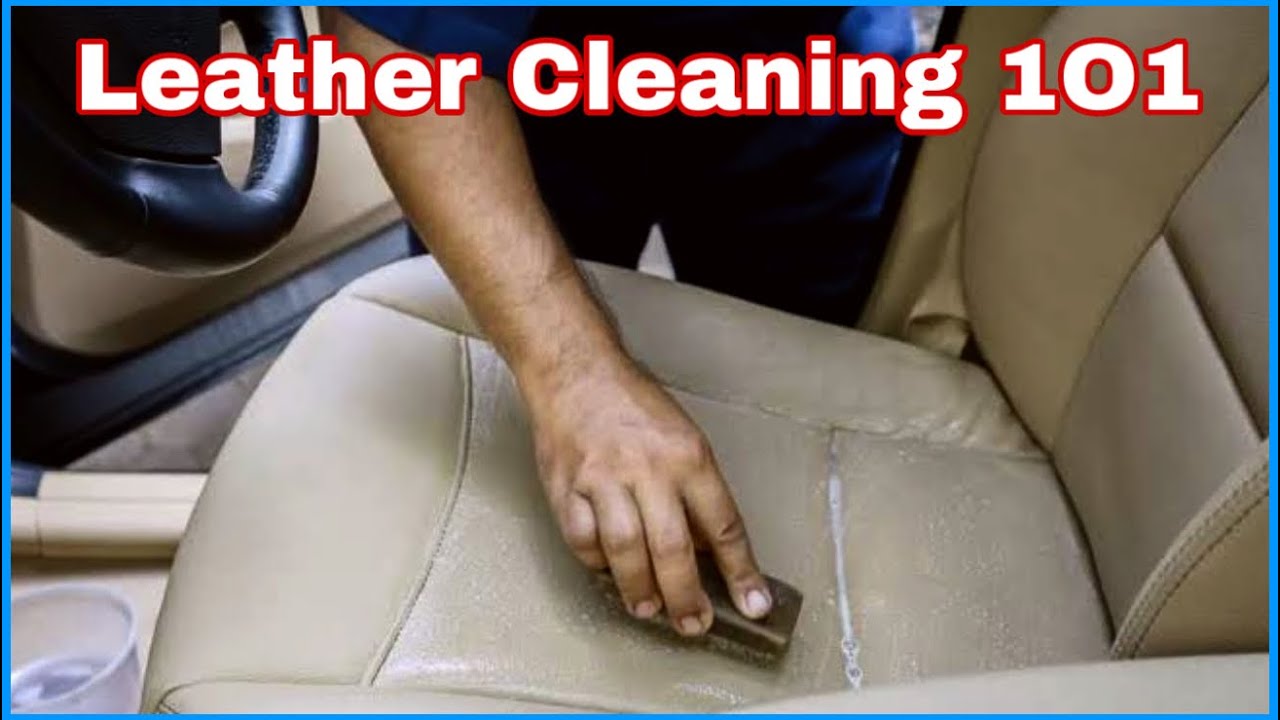
- Vacuum Thoroughly: Start by vacuuming the entire seat, paying attention to seams, creases, and hard-to-reach areas. This removes loose dirt and debris that could scratch the leather during the cleaning process.
- Prepare Your Cleaning Solution: If your leather cleaner is concentrated, dilute it according to the manufacturer's instructions. Use distilled water for dilution to avoid mineral deposits.
- Test in an Inconspicuous Area: Before applying the cleaner to the entire seat, test it in a hidden area, such as under the seat or on the back of the seat. This ensures the cleaner doesn't discolor or damage the leather.
- Apply the Cleaner: Spray a small amount of the cleaner onto a clean microfiber cloth. Do not spray directly onto the leather seat.
- Gently Clean the Leather: Using the dampened cloth, gently wipe the leather in a circular motion. Avoid excessive pressure or scrubbing, as this can damage the leather. Focus on small sections at a time.
- Wipe Away Excess Cleaner: Use a clean, dry microfiber cloth to wipe away any excess cleaner.
- Allow to Dry: Allow the leather to air dry completely before applying conditioner.
- Apply Leather Conditioner: Once the leather is dry, apply a leather conditioner according to the manufacturer's instructions. This replenishes the leather's moisture and protects it from cracking.
- Buff the Leather: After applying the conditioner, use a clean, dry microfiber cloth to buff the leather. This helps to distribute the conditioner evenly and gives the leather a nice shine.
Real-World Use: Basic Troubleshooting Tips
Even with the best intentions, problems can arise. Here are some common issues and solutions:
- Stains: For fresh stains, blot immediately with a clean cloth. For stubborn stains, use a leather stain remover specifically designed for that type of stain. Different types of stains require different solutions. Ink, for example, might require a dedicated ink remover.
- Cracking: If your leather is already cracked, cleaning and conditioning can help prevent further damage, but it won't repair existing cracks. Consider professional leather repair services for significant damage.
- Drying: If the leather feels dry even after conditioning, apply another coat of conditioner. You might also consider a heavier, more emollient conditioner.
- Discoloration: If the cleaner causes discoloration, stop using it immediately and consult a professional leather cleaner.
- Sticky Residue: If you notice a sticky residue after cleaning, it could be from overuse of product. Dilute the cleaner or conditioner more, and be sure to thoroughly wipe away any excess product.
Safety: Avoiding Damage
Leather, while durable, is still a natural material and can be damaged by harsh chemicals or improper techniques. Be mindful of the following:
- Avoid Harsh Chemicals: Never use bleach, ammonia, or other harsh chemicals on leather. These can strip the leather of its natural oils and cause irreversible damage.
- Don't Over-Saturate: Avoid over-saturating the leather with cleaner or conditioner. This can cause the leather to stretch or become sticky.
- Test First: Always test any cleaner or conditioner in an inconspicuous area before applying it to the entire seat.
- Direct Sunlight: Avoid cleaning leather in direct sunlight, as this can cause the cleaner to dry too quickly and leave streaks.
- Heated Seats: Avoid using cleaners that contain alcohol if you have heated seats as it can dry out the leather prematurely when used in conjunction with heat.
The Takeaway
Cleaning your auto leather seats is an investment in the longevity and appearance of your vehicle's interior. By following these guidelines and using the right products, you can keep your leather looking its best for years to come. Remember that consistency is key. A regular cleaning schedule, perhaps every few months, is far more effective than infrequent deep cleaning sessions. Your leather will thank you!