How To Clean Car Interior Seats
Maintaining a clean car interior is crucial, not just for aesthetics but also for hygiene and preserving the value of your vehicle. Over time, car seats accumulate dirt, stains, and odors. Knowing how to properly clean them can significantly extend their lifespan and enhance your driving experience. This guide provides a detailed, hands-on approach to cleaning various types of car seats, aimed at the experienced DIYer who appreciates the nuances of automotive care.
Understanding Car Seat Materials
Before diving into the cleaning process, it's essential to identify the material of your car seats. Different materials require different cleaning techniques and products. The most common types include:
- Fabric: This encompasses various woven materials like cloth, velour, and polyester. Fabric seats are generally more porous and prone to staining.
- Leather: Leather seats are luxurious but require special care to prevent drying, cracking, and discoloration.
- Vinyl: A synthetic material often used as a leather alternative. Vinyl is durable and easy to clean but can be susceptible to cracking with age and sun exposure.
- Faux Leather (Leatherette): Designed to mimic the look and feel of leather, but usually more resilient and affordable.
Tools and Materials Required
A well-stocked arsenal of cleaning tools and materials will make the job significantly easier and more effective. Here's a comprehensive list:
- Vacuum Cleaner: A powerful vacuum with various attachments, including a crevice tool and upholstery brush, is essential for removing loose dirt and debris.
- Microfiber Cloths: These are lint-free and gentle on surfaces, making them ideal for wiping and drying. Keep a supply of both clean and damp cloths.
- Spray Bottles: For applying cleaning solutions. Using separate bottles for different solutions prevents contamination.
- Upholstery Brush: A soft-bristled brush for agitating stains and lifting dirt from fabric.
- Leather Cleaner and Conditioner: Specifically formulated for leather seats to clean and moisturize. Avoid harsh chemicals that can damage the leather.
- All-Purpose Cleaner: A versatile cleaner for vinyl and plastic surfaces. Dilute according to the manufacturer's instructions.
- Enzyme Cleaner: Excellent for removing organic stains like food spills, urine, and vomit. The enzymes break down the stain at a molecular level.
- Steam Cleaner (Optional): A steam cleaner can be highly effective for deep cleaning and sanitizing fabric seats. Use caution on leather as excessive heat can damage it.
- Detailing Brushes: Small brushes with fine bristles, ideal for getting into tight crevices and seams.
- Buckets: One for clean water and one for rinsing dirty cloths.
- Protective Gloves: To protect your hands from harsh chemicals.
Step-by-Step Cleaning Process
Follow these steps for a thorough car seat cleaning:
1. Preparation and Vacuuming
Start by removing any loose items from the car, such as floor mats, trash, and personal belongings. Thoroughly vacuum the entire interior, paying special attention to the crevices, seams, and under the seats. Use the crevice tool to reach tight spaces and the upholstery brush to loosen dirt from the seat fabric. Effective vacuuming is the foundation of a clean interior.
2. Spot Treatment
Identify any stains and treat them individually before cleaning the entire seat. For fabric seats, apply an enzyme cleaner to the stain, let it sit for the recommended time (usually 10-15 minutes), and then blot it with a clean microfiber cloth. Avoid rubbing, as this can spread the stain. For leather seats, use a leather stain remover specifically designed for the type of stain. Test any stain remover on an inconspicuous area first to ensure it doesn't damage the material.
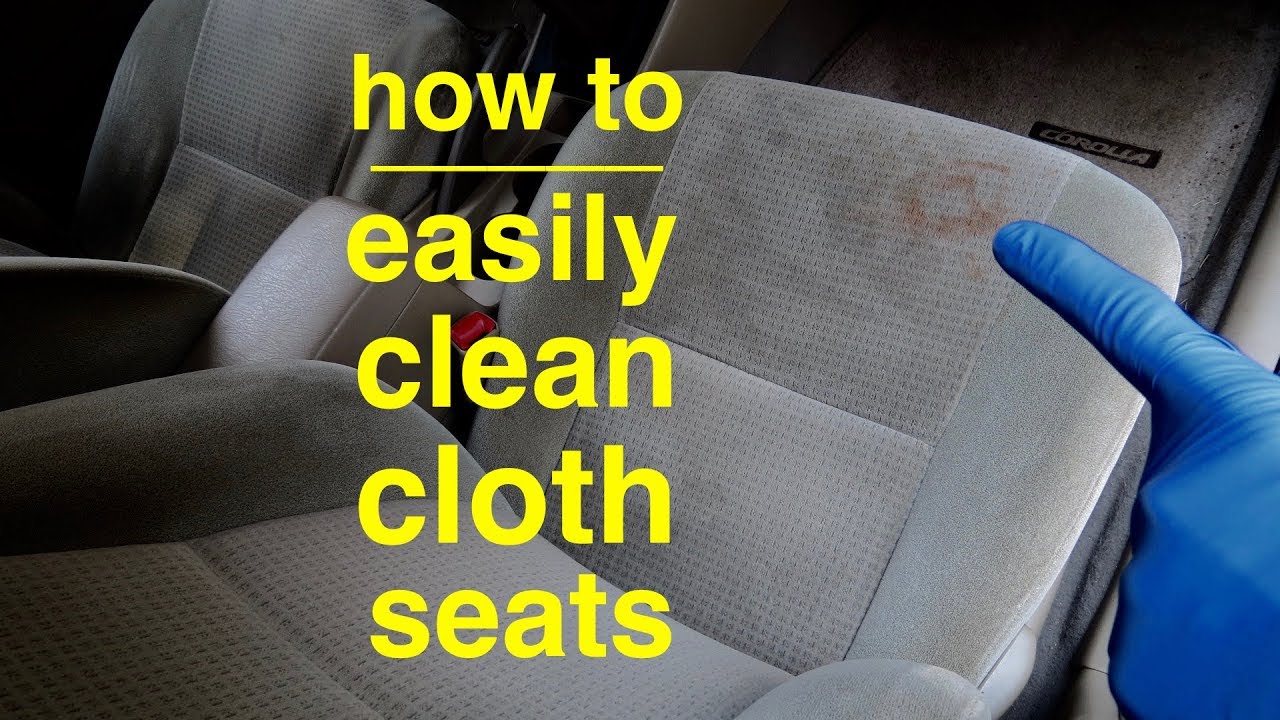
3. Cleaning Fabric Seats
Mix a mild detergent with warm water in a spray bottle. Lightly spray the seat fabric, avoiding oversaturation. Use the upholstery brush to gently agitate the fabric, working the cleaning solution into the fibers. Wipe the seat with a clean, damp microfiber cloth to remove the cleaning solution and lifted dirt. Repeat as necessary. If you're using a steam cleaner, follow the manufacturer's instructions and use short bursts of steam to avoid damaging the fabric.
4. Cleaning Leather Seats
Apply a small amount of leather cleaner to a clean microfiber cloth. Gently wipe the leather seats in a circular motion. Avoid applying the cleaner directly to the leather. Once the seat is clean, apply a leather conditioner to moisturize and protect the leather. Allow the conditioner to absorb for the recommended time (usually 10-15 minutes), then wipe off any excess with a clean microfiber cloth.
5. Cleaning Vinyl Seats
Spray the vinyl seats with an all-purpose cleaner, diluted according to the manufacturer's instructions. Wipe the seats with a clean microfiber cloth. For stubborn stains, use a soft-bristled brush to gently scrub the area. Rinse the seat with a damp cloth to remove any remaining cleaner. Dry the seat with a clean microfiber cloth.
6. Drying
Allow the seats to air dry completely. Open the car doors and windows to promote ventilation. You can also use a fan to speed up the drying process. Avoid using the car until the seats are completely dry to prevent mildew and odors.
7. Final Touches
Once the seats are dry, vacuum them again to remove any remaining debris. Apply a fabric protector to fabric seats to help repel future stains. For leather seats, reapply a coat of leather conditioner for extra protection.
Real-World Use and Troubleshooting
- Stubborn Stains: For persistent stains, try a specialized stain remover or consult a professional detailing service.
- Odor Removal: If your car has a lingering odor, try using an odor eliminator spray or place a bowl of baking soda in the car overnight.
- Preventative Maintenance: Regularly vacuum your car seats to prevent dirt and grime from building up. Clean spills immediately to prevent staining.
- Discoloration: Discoloration from sun exposure can be difficult to reverse. Using a UV protectant on your seats can help prevent further fading.
- Crack Repair for Vinyl and Leather: Small cracks can be addressed with specialized repair kits. Larger cracks may require professional upholstery repair.
Safety Considerations
While cleaning car seats is generally safe, it's important to take certain precautions:
- Chemical Sensitivity: Always wear protective gloves and work in a well-ventilated area to avoid inhaling fumes from cleaning products.
- Electrical Safety: If using a steam cleaner, ensure the power cord is in good condition and avoid using it near water or other liquids.
- Airbag Sensors: Be careful when cleaning around airbag sensors located in the seats. Avoid applying excessive pressure or using harsh chemicals that could damage the sensors. Consult your vehicle's service manual for the location of these sensors before you begin.
Remember, different cleaning agents can react in unpredictable ways. It's always a good idea to test a new cleaner on an inconspicuous area of the seat before applying it to the entire surface. The key to successful car seat cleaning is patience and attention to detail.