How To Clean Electrical Connectors Car
Electrical connectors are the unsung heroes of your car, tirelessly relaying signals and power throughout the vehicle's complex systems. When these connectors become corroded, dirty, or damaged, they can cause a multitude of issues, ranging from intermittent sensor readings to complete system failures. Cleaning your car's electrical connectors is a preventative maintenance task that can save you time, money, and frustration. In this article, we'll delve into the hows and whys of connector cleaning, giving you the knowledge to keep your car running smoothly.
Understanding Your Car's Electrical System
Before diving into the cleaning process, it's essential to understand the basics of your car's electrical system. Think of it as a complex network of wires, sensors, and actuators, all interconnected and communicating with each other. The Battery provides the initial electrical power, which is then distributed throughout the vehicle. The Engine Control Unit (ECU), often referred to as the car's "brain," receives information from various sensors and controls actuators to manage engine performance, emissions, and other vital functions.
Connectors are the vital links in this network. They allow wires to be joined, sensors to be connected, and signals to be transmitted effectively. The quality of these connections directly impacts the reliability and performance of the entire system. Imagine a loose connection; it's like a clogged artery in the human body, restricting the flow and causing problems. Poor connections can lead to:
- Intermittent sensor readings: Leading to inaccurate data being sent to the ECU.
- Engine misfires: Resulting in poor fuel economy and rough running.
- Fault codes (Diagnostic Trouble Codes - DTCs): Triggering the check engine light.
- System failures: Preventing components from functioning correctly.
Technical Breakdown: How Connectors Work
Electrical connectors work by providing a secure and low-resistance pathway for electricity to flow between two or more points. They typically consist of two main components: the housing and the terminals. The housing provides structural support and protects the terminals from the environment. The terminals, made of conductive materials like copper or brass, are the actual points of electrical contact.
The terminals are designed to create a tight, friction-fit connection. This friction helps to remove minor surface oxidation and ensure a good electrical connection. However, over time, this friction can degrade the terminal surfaces, and exposure to moisture, dirt, and chemicals can lead to corrosion.
Connectors come in various shapes and sizes, each designed for specific applications. Some are sealed to protect against moisture and contaminants, while others are designed for high-current applications. Understanding the type of connector you're dealing with is crucial for proper cleaning and maintenance.
Cleaning Electrical Connectors: A Step-by-Step Guide
Here's a comprehensive guide to cleaning electrical connectors, suitable for most automotive applications:
- Preparation is Key: Disconnect the negative battery terminal. This is crucial for safety. Wait at least 10 minutes before proceeding. This allows any residual electrical charge to dissipate, minimizing the risk of short circuits. Gather your tools: you'll need electrical contact cleaner, a small brush (like a toothbrush or acid brush), dielectric grease, and possibly small picks or terminal release tools.
- Identify and Access the Connector: Locate the connector you want to clean. This may involve removing some trim pieces or other components to gain access. Refer to your car's service manual for guidance, if needed.
- Disconnect the Connector: Carefully disconnect the connector. Most connectors have a locking mechanism – a clip, latch, or button – that needs to be released before you can pull the connector apart. Do not force it! Forcing the connector can damage the housing or terminals.
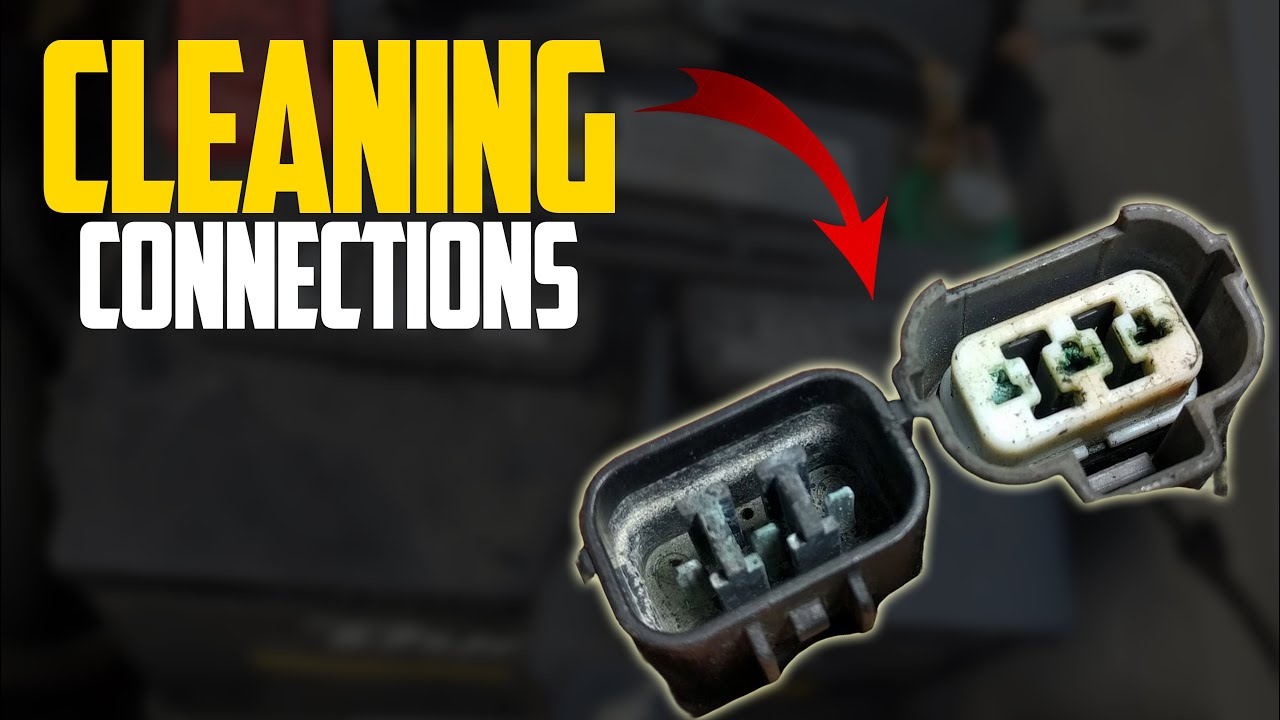
- Inspect the Connector: Visually inspect the connector for signs of corrosion, dirt, or damage. Look for green or white powdery deposits on the terminals, which indicate corrosion. Check the housing for cracks or breaks. If the housing is damaged, it may need to be replaced.
- Cleaning the Terminals: This is the most important step. Spray electrical contact cleaner liberally into both halves of the connector. The contact cleaner is specifically formulated to dissolve corrosion and dirt without damaging the electrical components. Use the small brush to gently scrub the terminals. Pay particular attention to any areas with visible corrosion. If the corrosion is stubborn, you may need to use a small pick or terminal release tool to carefully scrape away the deposits. Be careful not to damage the terminals. For heavily corroded terminals, consider using a dedicated terminal cleaning tool. These tools are designed to clean terminals without damaging them. You can also use very fine grit sandpaper (1000 grit or higher) to *gently* polish the terminals, but be extremely careful not to remove too much material.
- Clean the Housing: Wipe down the connector housing with a clean cloth or paper towel. Remove any dirt or debris that may have accumulated on the housing.
- Reassemble the Connector: Once the terminals are clean and dry, reassemble the connector. Make sure the locking mechanism engages properly.
- Apply Dielectric Grease: Apply a small amount of dielectric grease to the terminals before reconnecting the connector. Dielectric grease is a non-conductive lubricant that helps to prevent corrosion and moisture intrusion. It also helps to improve the electrical connection. Do not over apply the grease, as excessive amounts can attract dirt and debris.
- Reconnect the Battery: Reconnect the negative battery terminal.
- Test the System: Start the engine and test the system to ensure that it is functioning correctly. If you are still experiencing problems, double-check your work and consider further diagnostics.
Common Issues and Maintenance Concerns
Even with regular cleaning, electrical connectors can still experience problems. Here are some common issues and maintenance concerns:
- Terminal Fretting: This occurs when the terminals vibrate against each other, causing wear and oxidation. This can lead to intermittent connections and reduced signal strength. Dielectric grease can help to prevent terminal fretting.
- Wire Damage: The wires connected to the connectors can become damaged due to age, heat, or abrasion. Inspect the wires for cracks, breaks, or frayed insulation. If you find any damaged wires, repair or replace them as needed.
- Connector Housing Damage: The connector housing can become damaged due to impact, heat, or exposure to chemicals. If the housing is damaged, it may need to be replaced to ensure a proper seal and prevent moisture intrusion.
- Pinched or Broken Wires: Check for any signs of pinched or broken wires. These are common near areas where harnesses are routed through tight spaces or near moving parts.
Do's and Don'ts / Best Practices
Follow these do's and don'ts to ensure that you clean electrical connectors safely and effectively:
- Do disconnect the battery before working on electrical connectors.
- Do use electrical contact cleaner specifically designed for automotive applications.
- Do use a small brush to gently scrub the terminals.
- Do apply dielectric grease to the terminals after cleaning.
- Do inspect the connector for signs of damage.
- Don't force the connector apart.
- Don't use abrasive cleaners or sandpaper (except for very fine grit in specific cases) on the terminals.
- Don't use excessive amounts of dielectric grease.
- Don't work on electrical connectors in wet or damp conditions.
- Don't ignore warning signs like intermittent problems or DTCs. Address them promptly to prevent further damage.
- Best Practice: Keep a log of the connectors you clean and the date you cleaned them. This will help you track your maintenance efforts and identify potential problem areas.
- Best Practice: If you're working on a particularly complex system, take photos of the connector locations before disconnecting them. This will help you remember where everything goes during reassembly.
Conclusion
Cleaning your car's electrical connectors is a simple but effective way to maintain its performance and reliability. By following the steps outlined in this article, you can keep your car's electrical system functioning smoothly and prevent costly repairs. Remember, preventative maintenance is always cheaper than reactive repairs. So, grab your tools, disconnect the battery, and give those connectors some love! Regular cleaning and maintenance of electrical connectors can significantly extend the life of your car and prevent frustrating electrical issues.