How To Clean Mold Car Interior
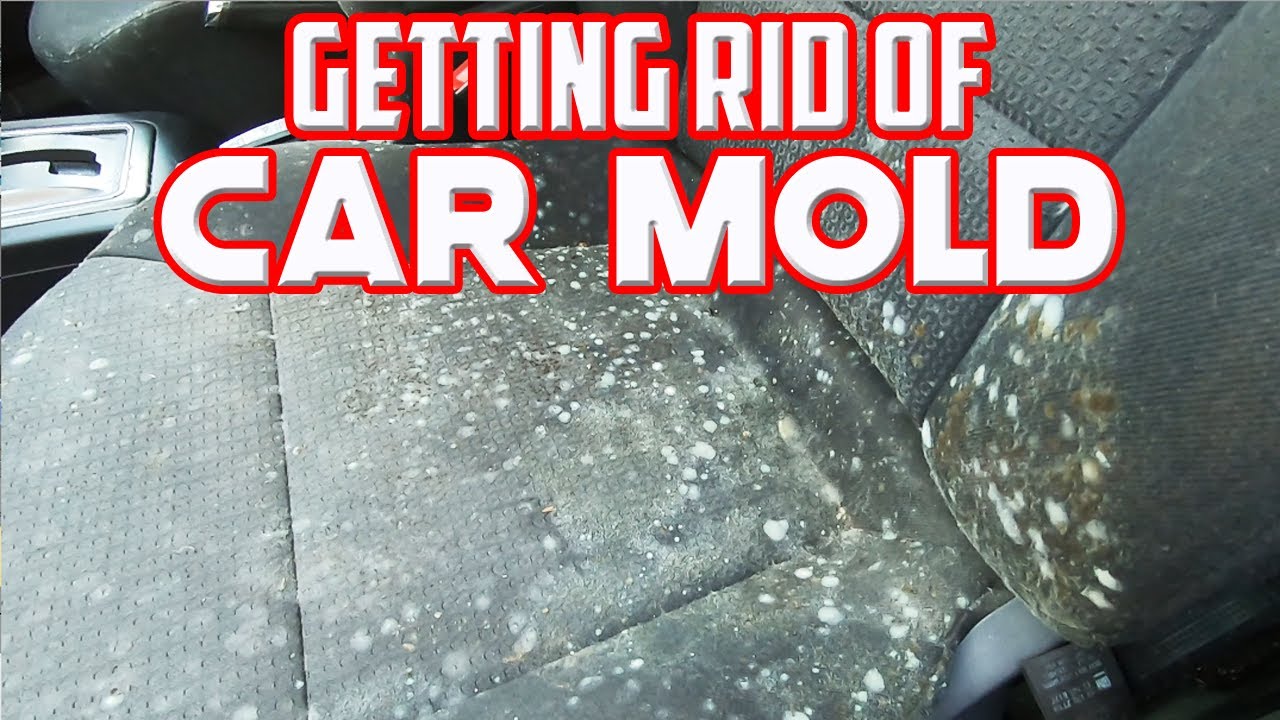
Mold in your car interior isn't just unsightly; it's a health hazard. It can trigger allergies, asthma, and other respiratory problems. Ignoring it allows the mold to spread, damaging the upholstery, carpets, and even the car's structural components. This guide provides a detailed, hands-on approach to safely and effectively cleaning mold from your car's interior, assuming you have a decent level of DIY skills and are comfortable tackling automotive projects.
Purpose: Eliminating Mold & Preventing Recurrence
The primary purpose of this procedure is threefold:
- Complete Mold Removal: Eliminating existing mold colonies from all affected surfaces within the vehicle.
- Sanitization: Disinfecting the cleaned areas to kill any remaining mold spores and prevent future growth.
- Preventing Recurrence: Identifying and addressing the root cause of the mold growth (typically excessive moisture) to ensure the problem doesn't return.
This isn't just about wiping away visible mold; it's about creating an environment where mold cannot thrive. Neglecting any of these steps can lead to a rapid re-infestation.
Key Specs and Main Parts of the Mold Remediation Process
Successful mold removal requires the right tools and a systematic approach. Here are the key components:
- Personal Protective Equipment (PPE): This is non-negotiable. You'll need a properly fitted N95 or P100 respirator to protect your lungs from mold spores. Gloves (nitrile or rubber) and eye protection (goggles) are also essential. Never underestimate the potential health risks of mold exposure.
- Mold-Specific Cleaning Solutions: While household cleaners might seem tempting, they often lack the necessary strength and may even promote mold growth. Opt for solutions specifically designed to kill mold and mildew. Options include:
- Commercial Mold Removers: These are readily available at automotive supply stores and home improvement centers. Follow the manufacturer's instructions carefully.
- Vinegar Solution: White distilled vinegar is a natural and effective mold killer. A 5% acidity vinegar is sufficient.
- Borax Solution: Borax (sodium borate) is another natural option. Mix 1 cup of borax with 1 gallon of water.
- Cleaning Tools:
- HEPA Vacuum: A vacuum cleaner with a HEPA (High-Efficiency Particulate Air) filter is crucial for removing mold spores without releasing them back into the air. Standard vacuums often lack the necessary filtration.
- Stiff-Bristled Brushes: For scrubbing mold from surfaces like upholstery and carpets.
- Microfiber Cloths: For wiping down surfaces and applying cleaning solutions. Use disposable cloths or wash them immediately after use in hot water with bleach.
- Spray Bottles: For applying cleaning solutions.
- Steam Cleaner (Optional): A steam cleaner can be used to sanitize surfaces and kill mold spores. Be cautious when using steam on delicate materials.
- Drying Equipment: Proper drying is critical to prevent mold from returning.
- Shop Fan: A powerful fan to circulate air and speed up the drying process.
- Dehumidifier: A dehumidifier to remove excess moisture from the air.
How It Works: The Mold Removal Process
The cleaning process involves several stages, each critical for complete mold removal:
- Preparation: Park the car in a well-ventilated area, preferably outdoors. Open all doors and windows to maximize airflow. Wear your complete PPE.
- Initial Vacuuming: Use the HEPA vacuum to thoroughly vacuum all surfaces in the car interior, including seats, carpets, floor mats, headliner, and any crevices or hard-to-reach areas. Pay special attention to areas with visible mold growth.
- Cleaning Affected Surfaces: Apply your chosen mold-killing solution to the affected areas. For upholstery and carpets, spray the solution liberally and let it sit for the recommended time (typically 10-15 minutes). For hard surfaces, wipe the solution on and let it sit for a few minutes.
- Scrubbing: Use a stiff-bristled brush to scrub the affected areas, agitating the mold and loosening it from the surface.
- Wiping & Rinsing (If Necessary): Wipe the cleaned areas with a clean, damp microfiber cloth. If using a borax solution, rinsing is generally not necessary. If using a commercial mold remover or vinegar, rinsing with clean water may be required to remove any residue.
- Drying: This is arguably the most important step. Use a shop fan and dehumidifier to thoroughly dry the car interior. Leave the doors and windows open to promote airflow. Drying time can vary depending on the severity of the mold and the ambient humidity, but it can take several hours or even a day or two. Do not skip this step!
- Final Vacuuming: Once the interior is completely dry, vacuum all surfaces again with the HEPA vacuum to remove any remaining mold spores.
- Ozone Treatment (Optional): For severe mold infestations, an ozone generator can be used to kill any remaining mold spores. However, ozone is a powerful oxidizer and can damage certain materials in the car interior, so use it with caution and follow the manufacturer's instructions carefully. Never occupy the vehicle during ozone treatment.
- Addressing the Source: Identify and fix the source of the moisture that caused the mold growth. This might involve repairing a leaking window seal, fixing a clogged drain, or simply being more diligent about drying wet items before placing them in the car.
Real-World Use: Basic Troubleshooting
- Persistent Mold Odor: If the mold odor persists after cleaning, try using an odor eliminator specifically designed for cars. Baking soda can also be placed in the car to absorb odors.
- Staining: Mold can sometimes leave behind stains on upholstery or carpets. Try using a stain remover designed for the specific type of material.
- Mold Return: If mold returns, it means you haven't addressed the underlying moisture problem or haven't completely killed all the mold spores. Repeat the cleaning process, paying close attention to drying and source identification.
- Discoloration of headliner. This is often very difficult to resolve. The headliner material is often glued to a cardboard/fiberglass backing. If the mold has penetrated the backing you may need to replace the headliner.
Safety Considerations
Mold removal can be hazardous, so prioritize safety:
- Respirator: A properly fitted N95 or P100 respirator is crucial to protect your lungs from mold spores.
- Ventilation: Work in a well-ventilated area to minimize exposure to mold spores and cleaning chemicals.
- Skin Contact: Avoid direct skin contact with mold and cleaning solutions. Wear gloves at all times.
- Eye Protection: Wear goggles to protect your eyes from mold spores and cleaning chemicals.
- Chemical Safety: Follow the manufacturer's instructions for all cleaning chemicals. Never mix different cleaning chemicals, as this can create dangerous fumes.
- Ozone Generator: If using an ozone generator, follow the manufacturer's instructions carefully. Ozone is a powerful oxidizer and can be harmful to your health. Do not occupy the vehicle during ozone treatment.
- Electrical Components: Exercise caution when working around electrical components, such as wiring harnesses and sensors. Avoid getting these components wet.
By following these steps and prioritizing safety, you can effectively clean mold from your car interior and prevent its recurrence, ensuring a healthier and more comfortable driving environment.
Disclaimer: This guide is for informational purposes only and should not be considered a substitute for professional advice. If you are not comfortable performing these procedures yourself, consult with a qualified automotive detailer or mold remediation specialist.