How To Clean Mold Out Of A Car
Mold in your car isn't just unsightly; it's a health hazard. Left unchecked, it can cause respiratory problems, allergic reactions, and even damage your vehicle's interior. This article provides a comprehensive guide to safely and effectively removing mold from your car, aimed at experienced DIYers who understand basic automotive principles and safety precautions.
Purpose: Why Removing Mold Matters
Ignoring mold growth in your vehicle can lead to several problems:
- Health Risks: Mold spores are allergens and can trigger asthma, allergies, and other respiratory issues. Mycotoxins, toxic substances produced by some molds, can exacerbate these problems.
- Odor: Mold has a distinctive musty odor that can be unpleasant and persistent.
- Interior Damage: Mold can damage upholstery, carpeting, and even metal components over time, leading to costly repairs or replacements. The mold eats the organic materials it is growing on.
- Reduced Resale Value: Mold is a major turn-off for potential buyers and will significantly decrease your car's market value.
This guide focuses on cleaning and preventing mold using readily available tools and chemicals. However, remember that severe infestations might require professional detailing services, especially if they involve areas behind dashboards or within ventilation systems.
Key Specs and Main Parts Affected
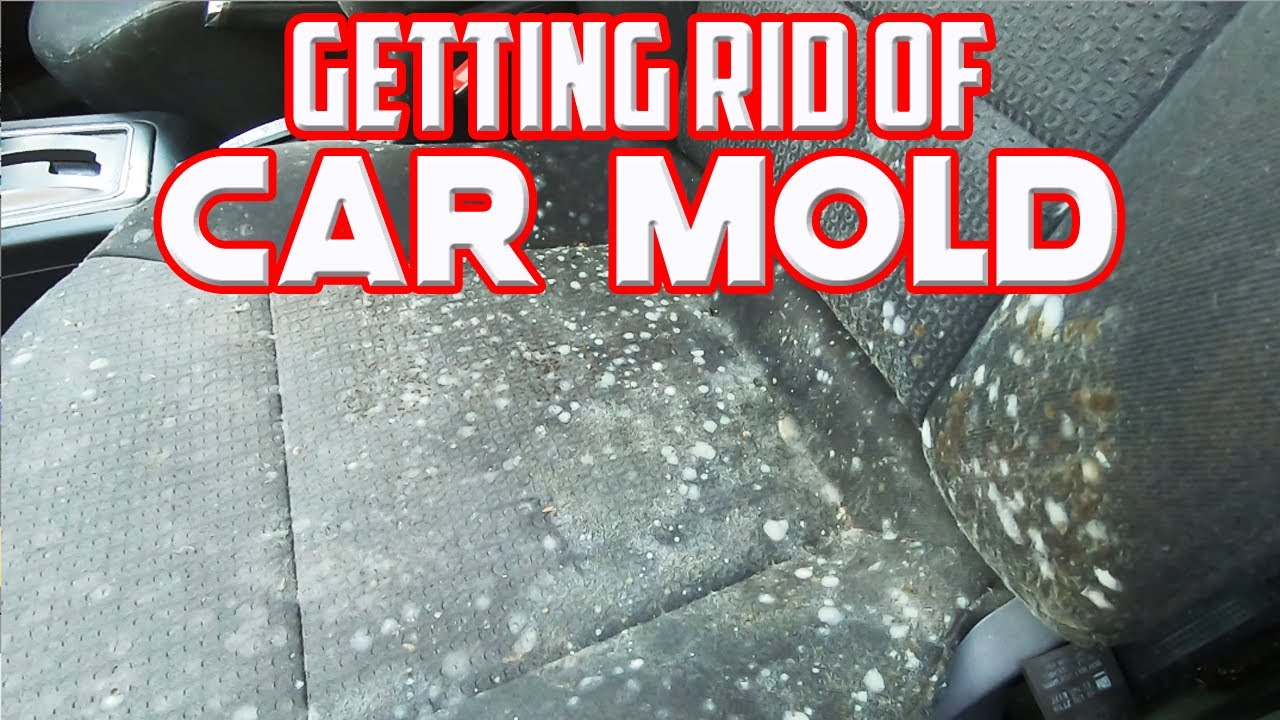
Before tackling mold removal, understand the likely areas of infestation and the materials you'll be dealing with. Common mold locations include:
- Carpets and Floor Mats: Porous materials that readily absorb moisture.
- Upholstery (Seats, Headliner): Fabric and leather are both susceptible.
- Dashboard and Trim: Condensation can accumulate in these areas.
- Ventilation System (Evaporator Core): A breeding ground for mold due to humidity and darkness. The evaporator core, the component that cools the air in your air conditioning system, is particularly vulnerable.
- Trunk: Leaks and spills can lead to mold growth.
The type of material affected dictates the cleaning method. For example, leather requires specialized cleaners to prevent damage, while fabric can withstand more aggressive treatments. Knowing the permeability (how easily a substance allows fluids to pass through) of the materials is key.
Cleaning Agents and Tools
Successful mold removal relies on the right tools and cleaning solutions. Here's a list of essentials:
- Vacuum Cleaner with HEPA Filter: Essential for removing loose mold spores and debris. A HEPA (High-Efficiency Particulate Air) filter traps microscopic particles, preventing them from recirculating into the air.
- Microfiber Cloths: For wiping surfaces and absorbing moisture.
- Stiff-Bristled Brush: For scrubbing carpets and upholstery.
- Spray Bottles: For applying cleaning solutions.
- Mold-Killing Cleaners: Choose a product specifically designed for mold removal. Options include:
- Vinegar: A natural, mild disinfectant effective against many types of mold.
- Baking Soda: Absorbs odors and moisture, inhibiting mold growth.
- Commercial Mold Removers: Follow the manufacturer's instructions carefully. Look for EPA-registered products.
- Personal Protective Equipment (PPE): Gloves, a mask (N95 or higher), and eye protection are crucial for safety.
- Dehumidifier (Optional): Helps to dry out the car interior after cleaning.
- Ozone Generator (Optional, Use with Extreme Caution): Can kill mold and eliminate odors, but use only as a last resort and following safety guidelines rigorously (see Safety section).
How It Works: Step-by-Step Mold Removal
Follow these steps to effectively remove mold from your car:
- Preparation: Park the car in a well-ventilated area, preferably outdoors. Open all doors and windows to allow for maximum airflow. Wear your PPE.
- Vacuuming: Thoroughly vacuum all affected areas, including carpets, upholstery, and the trunk. Use a crevice tool to reach tight spaces. Empty the vacuum cleaner bag or canister immediately after use to prevent mold from spreading.
- Cleaning Surfaces: Choose your cleaning solution. For vinegar, mix equal parts white vinegar and water in a spray bottle. For baking soda, make a paste with water. For commercial mold removers, follow the product instructions.
- Apply the cleaner: Spray or apply the cleaning solution to the affected area.
- Scrub: Use a stiff-bristled brush to scrub carpets and upholstery. Wipe down hard surfaces with a microfiber cloth.
- Wipe Clean: Wipe away the cleaning solution with a clean, damp microfiber cloth.
- Drying: Thoroughly dry all cleaned areas. Use dry microfiber cloths to absorb excess moisture. You can use a dehumidifier or a fan to speed up the drying process. Leave the doors and windows open to allow for ventilation.
- Ventilation System Treatment: Mold in the ventilation system requires a specialized approach.
- Access the Evaporator Core: Locate the evaporator drain tube, typically found underneath the car near the firewall. You may need to consult your car's repair manual for its exact location.
- Apply Cleaner: Purchase a specialized A/C cleaner designed to kill mold and bacteria in the evaporator core. Follow the product instructions carefully, typically involving spraying the cleaner into the evaporator drain tube or directly into the air vents while the A/C is running on high.
- Run the A/C: Run the A/C on high for 10-15 minutes to circulate the cleaner and dry out the evaporator core.
- Ozone Treatment (Optional, Last Resort): If mold persists after cleaning, an ozone generator can be used to kill remaining mold spores and eliminate odors. However, ozone is harmful to humans and pets. Strictly follow these precautions:
- Remove all people, pets, and plants from the car and the surrounding area.
- Seal the car tightly.
- Run the ozone generator for the recommended time (typically 1-2 hours).
- Ventilate the car thoroughly for several hours before re-entering. Leave the doors and windows open and use fans to circulate fresh air.
Real-World Use: Troubleshooting Tips
Here are some common issues you might encounter and how to address them:
- Persistent Odor: If the musty odor persists after cleaning, repeat the cleaning process, focusing on areas you may have missed. Consider using an odor eliminator specifically designed for cars.
- Stains: Some molds can leave behind stains. Use a stain remover specifically designed for the material affected (e.g., carpet stain remover, leather cleaner).
- Mold Reappears: If mold reappears, it indicates a moisture problem. Identify and fix the source of the moisture (e.g., leaky window seals, clogged sunroof drains).
- Difficult to Reach Areas: Use a flexible cleaning brush or a vacuum cleaner attachment with a long hose to reach tight spaces.
Safety: Risky Components and Precautions
Mold removal involves potential hazards. Always prioritize safety:
- Mold Spores: Avoid inhaling mold spores. Wear a properly fitted N95 or higher respirator mask.
- Cleaning Chemicals: Follow the manufacturer's instructions for all cleaning chemicals. Wear gloves and eye protection to prevent skin and eye irritation. Do not mix different cleaning chemicals, as this can create dangerous fumes.
- Ozone Generators: Ozone is a lung irritant and can be harmful to humans and pets. Use ozone generators only as a last resort, following the safety guidelines outlined above. Never be present in the car while the ozone generator is running.
- Electrical Components: Be careful when cleaning around electrical components. Avoid getting moisture into wiring or connectors. Disconnect the car battery if you are working near sensitive electronics.
If you are unsure about any aspect of mold removal, consult a professional detailing service. They have the expertise and equipment to safely and effectively remove mold from your car.
We have a detailed diagram illustrating the ventilation system and common mold locations available for download. This diagram can help you identify potential problem areas and plan your cleaning strategy more effectively.