How To Clean Rust On Brake Rotors
Removing Rust from Brake Rotors: A DIY Guide
As an experienced DIYer, you're no stranger to the challenges of car maintenance. One common issue that you'll inevitably encounter is rust formation on your brake rotors. While a thin layer of surface rust is normal, especially after rain or humidity, excessive rust can impact braking performance and even damage other components. This guide will walk you through the process of identifying the severity of the rust, understanding its impact, and effectively removing it using appropriate techniques.
Purpose
Understanding how to address brake rotor rust is crucial for several reasons:
- Improved Braking Performance: Excessive rust interferes with the friction between the brake pads and the rotor, leading to reduced stopping power.
- Extended Component Lifespan: Ignoring rust can accelerate wear on brake pads and potentially damage the rotors beyond repair, requiring costly replacements.
- Enhanced Safety: Properly functioning brakes are paramount for safe driving. Addressing rust ensures optimal braking performance in all conditions.
- Cost Savings: Performing this maintenance yourself can save you money on labor costs associated with professional repairs.
Key Specs and Main Parts
Before diving into the cleaning process, let's review the key components of a brake system, focusing on the rotor:
- Brake Rotor (or Brake Disc): A circular metal disc that rotates with the wheel. When you apply the brakes, the brake pads clamp against the rotor to slow down or stop the vehicle. Rotors are typically made of cast iron, which is susceptible to rust.
- Brake Pads: Friction material that presses against the rotor to create the necessary stopping force.
- Brake Caliper: The housing that holds the brake pads and contains the piston(s) that push the pads against the rotor.
- Brake Lines: Hoses that carry brake fluid from the master cylinder to the calipers.
The key spec to consider when dealing with rust is the thickness of the rotor. There's a minimum thickness specification stamped on the rotor itself (usually near the hub). Removing significant material while cleaning the rust can bring the rotor below this minimum thickness, rendering it unsafe and requiring replacement.
How It Works: Rust Formation and Removal
Rust, or iron oxide (Fe2O3), forms when iron reacts with oxygen and water (or humidity). This electrochemical process corrodes the surface of the rotor. A thin layer of surface rust is often burned off during normal braking. However, when a vehicle sits idle for extended periods, or in humid environments, more significant rust can accumulate.
There are a few methods to remove rust, depending on the severity:
- Aggressive Braking: For light surface rust, a series of hard stops from a safe speed (e.g., 30-40 mph) can often be enough to burnish the rotors. This process involves the brake pads abrading the rust away, and should only be attempted in a safe, controlled environment.
- Wire Brushing: A wire brush, either manual or powered (attached to a drill), can be used to remove loose rust. This is suitable for moderate rust buildup.
- Rotor Resurfacing (Turning): If the rust is significant and has created uneven wear or pitting on the rotor surface, resurfacing might be necessary. This involves using a brake lathe to shave off a thin layer of the rotor material, creating a smooth, flat surface. This method should only be performed if the rotor thickness remains above the minimum specification after resurfacing.
- Rust Removal Products: Chemical rust removers can be applied to the rotor surface to dissolve the rust. Follow the manufacturer's instructions carefully and ensure the product is compatible with brake components.
Real-World Use: Troubleshooting and Steps
Here's a step-by-step guide for cleaning rust from your brake rotors:
- Safety First: Park the vehicle on a level surface, engage the parking brake, and chock the wheels for added safety. Wear safety glasses and gloves.
- Inspect the Rotors: Visually assess the extent of the rust. Is it a thin layer of surface rust, or is there significant buildup and pitting? Also, inspect for any cracks or damage to the rotor itself. If you observe cracks, immediately replace the rotor.
- Attempt Aggressive Braking (for minor surface rust): If the rust is minimal, try the aggressive braking method described above. After a few hard stops, inspect the rotors again to see if the rust has been removed.
- Wire Brushing (for moderate rust): If aggressive braking doesn't suffice, use a wire brush to scrub away the rust. A drill with a wire brush attachment can speed up this process. Be sure to wear eye protection to prevent flying debris. Brush the entire surface of the rotor, paying particular attention to the area where the brake pads make contact.
- Assess the Results: After wire brushing, inspect the rotor surface. If the rust is gone and the surface is relatively smooth, you can proceed. If there are still areas of significant rust or pitting, you may need to consider rotor resurfacing or replacement.
- Rotor Resurfacing (if necessary): If you choose to resurface the rotors, you can either take them to a professional shop or use a brake lathe yourself if you have one. Remember to measure the rotor thickness before and after resurfacing to ensure it remains above the minimum specification.
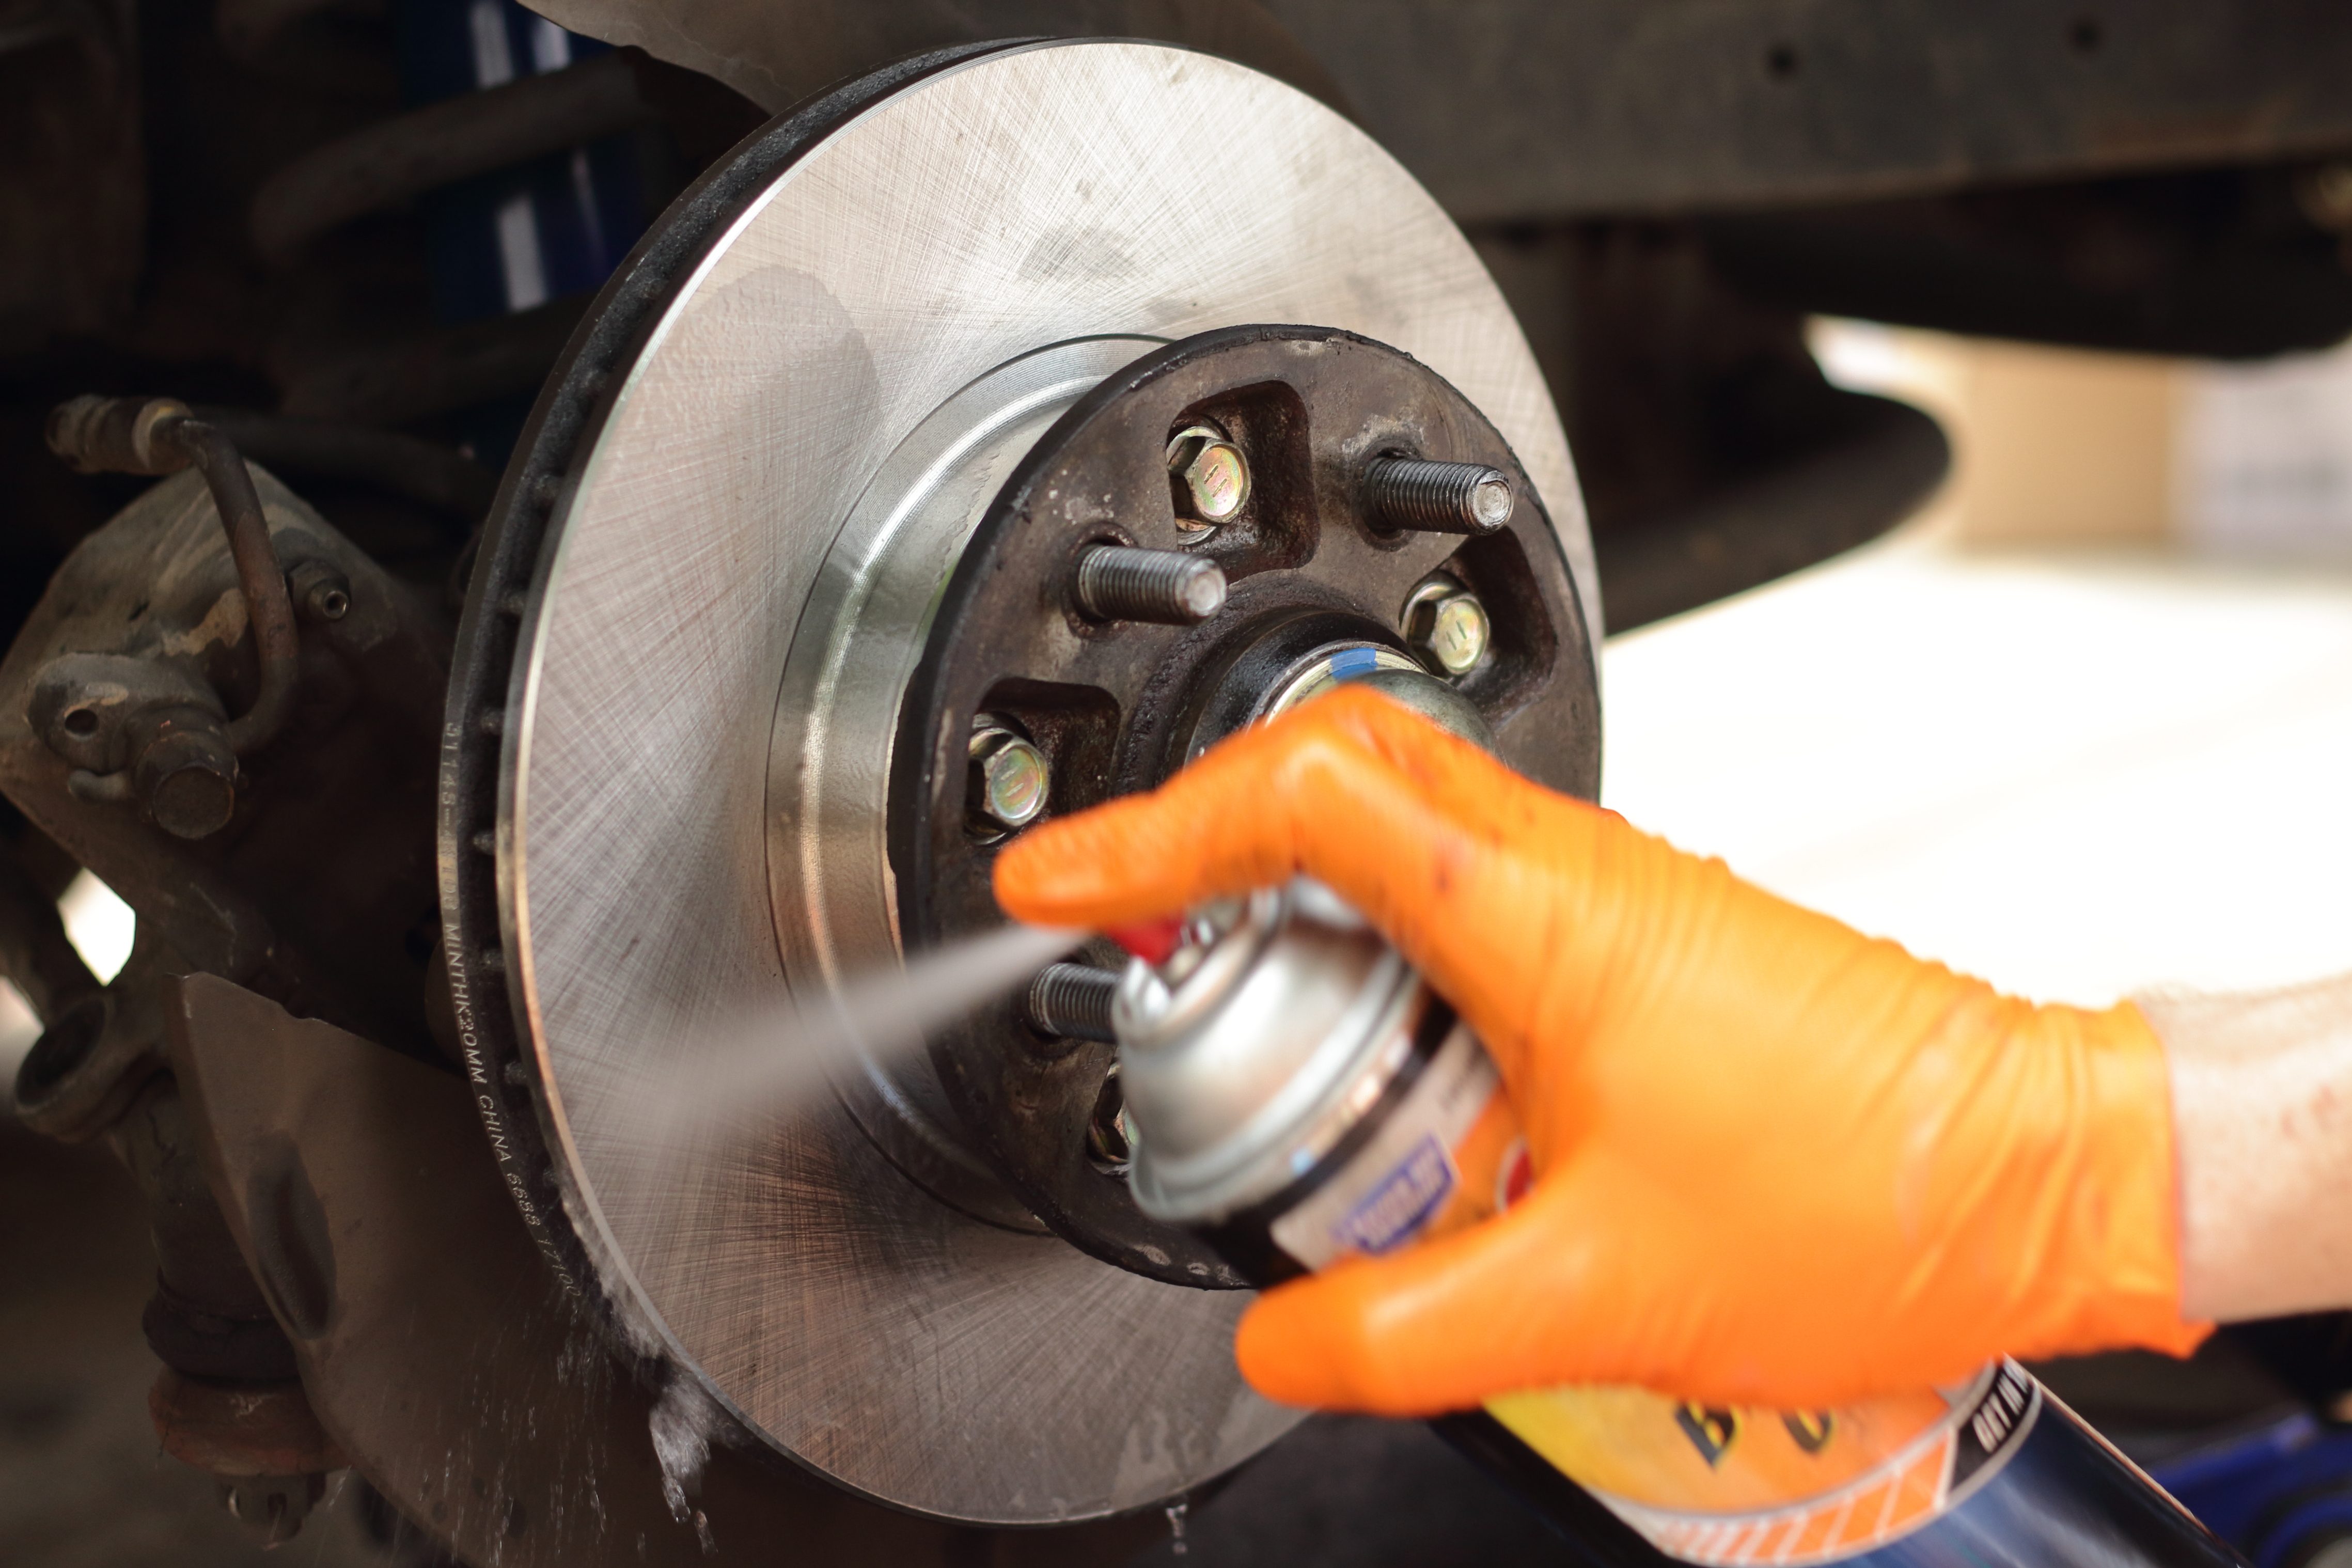
- Clean the Rotors: After any rust removal method, thoroughly clean the rotors with brake cleaner to remove any remaining debris or rust particles.
- Reassemble and Test: Reassemble the wheels and torque the lug nuts to the manufacturer's specifications. Perform a test drive in a safe area to ensure the brakes are functioning properly. Listen for any unusual noises and check for smooth, consistent braking.
Troubleshooting Tips:
- Squealing Brakes: If you experience squealing brakes after cleaning the rotors, it could be due to glazed brake pads. You may need to replace the brake pads or lightly sand them to remove the glaze.
- Pulsating Brakes: Pulsating brakes can indicate warped rotors or uneven wear. In this case, rotor resurfacing or replacement is usually necessary.
Safety: Risks and Precautions
Working on brake systems involves inherent risks. Always prioritize safety:
- Brake Dust: Brake dust can contain asbestos (in older vehicles) and other harmful particles. Wear a dust mask and avoid breathing in brake dust.
- Brake Fluid: Brake fluid is corrosive and can damage paint. Avoid contact with skin and eyes. Clean up any spills immediately.
- Hot Surfaces: Brake components can become extremely hot during normal operation. Allow the brakes to cool down completely before working on them.
- Proper Lifting: Use a jack and jack stands to safely lift and support the vehicle. Never work under a vehicle supported only by a jack.
- Minimum Rotor Thickness: Exceeding the minimum rotor thickness after cleaning, resurfacing, or general wear will compromise braking performance. Make sure to measure the rotor and abide by manufacturer specifications.
The hydraulic brake system is a critical safety system. If you are uncomfortable performing any of these steps, it is best to consult a qualified mechanic. Incorrectly performed brake work can lead to serious accidents.
Specifically, be cautious around the brake lines. Damage to these lines can cause brake fluid leaks and a loss of braking power.
We have prepared a detailed diagram outlining the components of a typical disc brake system, including the rotor, caliper, and brake lines. This diagram provides a visual reference to aid in your understanding and troubleshooting efforts. You can download the diagram here.