How To Clean Seats In My Car
So, you're ready to tackle cleaning your car seats, eh? Excellent. A clean interior isn't just about aesthetics; it's about comfort, resale value, and even preventing the buildup of allergens and bacteria. We're not just talking about wiping down the dash here; we're diving deep into the proper techniques and products to get those seats looking (and smelling) their best. This isn't just a superficial scrub; we're aiming for professional results.
Purpose
Think of a clean car interior like a well-maintained engine. It's all about preserving the long-term health and value of your vehicle. This guide isn't just about removing stains; it's about understanding the different types of seat materials (leather, fabric, vinyl), choosing the right cleaning agents, and employing techniques that won't damage the delicate surfaces. Proper cleaning prevents wear and tear, stops the growth of mold and mildew, and keeps your car's interior looking fresh for years to come. Plus, let's be honest, who wants to sit in a car covered in crumbs and grime?
Key Specs and Main Parts
Before we get started, let's talk about the "parts" we'll be dealing with. This isn't like rebuilding a carburetor, but understanding the materials of your seats is crucial. You’ll be working with:
- Upholstery Material: This is the visible surface of your seats and dictates the cleaning method. The most common types are:
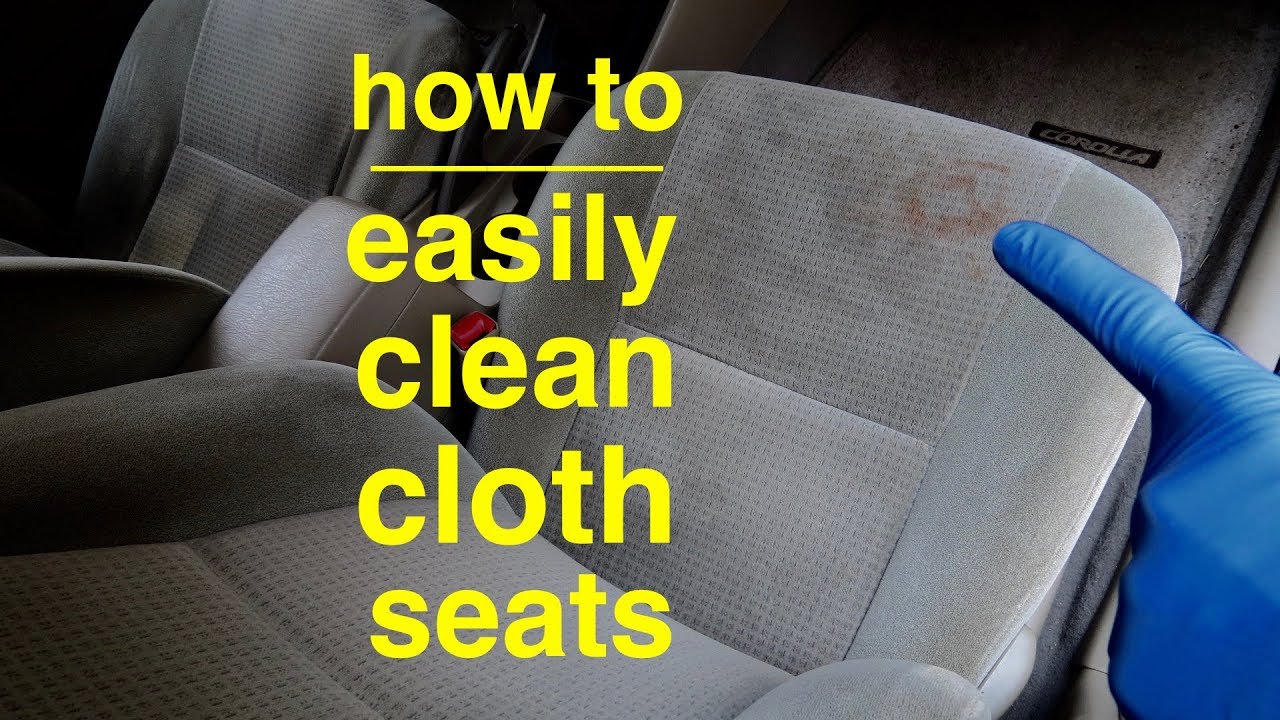
- Fabric: Often polyester or nylon blends, generally durable but prone to staining.
- Leather: Requires specific leather cleaners and conditioners to prevent cracking and drying.
- Vinyl: More resistant to stains than fabric but can become brittle over time.
- Alcantara/Suede: A synthetic microfiber material that requires special care to avoid damage.
- Seat Padding: Usually foam, which can absorb liquids and odors if the upholstery isn't properly protected.
- Seat Frame: The metal structure supporting the seat. We won't be cleaning this directly, but be mindful of moisture seeping down during the cleaning process, as it can lead to rust.
- Cleaning Supplies: This is where the "specs" come in. You'll need:
- Vacuum Cleaner: Preferably with a hose and upholstery attachment.
- Microfiber Cloths: Essential for gentle wiping and buffing.
- Detailing Brushes: Soft-bristled brushes for scrubbing without damaging the material.
- Upholstery Cleaner: Choose one specifically designed for your seat material. Avoid harsh chemicals that can discolor or damage the fabric. Look for pH-neutral options.
- Leather Conditioner (for leather seats): To replenish oils and prevent cracking.
- Spot Stain Remover: For tackling stubborn stains.
- Spray Bottle: For applying cleaning solutions.
How It Works: The Cleaning Process
Here's the step-by-step process to properly clean your car seats. Remember, patience and attention to detail are key.
- Vacuum Thoroughly: This is the foundation. Use the upholstery attachment to remove loose dirt, crumbs, and debris from every nook and cranny. Pay special attention to seams and crevices where debris tends to accumulate. A good vacuum job is half the battle.
- Spot Treat Stains: Identify any stains and use a spot stain remover specifically formulated for your upholstery type. Always test the stain remover in an inconspicuous area first to ensure it doesn't discolor the fabric. Apply the stain remover according to the product instructions, gently blot (don't rub!) with a clean microfiber cloth, and allow it to sit for the recommended time.
- Apply Upholstery Cleaner: Spray the upholstery cleaner onto a clean microfiber cloth (not directly onto the seat) and gently wipe down the entire seat surface. Work in small sections, overlapping each pass to ensure even coverage. For fabric seats, you may need to use a soft-bristled brush to agitate the cleaner and loosen embedded dirt. Be careful not to over-saturate the fabric, as this can lead to mold growth.
- Wipe Clean: Use a clean, damp (not wet) microfiber cloth to wipe away any remaining cleaner and loosened dirt. Rinse the cloth frequently in a bucket of clean water.
- Dry Thoroughly: This is crucial to prevent mold and mildew. Open the car windows and doors to allow for adequate ventilation. You can also use a fan to speed up the drying process. Avoid using your car's heater, as this can bake in any remaining dirt or stains. For leather seats, use a clean, dry microfiber cloth to buff the leather after it's dried.
- Condition Leather Seats: Once the leather is completely dry, apply a leather conditioner according to the product instructions. This will help to replenish the natural oils in the leather and prevent cracking and drying.
Real-World Use: Basic Troubleshooting Tips
Things don't always go according to plan. Here are a few common problems and how to address them:
- Stubborn Stains: If a stain persists after spot treatment, try using a paste of baking soda and water. Apply the paste to the stain, let it dry completely, and then vacuum it up. For particularly tough stains, you may need to consult a professional detailer.
- Water Spots: If you notice water spots after cleaning, try lightly dampening the entire seat surface with a clean, damp cloth and then drying it thoroughly. This can help to even out the moisture and prevent water spots from forming.
- Odor Removal: If your seats have a lingering odor, try sprinkling baking soda on the seats, letting it sit overnight, and then vacuuming it up. You can also use an odor eliminator spray specifically designed for car interiors.
- Color Bleeding: If you notice color bleeding from the upholstery, stop cleaning immediately and consult a professional detailer. This can be a sign of damaged or unstable dyes.
Safety
Cleaning your car seats is generally safe, but there are a few things to keep in mind:
- Chemical Sensitivity: Always wear gloves when handling cleaning chemicals to protect your skin. Work in a well-ventilated area to avoid inhaling fumes.
- Electrical Components: Be extremely careful when cleaning around electrical components, such as seat heaters and power seat controls. Avoid getting these components wet, as this can cause damage or electrical shock. If you're unsure about how to clean around these components, consult a professional.
- Airbag Sensors: Be extra cautious when cleaning seats with side airbags. Avoid applying excessive pressure or moisture near the airbag sensors, as this could potentially trigger the airbag deployment.
- Product Compatibility: Always test any cleaning product in an inconspicuous area before applying it to the entire seat. This will help you to avoid damaging or discoloring the upholstery.
That's the lowdown on cleaning your car seats like a pro. Remember to take your time, use the right products, and pay attention to detail. The result will be a cleaner, more comfortable, and more valuable vehicle.
For your convenience, we've compiled a comprehensive cleaning product selection guide to help you pick the perfect materials for your specific car type. We have the file available, and you can download it here.