How To Clean Seats In Your Car
Keeping Your Car Seats Spotless: A Pro's Guide to Cleaning Upholstery
Let's face it: your car's interior, especially the seats, takes a beating. From accidental spills to accumulated dirt and grime, they become a breeding ground for stains and unpleasant odors. A clean interior isn't just about aesthetics; it's about hygiene and maintaining the value of your vehicle. This guide provides a comprehensive, hands-on approach to cleaning your car seats, regardless of material – fabric, leather, or vinyl. We'll cover everything from identifying the stain to selecting the right cleaning products and employing effective techniques. Consider this your definitive resource for achieving professional-level results in your own driveway or garage.
Understanding Seat Materials: A Preemptive Strike Against Damage
Before diving into cleaning procedures, it's crucial to identify the material of your car seats. Different materials require different approaches and cleaning agents. Using the wrong product can lead to discoloration, cracking, or even permanent damage. Here’s a breakdown of common seat materials:
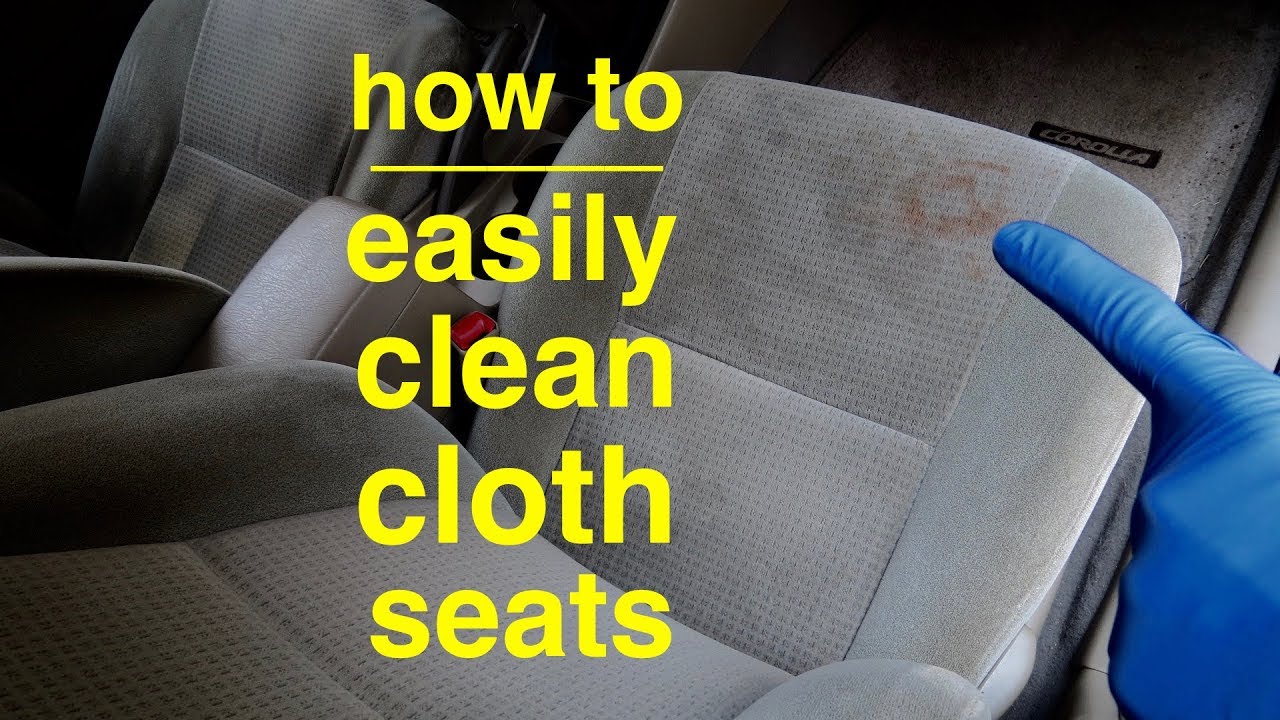
- Fabric: This is the most common type, typically made from synthetic fibers like polyester or nylon. It's generally durable but prone to absorbing stains.
- Leather: A luxurious option requiring specialized care. Leather seats are susceptible to drying out, cracking, and fading if not properly maintained.
- Vinyl: A synthetic leather alternative that's water-resistant and easy to clean. However, it can become brittle and crack over time, especially with exposure to extreme temperatures.
- Alcantara: A synthetic suede material often found in performance vehicles. It’s soft to the touch but requires delicate cleaning to avoid damage.
Always check the manufacturer's recommendations for cleaning your specific seat material. This information can usually be found in your owner's manual or on a tag attached to the seat itself.
Essential Cleaning Supplies: Arming Yourself for Success
Having the right tools and cleaning products is half the battle. Here's a list of essential supplies you'll need:
- Vacuum Cleaner: A powerful vacuum with various attachments (crevice tool, upholstery brush) is essential for removing loose dirt, crumbs, and debris.
- Microfiber Towels: These are gentle on surfaces and highly absorbent, making them ideal for wiping away cleaning solutions and drying surfaces.
- Soft-Bristled Brush: A detailing brush or a soft-bristled toothbrush is useful for agitating dirt and stains without damaging the material.
- Spray Bottle: For applying cleaning solutions.
- Bucket: For mixing cleaning solutions.
- Appropriate Cleaning Solutions: This is where material-specific selection is critical. Here are some recommendations:
- Fabric: Upholstery cleaner, enzymatic cleaner (for organic stains), diluted all-purpose cleaner.
- Leather: Leather cleaner, leather conditioner.
- Vinyl: Vinyl cleaner, diluted all-purpose cleaner.
- Alcantara: Alcantara cleaner, gentle fabric cleaner.
- Personal Protective Equipment (PPE): Gloves and eye protection are recommended to protect yourself from harsh chemicals.
The Cleaning Process: A Step-by-Step Guide
Now, let's get down to the nitty-gritty of cleaning your car seats:
- Vacuum Thoroughly: Start by vacuuming the entire seat, paying close attention to crevices, seams, and areas where dirt tends to accumulate. Use the crevice tool to reach tight spots and the upholstery brush to loosen stubborn dirt.
- Spot Treat Stains: Identify any stains and treat them individually.
- For fabric stains: Apply a small amount of appropriate cleaner to a microfiber towel and gently blot the stain. Avoid rubbing, as this can spread the stain. Work from the outside in to prevent a ring from forming. Let the cleaner sit for a few minutes according to the product instructions before blotting again with a clean, damp towel.
- For leather stains: Use a leather cleaner specifically designed for your type of leather (aniline, semi-aniline, or protected). Apply the cleaner to a microfiber towel and gently wipe the affected area. Follow with a leather conditioner to moisturize the leather and prevent cracking.
- For vinyl stains: A diluted all-purpose cleaner is usually effective for vinyl stains. Apply the cleaner to a microfiber towel and wipe the affected area. Rinse with a clean, damp towel.
- For Alcantara stains: Alcantara is delicate! Use an Alcantara-specific cleaner or a very gentle fabric cleaner. Apply the cleaner to a microfiber towel and gently blot the stain. Avoid excessive rubbing. Allow to air dry.
- Clean the Entire Seat: Once you've addressed the stains, it's time to clean the entire seat. Apply the cleaning solution to a microfiber towel or spray it directly onto the seat (depending on the product instructions). Gently wipe the seat in a circular motion, paying attention to areas that tend to get dirty, such as the seat cushion and backrest.
- Rinse and Dry: After cleaning, rinse the seat with a clean, damp microfiber towel to remove any remaining cleaning solution. Use a dry microfiber towel to blot the seat and remove excess moisture. For fabric seats, you can use a wet/dry vacuum to extract the water.
- Allow to Air Dry: Allow the seats to air dry completely before using the car. Open the windows or use a fan to speed up the drying process. Avoid using a hairdryer, as this can damage the upholstery. For leather seats, apply a leather conditioner after the seats are completely dry.
Troubleshooting Common Problems: From Lingering Odors to Stubborn Stains
Sometimes, even with the best efforts, you might encounter problems. Here are some common issues and their solutions:
- Lingering Odors: For stubborn odors, try using an enzymatic cleaner, which breaks down the source of the odor. You can also sprinkle baking soda on the seats and let it sit overnight before vacuuming it up.
- Stubborn Stains: For stains that are difficult to remove, try using a stain remover specifically designed for the type of stain (e.g., coffee stain remover, grease stain remover).
- Water Spots: Water spots can occur if the seats are not dried properly. To remove water spots, dampen the entire seat with a clean, damp towel and then dry it thoroughly with a dry microfiber towel.
- Discoloration: Discoloration can be caused by using the wrong cleaning products or by excessive exposure to sunlight. To prevent discoloration, always use products that are specifically designed for your seat material and park your car in the shade whenever possible.
Safety Precautions: Protecting Yourself and Your Vehicle
Cleaning car seats can involve the use of chemicals, so it's important to take safety precautions:
- Read Product Labels: Always read and follow the instructions on the cleaning product labels.
- Wear Gloves and Eye Protection: Protect your skin and eyes from harsh chemicals.
- Ventilate the Area: Work in a well-ventilated area to avoid inhaling harmful fumes.
- Test in an Inconspicuous Area: Before applying any cleaning product to the entire seat, test it in an inconspicuous area to ensure that it doesn't cause discoloration or damage.
- Electrical Components: Be extremely cautious when cleaning around electrical components, such as seat heaters and airbags. Avoid getting these components wet. Disconnect the battery if you are concerned about getting water near any electrical connections.
Maintaining Your Clean Seats: A Proactive Approach
Once you've cleaned your car seats, it's important to maintain them to prevent future stains and dirt buildup. Here are some tips:
- Regular Vacuuming: Vacuum your car seats regularly to remove loose dirt and debris.
- Protectant: Apply a fabric protector or leather conditioner to help protect the seats from stains and wear.
- Immediate Spill Cleanup: Clean up spills immediately to prevent them from setting in.
- Seat Covers: Consider using seat covers to protect your seats from dirt, spills, and wear.
By following these steps and taking the necessary precautions, you can keep your car seats looking their best for years to come. Remember, a clean interior contributes to a more enjoyable and comfortable driving experience, and it helps maintain the value of your vehicle.
We have a detailed diagram of the interior components, including seat mounting and wiring schematics. This resource can be invaluable for tasks beyond simple cleaning, such as replacing seats, diagnosing electrical issues related to heated seats or airbags, or even custom seat installations. This document provides exploded views, part numbers, and wiring diagrams to assist with a wide range of automotive projects. You can download the diagram to aid in your maintenance and repair tasks.