How To Clean Stains In Car
Alright, let's dive into the nitty-gritty of cleaning those stubborn stains from your car's interior. We've all been there – a spilled coffee, muddy paw prints, or mysterious smudges that just won't budge. This guide will give you a solid, hands-on approach to tackling these messes, combining best practices with a bit of automotive detailing know-how. We're going to cover everything from identifying the stain to choosing the right cleaning agents and techniques. Think of this as your comprehensive stain removal strategy.
Understanding Stain Types & Materials
Before you even grab a cleaner, it's crucial to understand what you're dealing with. Different stains require different approaches. Also, knowing the material you're cleaning is just as important. You wouldn't use the same product on leather as you would on cloth.
Common Stain Categories:
- Organic Stains: These include food spills, drinks (coffee, soda, juice), and bodily fluids. They're usually water-based and can be broken down with enzymatic cleaners.
- Oily/Greasy Stains: These come from things like grease, oil, makeup, or sunscreen. They require solvents to dissolve the greasy components.
- Inorganic Stains: This category includes things like rust, dirt, and some types of ink. They often require acidic or alkaline cleaners.
- Dye-Based Stains: These are notoriously difficult and come from things like dyes in clothes, permanent markers, or spilled colored liquids.
Interior Material Types:
- Cloth Upholstery: Typically made of woven synthetic fibers, cloth is relatively durable but can absorb stains easily.
- Leather/Faux Leather: Leather requires specialized cleaners and conditioners to prevent drying and cracking. Faux leather, while more resilient, still needs careful cleaning.
- Vinyl: Vinyl is commonly found on dashboards and door panels. It's generally water-resistant but can stain if not cleaned promptly.
- Carpeting: Car carpets are often made of durable, stain-resistant materials, but they can still trap dirt and odors.
Key Specs and Main Parts (Cleaning Tools & Agents)
Having the right tools and cleaning agents will make a huge difference. Here’s a breakdown of what you'll need:
Cleaning Agents:
- All-Purpose Cleaner: A good all-purpose cleaner can handle a variety of stains on different surfaces. Ensure it's safe for automotive interiors. Meguiar's All Purpose Cleaner is a popular choice.
- Upholstery Cleaner: Specifically formulated for cloth upholstery, these cleaners often contain enzymes to break down organic stains.
- Leather Cleaner & Conditioner: Essential for leather interiors, these products clean and moisturize the leather to prevent cracking. Lexol Leather Cleaner and Lexol Leather Conditioner are trusted brands.
- Enzyme Cleaner: For organic stains like blood, vomit, or urine. They use enzymes to digest the stain molecules.
- Degreaser: For oily or greasy stains. Ensure it's safe for the surface you're cleaning; some degreasers can damage certain materials.
- Stain Remover: A specialized stain remover for particularly stubborn stains. Test in an inconspicuous area first!
- Baking Soda: An excellent odor absorber and mild abrasive for scrubbing.
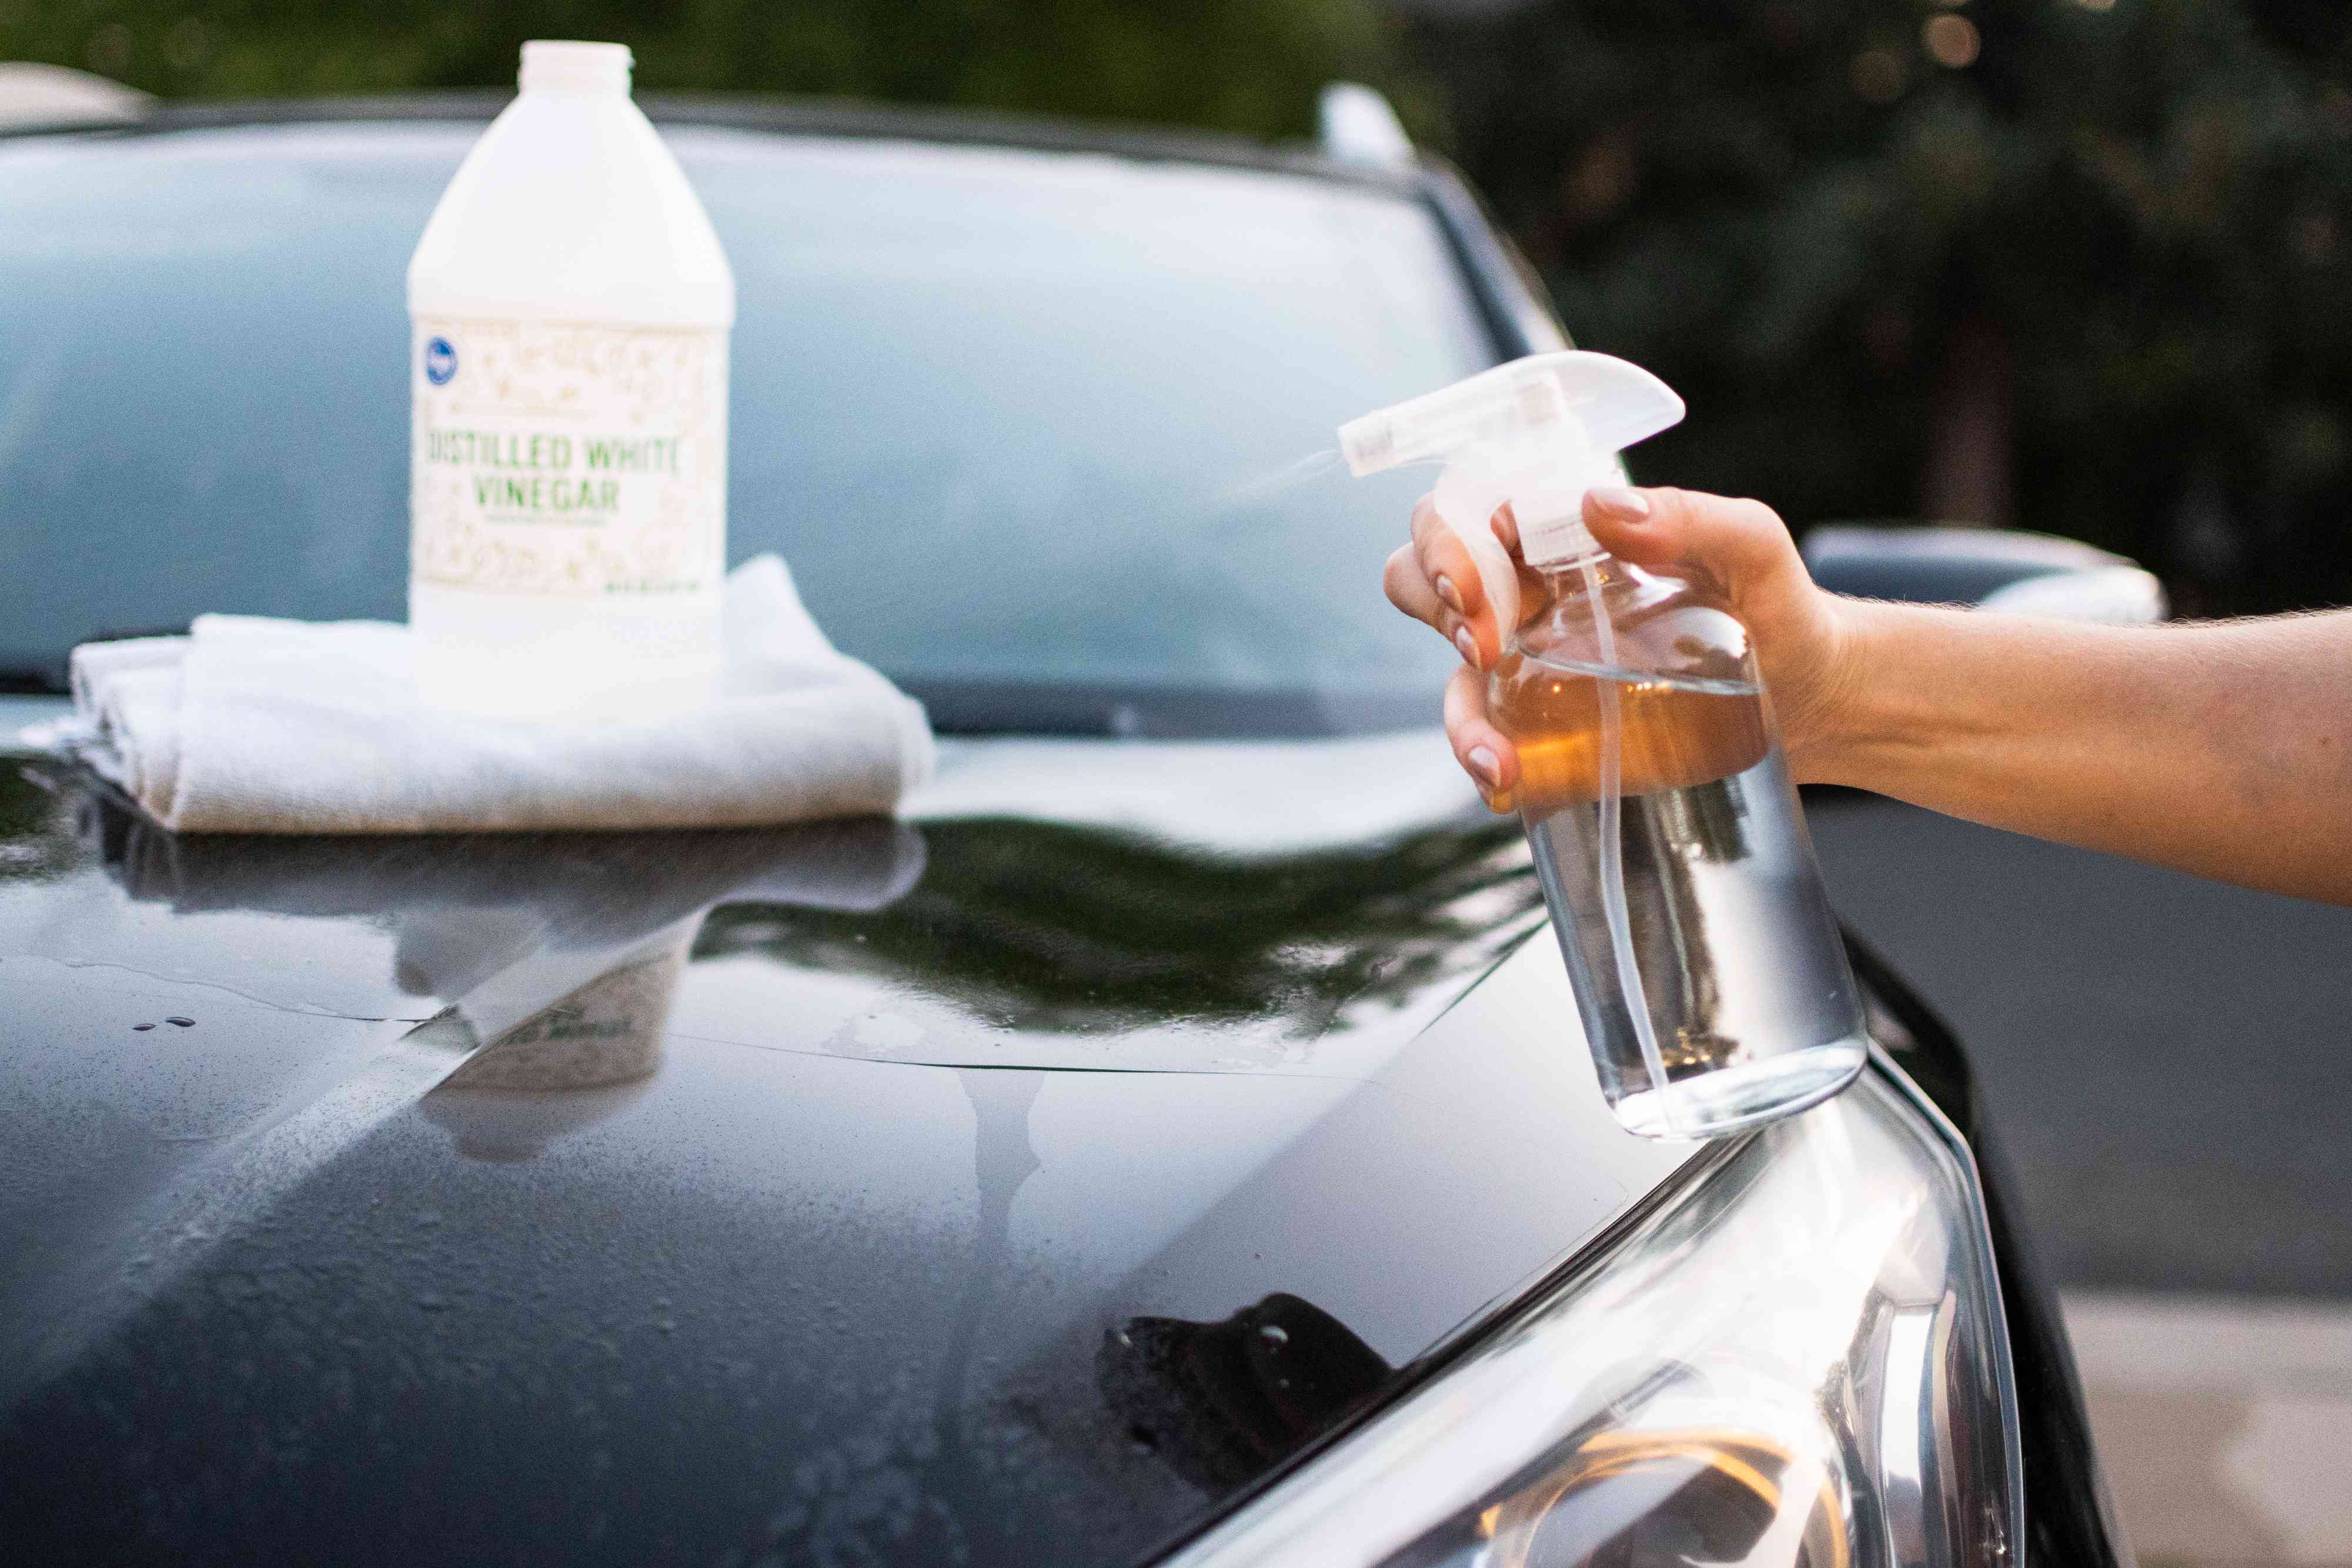
- White Vinegar: A natural cleaner and deodorizer. Dilute with water before use.
Cleaning Tools:
- Microfiber Cloths: Essential for wiping and cleaning. Use separate cloths for cleaning and drying.
- Soft-Bristled Brushes: For scrubbing stains on upholstery and carpets.
- Detailing Brushes: Small, fine-bristled brushes for cleaning tight spaces and crevices.
- Vacuum Cleaner: With attachments, for removing loose dirt and debris. A shop vac is ideal.
- Spray Bottles: For applying cleaning solutions.
- Steam Cleaner (Optional): A steam cleaner can be highly effective for deep cleaning and sanitizing upholstery and carpets.
- Wet/Dry Vacuum (Optional): Essential for extracting water and cleaning solution from upholstery and carpets.
- Rubber Gloves: To protect your hands from chemicals.
How It Works: The Stain Removal Process
The cleaning process generally follows these steps. Remember, always test any cleaning product in an inconspicuous area first to ensure it doesn't damage the material.
- Preparation: Vacuum the area thoroughly to remove loose dirt and debris. This prevents grinding the dirt into the stain during cleaning.
- Apply Cleaner: Spray the chosen cleaning agent onto the stain, following the product's instructions. Don't oversaturate the area.
- Agitate: Use a soft-bristled brush or microfiber cloth to gently agitate the stain. Work from the outside of the stain inward to prevent it from spreading.
- Blot (Don't Rub): Use a clean microfiber cloth to blot the stain, absorbing the cleaning solution and lifted stain. Rubbing can damage the material and spread the stain.
- Repeat: Repeat steps 2-4 as needed until the stain is removed or significantly lightened.
- Rinse (If Necessary): Some cleaning solutions require rinsing. Use a clean, damp microfiber cloth to remove any residue.
- Dry: Allow the area to air dry completely. You can use a fan or wet/dry vacuum to speed up the drying process. For leather, apply a leather conditioner after cleaning and drying.
Real-World Use: Basic Troubleshooting Tips
Even with the best techniques, some stains can be tricky. Here are some troubleshooting tips:
- Old Stains: Older stains are often more difficult to remove. You may need to repeat the cleaning process multiple times or try a stronger stain remover. Consider a commercial stain extraction machine.
- Stubborn Stains: For particularly stubborn stains, try a paste of baking soda and water. Apply to the stain, let it sit for a few minutes, and then blot with a clean cloth.
- Odor Removal: After cleaning, sprinkle baking soda over the area and let it sit overnight to absorb odors. Vacuum it up the next day.
- Leather Stains: Leather is porous and can absorb stains easily. Act quickly and use a leather-specific cleaner. For stubborn stains, consult a professional leather cleaner.
- Headliner Stains: The headliner is delicate. Use a very light touch and avoid oversaturating the material. Use a specialized headliner cleaner.
Safety – Highlight Risky Components
Always prioritize safety when working with cleaning chemicals:
- Ventilation: Work in a well-ventilated area to avoid inhaling fumes. Open windows and doors, or use a fan.
- Eye Protection: Wear safety glasses or goggles to protect your eyes from splashes.
- Skin Protection: Wear rubber gloves to protect your hands from chemicals.
- Flammable Liquids: Some cleaning agents may be flammable. Keep them away from open flames and heat sources.
- Mixing Chemicals: Never mix different cleaning chemicals together, as this can create dangerous fumes or reactions. Especially avoid mixing ammonia-based cleaners with bleach.
- Material Compatibility: Always test cleaning products in an inconspicuous area first to ensure they don't damage or discolor the material.
Final Thoughts
Cleaning stains in your car takes patience and the right approach. By understanding the type of stain, the material you're cleaning, and using the appropriate tools and techniques, you can restore your car's interior to its former glory. Remember to always prioritize safety and test cleaning products before applying them to large areas. With a little elbow grease and the knowledge you've gained here, you'll be well-equipped to tackle even the most stubborn stains.
We have compiled a handy stain identification and treatment chart as a reference. Contact us, and we will gladly provide the document!