How To Clean The Car Seats
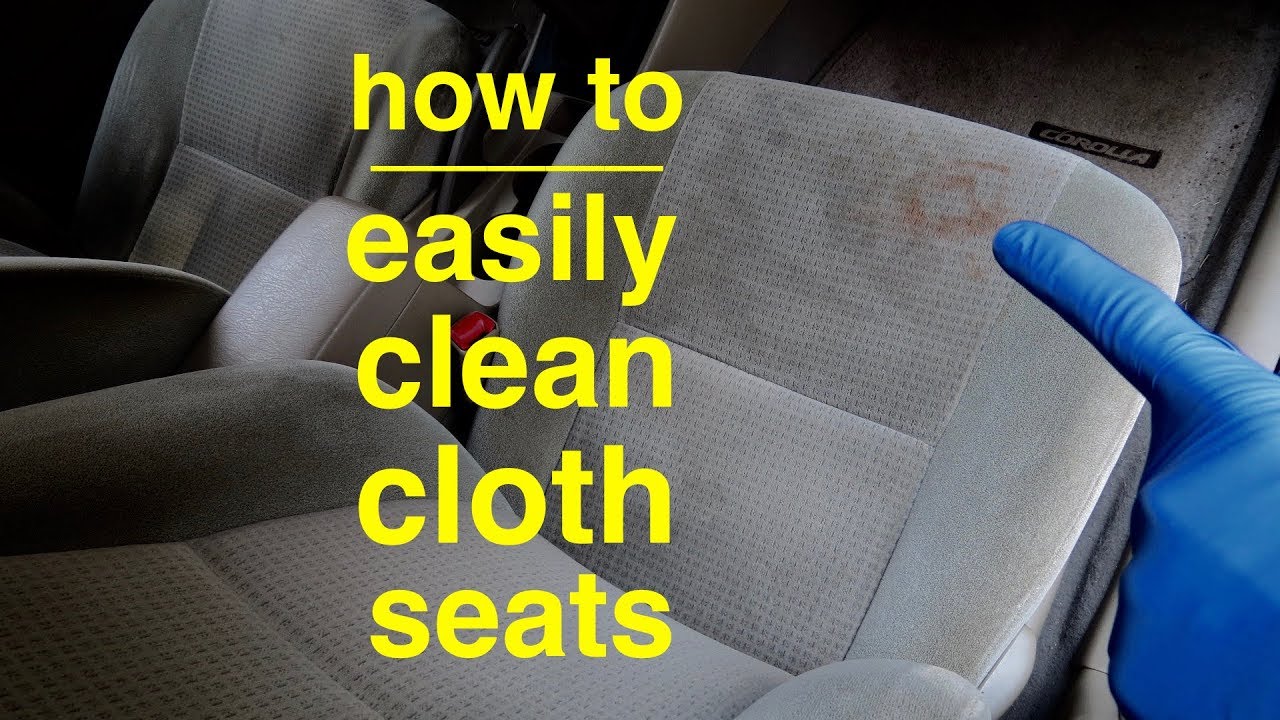
So, you're ready to tackle cleaning your car seats? Good on you! A clean interior not only looks better, but it also improves air quality and can even extend the life of your upholstery. This isn't just about aesthetics; it's about maintaining your vehicle. We're going to dive deep into the best methods, the right products, and some pro tips to get your seats looking and smelling factory-fresh. Think of this as a detailed guide for the mechanically inclined – we'll be covering everything from basic vacuuming to tackling stubborn stains.
Purpose: Why Car Seat Cleaning Matters
While it might seem like purely cosmetic, regular car seat cleaning serves several crucial purposes:
- Hygiene: Car seats are breeding grounds for bacteria, mold, and allergens. Spilled food, sweat, and general grime accumulate quickly, creating an unhealthy environment. Regular cleaning mitigates this.
- Upholstery Longevity: Dirt and grit act as abrasives, wearing down fabric and leather over time. Think of it like sandpaper against your seats every time you shift around. Cleaning removes these abrasives, extending the life of your upholstery.
- Resale Value: A well-maintained interior significantly increases your car's resale value. A clean interior suggests to potential buyers that the car has been cared for.
- Air Quality: Dust, mold spores, and allergens trapped in the seats circulate through the cabin, impacting air quality. Cleaning helps to improve the breathing environment.
Key Specs and Main Parts: Cleaning Arsenal
Before you begin, gather your tools and supplies. These are your "main parts" for this operation:
- Vacuum Cleaner: A powerful vacuum with various attachments, especially a crevice tool and upholstery brush, is essential. Shop vacs work great, but even a household vacuum will do in a pinch.
- Microfiber Cloths: These are lint-free and gentle on surfaces. Have plenty on hand.
- Detailing Brushes: Soft-bristled brushes (like toothbrush-sized) are perfect for agitating stains and reaching tight spots.
- Spray Bottles: For applying cleaning solutions. Ensure they are clean and properly labeled.
- Carpet/Upholstery Cleaner: Choose a product specifically designed for car interiors. Check if it is suitable for the upholstery material (fabric, leather, vinyl). Avoid harsh chemicals that could damage the material.
- Leather Cleaner and Conditioner (if applicable): For leather seats, use specialized leather cleaning and conditioning products.
- Steam Cleaner (optional): A steam cleaner can be a powerful tool for sanitizing and removing stubborn stains, but use it carefully and follow the manufacturer's instructions.
- Wet/Dry Vacuum (optional but recommended): Indispensable for extracting excess moisture after cleaning, especially for cloth seats. This reduces drying time and prevents mold growth.
- Interior Detailing Solution: To get the rest of the car interior looking nice!
Symbols: Interpreting Cleaning Instructions & Material Composition
While there aren't strict "symbols" like in electrical diagrams, understanding the symbols on your cleaning products and vehicle's upholstery tags is crucial. Here's a breakdown:
- "S": Indicates the cleaner is safe for synthetic materials, usually water-free cleaning agents. This means no water-based solutions!
- "W": Indicates a water-based cleaner is safe.
- "SW": Indicates you can use either a water-based or solvent-based cleaner.
- "X": Indicates cleaning by professionals only. Do not attempt to clean yourself!
- Material Composition Tags: These tags, often found on the seat cushions, will list the material composition (e.g., 100% Polyester, Leather, Vinyl). This will guide your choice of cleaning products.
- Safety Symbols on Cleaners: Pay close attention to symbols indicating corrosiveness, flammability, or other hazards. Wear appropriate PPE (Personal Protective Equipment) as indicated.
How It Works: The Car Seat Cleaning Process
The car seat cleaning process involves several stages, each building upon the previous one.
- Preparation: Remove loose items and debris from the car. Open windows for ventilation.
- Vacuuming: Thoroughly vacuum the entire seat, paying close attention to seams, crevices, and under the seat. Use the crevice tool to reach tight spots and the upholstery brush to agitate dirt.
- Spot Cleaning: Identify and treat stains individually. Apply a small amount of cleaner to a microfiber cloth, gently blot the stain, and work from the outside in to prevent spreading. Avoid rubbing vigorously, as this can damage the upholstery.
- General Cleaning: Apply the appropriate cleaner to the entire seat, following the manufacturer's instructions. For fabric, spray lightly and evenly. For leather, apply cleaner to a microfiber cloth and gently wipe the surface.
- Agitation (if necessary): For stubborn stains or heavily soiled areas, use a soft-bristled brush to gently agitate the cleaner.
- Extraction: If using a wet/dry vacuum, extract the excess cleaner and moisture. This is crucial for fabric seats to prevent mold growth. If not using a wet/dry vacuum, blot the seats with clean microfiber cloths.
- Leather Conditioning (if applicable): After cleaning leather seats, apply a leather conditioner to moisturize and protect the leather.
- Drying: Allow the seats to air dry completely. Open windows or use a fan to speed up the process. Avoid sitting on the seats until they are completely dry.
Real-World Use: Basic Troubleshooting Tips
Here are some common issues you might encounter and how to address them:
- Stubborn Stains: For tough stains like grease or ink, try using a specialized stain remover or a solution of baking soda and water. Always test in an inconspicuous area first!
- Lingering Odors: If odors persist after cleaning, try sprinkling baking soda on the seats and letting it sit overnight before vacuuming. You can also use an odor eliminator spray.
- Water Stains: Water stains can occur if the seats are not dried properly. Use a wet/dry vacuum to extract as much moisture as possible, and then use a fan to speed up the drying process.
- Discoloration: If the cleaner causes discoloration, stop immediately and switch to a milder cleaner or seek professional help. This is often a sign of incompatible cleaning products.
Safety: Highlight Risky Components (Cleaning Products)
The main safety concern here revolves around the cleaning products themselves. Here are some key points:
- Read the Labels: Always read and follow the manufacturer's instructions on cleaning products.
- Ventilation: Work in a well-ventilated area to avoid inhaling fumes.
- PPE: Wear gloves to protect your skin from harsh chemicals. Consider eye protection as well.
- Flammable Cleaners: Avoid using flammable cleaners near open flames or sources of ignition.
- Mixing Cleaners: Never mix different cleaning products, as this can create dangerous fumes. Especially avoid mixing bleach with ammonia!
- Allergy Considerations: If you have allergies, choose hypoallergenic cleaning products.
Cleaning your car seats is a rewarding task that can significantly improve the comfort and appearance of your vehicle. By following these steps and using the right tools and products, you can achieve professional-quality results. Don't be afraid to experiment (within safe limits) and find what works best for your specific needs. Remember to always prioritize safety and test products in inconspicuous areas first.
We have a comprehensive diagram outlining each step of this process, complete with product recommendations and troubleshooting tips. It’s available for download to help you along the way. Happy cleaning!