How To Clean Your Car Seats
Let's talk about keeping your car seats clean. It’s not just about aesthetics; regular cleaning prevents the build-up of dirt, grime, and allergens that can degrade the material over time and even impact your health. This guide is designed for the intermediate car owner, the modder, the DIY mechanic - someone who understands the basics and wants a deeper dive into best practices for car seat cleaning.
Purpose: Why Cleaning Matters
Cleaning your car seats goes beyond a superficial spruce-up. It’s about:
- Preservation: Dirt acts like sandpaper, gradually wearing down the fibers of your upholstery. Regular cleaning mitigates this.
- Hygiene: Car seats harbor dust mites, bacteria, and other allergens. A clean interior promotes a healthier environment, especially for those with sensitivities.
- Value: A clean interior demonstrably increases the resale value of your vehicle. It shows you've taken care of it.
- Comfort: No one enjoys sitting in a grimy seat. A clean interior simply makes the driving experience more pleasant.
Key Specs and Main Parts of a Car Seat
Understanding the components of your car seat is essential for effective cleaning. We're not talking engine internals here, but knowing your materials will dictate your cleaning strategy. Main components include:
- Upholstery: This is the outer layer of the seat, the material you directly interact with. Common materials include:
- Fabric: Typically polyester, nylon, or a blend. Relatively durable but prone to staining.
- Leather: A natural material, more luxurious but requires specific care to prevent cracking and drying. Think conditioning!
- Vinyl/Leatherette: A synthetic leather alternative, more water-resistant than leather but less breathable.
- Alcantara: A synthetic suede-like material, prone to staining and requires delicate cleaning.
- Foam Padding: Provides cushioning and support. Can absorb spills and odors if the upholstery is breached.
- Frame: The structural support of the seat, usually metal. Not directly cleaned, but important to know it exists.
- Seat Adjustments: Levers, knobs, or electronic controls for adjusting seat position. Require special attention to avoid damaging electrical components.
- Stitching: The seams that hold the upholstery together. A weak point where dirt and moisture can accumulate.
Cleaning Tools and Materials
Having the right tools makes all the difference. Here's a breakdown:
- Vacuum Cleaner: Essential for removing loose dirt and debris. A crevice tool and upholstery brush are crucial attachments. Consider a shop vac for heavy-duty cleaning.
- Microfiber Cloths: Soft and absorbent, ideal for wiping surfaces and applying cleaning solutions.
- Detail Brushes: Small brushes with soft bristles for cleaning crevices and seams.
- Spray Bottles: For applying cleaning solutions.
- Buckets: For mixing cleaning solutions.
- Cleaning Solutions: Choose appropriate cleaners based on your upholstery material.
- Fabric Cleaner: Look for pH-neutral formulas designed for automotive upholstery.
- Leather Cleaner and Conditioner: Essential for maintaining leather's suppleness. Avoid harsh chemicals.
- Vinyl Cleaner: Mild cleaners that won't damage the surface.
- All-Purpose Cleaner: Use sparingly and dilute appropriately. Always test on an inconspicuous area first.
- Steam Cleaner (Optional): Can be effective for sanitizing and removing stubborn stains, but use caution with sensitive materials.
- Wet/Dry Extractor (Optional): Excellent for deep cleaning and removing embedded dirt and stains.
How It Works: The Cleaning Process
Here’s a step-by-step guide to cleaning your car seats:
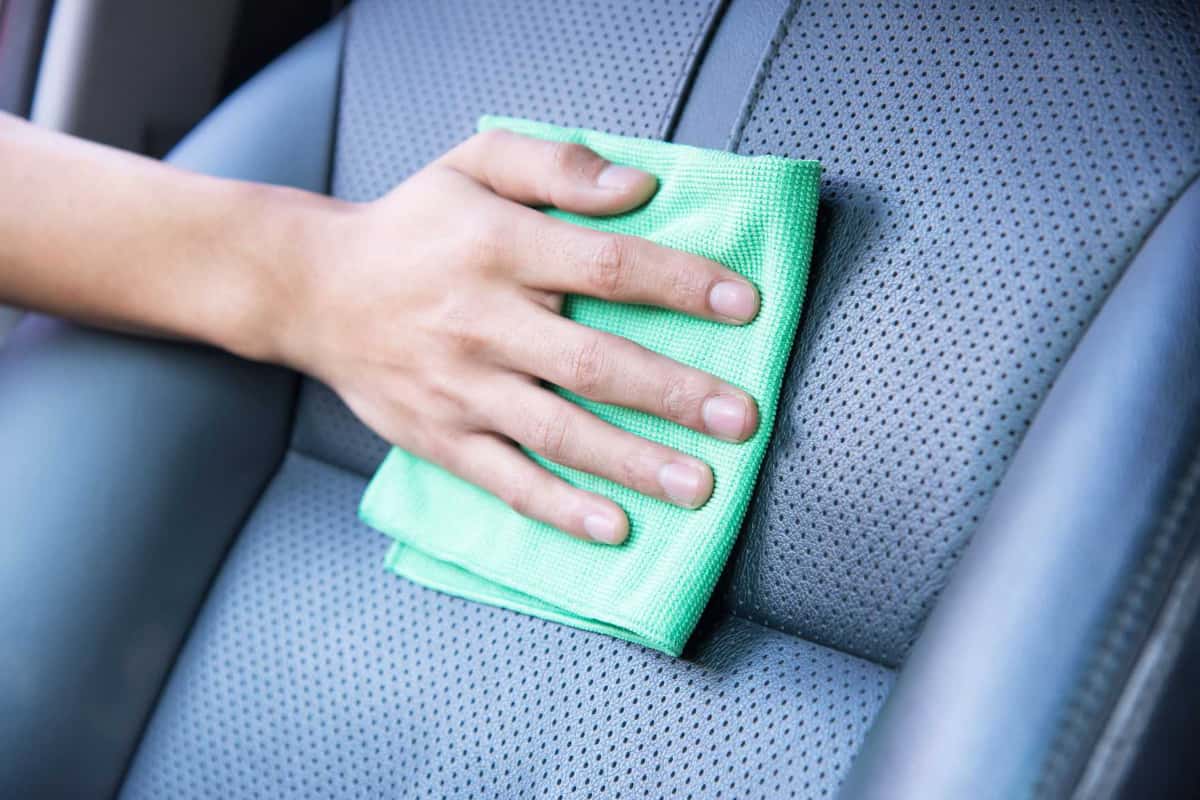
- Vacuum Thoroughly: Use the crevice tool and upholstery brush to remove all loose dirt, crumbs, and debris from the seats, including the seams and crevices.
- Spot Clean Stains: Identify and treat any stains before cleaning the entire seat. Apply a small amount of appropriate cleaner to a microfiber cloth and gently blot the stain, working from the outside in. Avoid rubbing aggressively, which can spread the stain or damage the upholstery.
- Clean the Entire Seat:
- Fabric: Spray a light mist of fabric cleaner onto the seat surface. Use a microfiber cloth to gently scrub the entire area, working in small sections. Avoid over-saturating the fabric.
- Leather: Apply a small amount of leather cleaner to a microfiber cloth and gently wipe the entire seat. Follow with leather conditioner to moisturize the leather and prevent cracking.
- Vinyl: Wipe the seat with a vinyl cleaner and a microfiber cloth.
- Wipe Clean: Use a clean, damp microfiber cloth to wipe away any remaining cleaning solution.
- Dry the Seats: Allow the seats to air dry completely. Open the car doors and windows to promote ventilation. You can also use a fan to speed up the drying process. Avoid sitting on the seats until they are completely dry.
- Vacuum Again (Optional): Once the seats are dry, vacuum them again to remove any remaining residue.
Real-World Use: Basic Troubleshooting Tips
Even with careful preparation, you might encounter some issues. Here's how to troubleshoot common problems:
- Stubborn Stains: For particularly stubborn stains, try using a stain remover specifically designed for automotive upholstery. Follow the product instructions carefully. Consider a professional detailing service for severe stains.
- Water Stains: If you accidentally over-saturate the fabric, you may end up with water stains. Use a wet/dry extractor to remove the excess water and allow the seats to dry completely.
- Odor Removal: Baking soda is a natural odor absorber. Sprinkle baking soda on the seats, let it sit for several hours (or overnight), and then vacuum it up.
- Leather Cracking: Prevent leather cracking by regularly conditioning the leather seats. Use a high-quality leather conditioner and follow the product instructions.
- Discoloration: Always test cleaning solutions in an inconspicuous area before applying them to the entire seat. This will help prevent discoloration or damage to the upholstery.
Safety: Risky Components and Precautions
While car seat cleaning is generally safe, there are a few precautions to keep in mind:
- Electrical Components: Avoid getting water or cleaning solutions on electrical components, such as seat heaters or power seat controls. This can cause electrical damage or short circuits. Disconnect the battery if you're concerned about accidentally activating electrical components.
- Airbags: Be extremely careful around airbags. Never spray cleaning solutions directly onto airbag covers. Wipe gently with a damp cloth to avoid damaging the airbag mechanism.
- Chemicals: Wear gloves and eye protection when handling cleaning solutions. Avoid inhaling fumes. Work in a well-ventilated area.
- Flammability: Avoid using flammable cleaning solutions.
- Color Bleeding: Some upholstery materials may bleed color when wet. Test cleaning solutions in an inconspicuous area first.
By following these guidelines, you can effectively clean and maintain your car seats, preserving their appearance and longevity. Remember, patience and the right tools are key!
We have a detailed diagram of a typical car seat assembly available for download. This diagram illustrates the various components and can be a valuable resource for understanding your car's interior. It includes exploded views and callouts identifying each part. Feel free to reach out to us for the file.