How To Compression Test A Motor
So, your engine's feeling a little... lethargic? Maybe it's not pulling quite as hard as it used to, or perhaps it's developed a bit of a cough. Before you start tearing into the top end, there's a relatively simple, yet incredibly informative, test you can perform: a compression test. This diagnostic procedure gives you a snapshot of the health of your engine's cylinders, helping pinpoint potential problems like worn piston rings, leaky valves, or a blown head gasket.
The Problem: Engine Performance Degradation
Imagine your engine as a series of tiny air pumps. Each cylinder sucks in air and fuel, compresses it, ignites the mixture, and then expels the exhaust. The compression stroke is crucial. The higher the compression, the more efficiently the air/fuel mixture will burn, leading to more power. When this compression is compromised, the engine suffers.
Think of a bicycle pump. If the seal on the piston is good, you can easily build up pressure and inflate your tires. But if the seal is worn or damaged, air leaks out, making it much harder to pump. The same principle applies to your engine. Leaks within the cylinder rob it of its ability to compress the air/fuel mixture effectively.
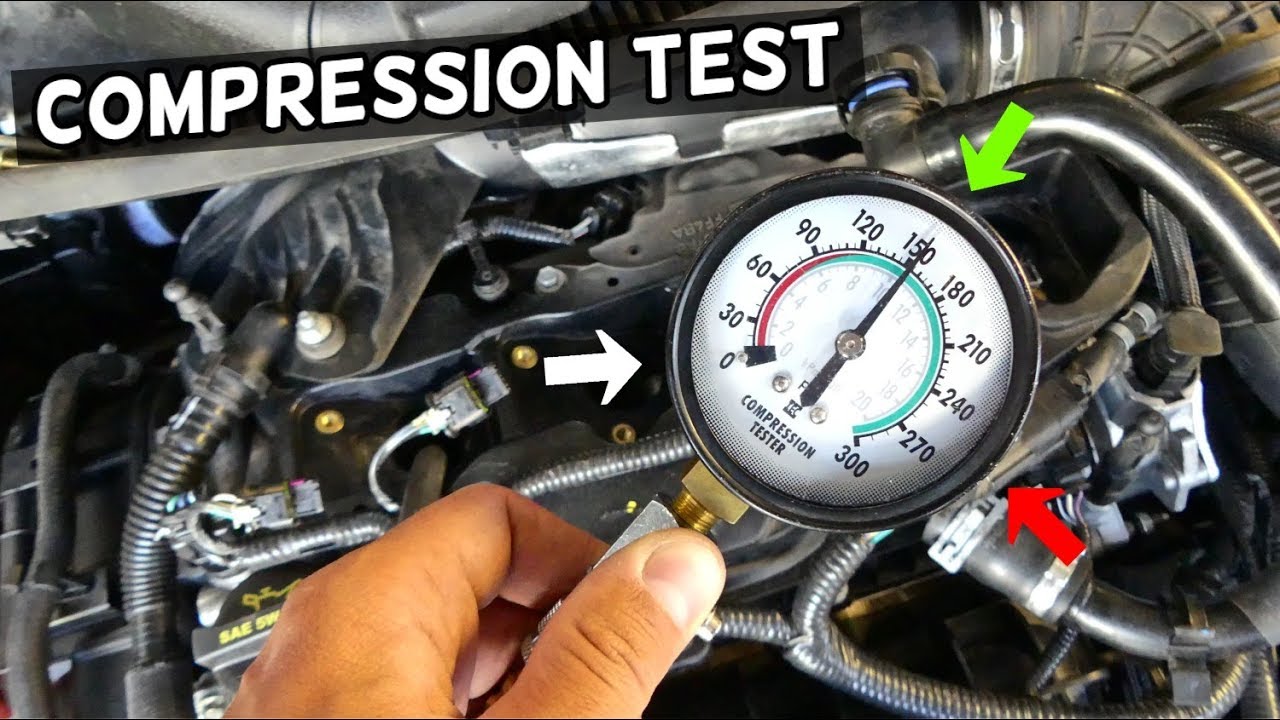
How a Compression Test Works: The Pressure Principle
A compression test measures the peak pressure achieved within each cylinder during the compression stroke. We introduce a pressure gauge into the cylinder, disable the ignition and fuel systems, and then crank the engine over. The gauge registers the maximum pressure reached as the piston moves upwards. Comparing these readings across all cylinders reveals whether each cylinder is performing optimally, or if there's a problem with sealing.
Mechanical Breakdown
Here's a step-by-step breakdown of the process:
- Preparation: The engine should be at operating temperature. Warm metal expands, potentially sealing small leaks that would be missed on a cold engine. Gather your tools: a compression tester, socket set, ratchet, extension, spark plug socket, and any necessary tools for disconnecting the ignition and fuel systems.
- Disabling the Ignition and Fuel: This is crucial for safety. We don't want the engine to actually fire during the test. Typically, you'll disconnect the ignition coil or fuel pump relay. Consult your vehicle's repair manual for specific instructions. Some modern vehicles require special procedures or scan tools for proper fuel system disabling to prevent injector flooding.
- Accessing the Cylinders: Remove all the spark plugs. This allows the engine to crank freely and prevents inaccurate readings caused by pressure buildup in neighboring cylinders. Make sure to keep track of which spark plug came from which cylinder. This can be valuable information later, especially if one looks markedly different than the others.
- Performing the Test: Thread the compression tester into the spark plug hole of the first cylinder. Ensure a tight seal. Have an assistant crank the engine for about 5-8 compression strokes (usually 5-10 seconds). Watch the gauge; it should climb steadily and then level off. Record the reading.
- Repeating the Process: Repeat the test for each cylinder, carefully recording the readings.
Analyzing the Results
Once you have compression readings for each cylinder, it's time to interpret the data. There are two key aspects to consider:
- Absolute Pressure: What is the actual pressure reading for each cylinder? This value depends on the engine's design and compression ratio. Your vehicle's repair manual should specify the expected compression range.
- Relative Pressure: How do the readings compare between cylinders? A significant variation between cylinders (typically more than 10-15% difference) is a red flag.
Example Scenario: Let's say your repair manual specifies a compression range of 175-200 PSI. You obtain the following readings:
- Cylinder 1: 185 PSI
- Cylinder 2: 190 PSI
- Cylinder 3: 120 PSI
- Cylinder 4: 180 PSI
Cylinders 1, 2, and 4 are within the acceptable range and relatively close to each other. However, Cylinder 3 is significantly lower, indicating a problem. The 120 PSI reading suggests a major leak.
Wet Compression Test
If you find a cylinder with low compression, you can perform a "wet" compression test to help determine the source of the leak. This involves injecting a small amount of oil (typically a tablespoon) into the cylinder through the spark plug hole before repeating the test. The oil helps seal the piston rings. If the compression reading increases significantly after adding oil, it suggests that the problem lies with worn or damaged piston rings. If the compression remains low, the problem is more likely to be with the valves or head gasket.
Pros and Cons of a Compression Test
Pros:
- Relatively Inexpensive: Compression testers are affordable and readily available.
- Non-Invasive: It doesn't require disassembling the engine.
- Informative: Provides valuable insights into cylinder health.
- DIY-Friendly: Can be performed by experienced DIYers with basic tools.
Cons:
- Doesn't Pinpoint Specific Problems: It tells you there's a leak, but not exactly where. Further diagnostics may be needed.
- Requires Basic Mechanical Knowledge: You need to be comfortable working with basic engine components.
- Potential for Damage: Improperly disabling the ignition or fuel system can cause damage.
- Interpretation Can Be Tricky: Understanding the results requires some knowledge of engine mechanics.
Use Cases and Manufacturer Examples
Use Cases:
- Diagnosing low power: A compression test is a standard first step in diagnosing an engine that feels weak or underpowered.
- Troubleshooting rough idling: Uneven compression between cylinders can cause rough idling and misfires.
- Pre-purchase inspection: Performing a compression test on a used car can reveal potential engine problems before you buy it.
- Monitoring engine health: Regularly performing compression tests (e.g., every 30,000 miles) can help track engine wear over time.
Manufacturer Examples:
Virtually all automotive manufacturers (e.g., Toyota, Honda, Ford, BMW, Mercedes-Benz) include compression test procedures in their service manuals. They typically provide specific compression specifications for each engine model and detail the correct procedures for disabling the ignition and fuel systems.
For example, Toyota's repair manuals often specify the minimum compression pressure and the maximum allowable difference between cylinders. They also provide detailed instructions on using a compression tester and interpreting the results.
Snap-On and Matco are well-known manufacturers of automotive diagnostic tools, including compression testers. Their testers are known for their accuracy and durability, and they often come with a variety of adapters to fit different spark plug thread sizes.
Real-World Insights and Recommendations
While a compression test is a valuable diagnostic tool, it's important to remember that it's just one piece of the puzzle. Don't rely solely on the compression test to diagnose engine problems. Consider other factors, such as:
- Engine history: Has the engine been properly maintained? Has it been subjected to extreme conditions?
- Visual inspection: Look for signs of leaks, damage, or excessive wear.
- Other diagnostic tests: Consider performing a leak-down test, which can help pinpoint the exact location of a leak within the cylinder. Also, consider checking for vacuum leaks.
- Scan tool data: Check for error codes and monitor engine parameters using a scan tool.
Recommendation: If you're not comfortable performing a compression test yourself, it's best to take your vehicle to a qualified mechanic. They have the expertise and equipment to accurately diagnose engine problems and recommend the appropriate repairs.
In conclusion, the compression test is an invaluable tool for assessing the health of an internal combustion engine. When performed correctly and interpreted carefully, it can provide crucial insights into potential problems, saving time and money on unnecessary repairs.