How To Cover A Textbook With Paper Bag
Covering textbooks with paper bags is a classic, affordable, and eco-friendly way to protect your investment and keep your books looking their best. It's a simple craft that can be done with minimal supplies, making it perfect for students of all ages. This article will guide you through the process, offering tips and tricks for a durable and presentable book cover.
Why Covering Textbooks with Paper Bags Matters
Protecting your textbooks is crucial for several reasons. First and foremost, it preserves their condition. Textbooks can be expensive, and a damaged book might not be accepted for resale or return. Covering them shields them from everyday wear and tear, including scratches, dents, spills, and dirt. A clean textbook not only looks better but also demonstrates responsibility and respect for your learning materials. This is especially important in environments where books are shared or reused.
Beyond the financial benefits, covering textbooks with paper bags offers a personalized touch. You can decorate the cover with your name, class, drawings, or notes, making your textbook easily identifiable and reflecting your personality. It's a creative outlet that can transform a plain textbook into something unique and engaging. Furthermore, using recycled paper bags promotes environmental awareness and reduces reliance on plastic or commercially produced book covers.
How to Choose the Right Paper Bag
The success of your paper bag textbook cover hinges on selecting the right bag. Here's what to consider:
Size and Strength
The paper bag needs to be large enough to completely wrap around the textbook with sufficient overlap. A grocery bag or a large shopping bag typically works well. Avoid flimsy or lightweight bags, as they are more prone to tearing. Opt for bags made from thick, sturdy paper that can withstand the stresses of daily use. Check the bottom of the bag to ensure it's intact and strong, as this area will be subjected to significant pressure.
Paper Quality
The paper's quality directly affects the cover's durability. Brown kraft paper bags are generally a good choice due to their strength and affordability. Avoid bags with a glossy or coated finish, as they can be difficult to fold and tape securely. The paper should have a slightly rough texture to provide a better grip for tape and prevent slippage. Also, make sure the paper is free from any excessive wrinkles or creases that could weaken the cover.
Print and Decoration
While the primary purpose is protection, consider the aesthetics of the bag. Choose a bag with a neutral color or minimal printing if you plan on decorating it. Avoid bags with excessive logos or images that might clash with your personal designs. If the bag has handles, carefully remove them before starting the covering process. Keep in mind that any existing print on the bag might be visible through lighter colors of markers or paint.
Assessing the Bag Before You Start
Before you begin, thoroughly inspect the paper bag for any tears, holes, or weak spots. If you find any damage, it's best to discard the bag and choose another one. A compromised bag will likely tear during the covering process or fail to provide adequate protection for your textbook. Also, flatten the bag completely and remove any debris or food residue that might be inside. A clean and undamaged bag is essential for creating a professional-looking and durable textbook cover.
Step-by-Step Guide to Covering a Textbook
Follow these steps to create a sturdy and attractive paper bag textbook cover:
- Prepare Your Materials: Gather your paper bag, scissors, tape (clear tape or masking tape works well), a ruler (optional), and a pen or pencil.
- Cut the Bag: Carefully cut along one of the vertical seams and the bottom of the bag. This will create one large, flat sheet of paper.
- Measure and Fold: Place the textbook in the center of the paper sheet. Fold the paper over the top and bottom edges of the book, leaving enough overlap to secure the cover. Crease the folds sharply to create a clean line.
- Fold the Sides: Fold the sides of the paper around the front and back covers of the book, again leaving enough overlap. Crease the folds sharply.
- Secure the Flaps: Open the front and back covers of the book. Fold the excess paper on the top and bottom edges inward, creating a flap that fits snugly against the inside of the book cover.
- Tape the Flaps: Use tape to secure the flaps to the inside of the book cover. Apply tape along the entire length of the flap for maximum strength.
- Final Touches: Smooth out any wrinkles or creases in the paper. Trim any excess paper around the edges for a clean, professional look.
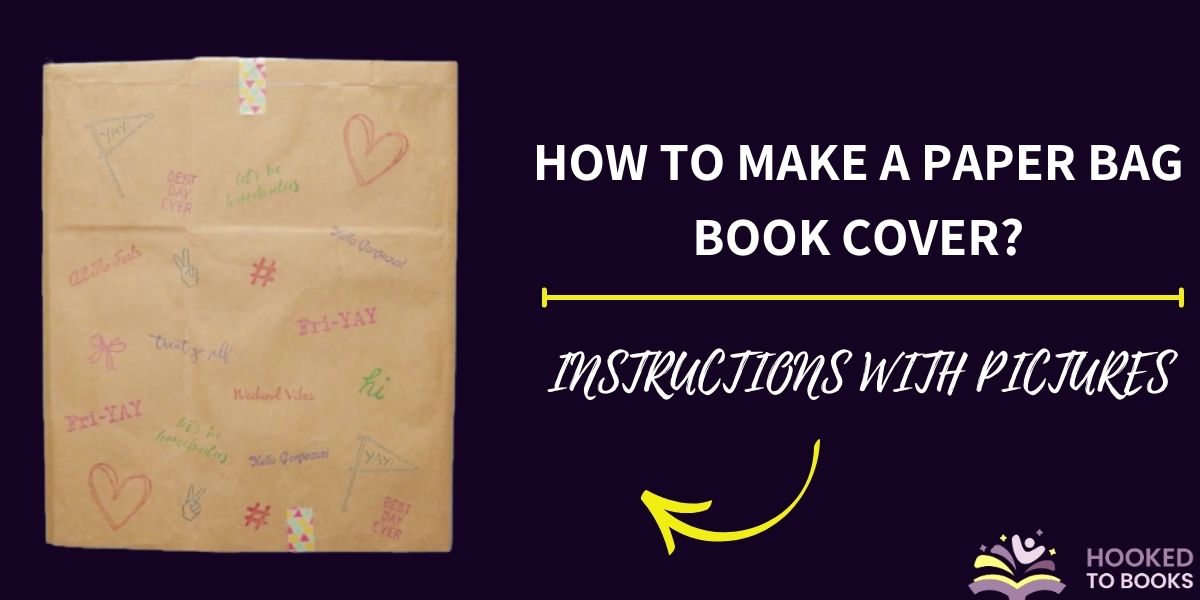
- Decorate (Optional): Personalize your cover with your name, class, drawings, or other decorations. Use markers, pens, paint, or stickers to create a unique design.
Tips and Tricks for a Perfect Finish
- Use a Bone Folder: A bone folder (or even the back of a spoon) can help create sharp, clean creases for a more professional look.
- Reinforce the Corners: Corners are prone to wear and tear. Reinforce them with extra tape or corner protectors.
- Consider Clear Contact Paper: For added durability, cover the entire paper bag cover with clear contact paper. This will make it water-resistant and protect it from dirt and scratches.
- Experiment with Different Papers: Don't limit yourself to brown paper bags. Explore other types of paper, such as colored kraft paper or patterned wrapping paper, for a more unique look.
- Label Clearly: Clearly label your textbook with your name, class, and any other relevant information. This will help prevent mix-ups and ensure your book is returned if lost.
Real-World Owner Experiences
Many students and teachers swear by the paper bag textbook cover method. Here are some common experiences:
"I've been using paper bag covers for years," says Sarah, a high school student. "They're so much cheaper than store-bought covers, and I can customize them however I want. Plus, it's a great way to recycle."
Mark, a middle school teacher, adds, "I encourage my students to use paper bag covers because it teaches them responsibility and encourages creativity. It's also a practical way to protect the textbooks, which are often shared among multiple classes."
Some users have noted that the durability of the cover depends on the quality of the paper bag and the care taken during the covering process. However, with proper technique and a sturdy bag, a paper bag cover can provide excellent protection for your textbooks.
Frequently Asked Questions (FAQs)
What if I don't have a paper bag big enough?
If you don't have a single bag large enough, you can piece together multiple smaller bags. Use tape to securely join the pieces together, ensuring that the seams are strong and smooth.
How do I prevent the cover from tearing?
Choose a strong, thick paper bag. Reinforce the corners and edges with extra tape. Avoid overfilling your backpack, as this can put extra stress on the cover. Consider using clear contact paper for added protection.
Can I use a plastic grocery bag instead?
While plastic bags can provide some protection, they are not as durable or aesthetically pleasing as paper bags. They are also more prone to tearing and can be difficult to decorate. Additionally, using plastic bags defeats the eco-friendly purpose of covering your books.
How often should I replace the cover?
The frequency of replacement depends on how often you use the textbook and the amount of wear and tear it experiences. Check the cover regularly for signs of damage, such as tears, holes, or loose tape. Replace the cover as needed to ensure continued protection.
What's the best way to decorate the cover?
The best way to decorate your paper bag cover is limited only by your imagination! Markers, pens, paint, stickers, and even collage materials can be used to create a unique design. Consider using stencils or templates for more intricate designs. Just be sure to let the decorations dry completely before handling the book to avoid smudging.
In conclusion, covering textbooks with paper bags is a cost-effective, environmentally friendly, and customizable way to protect your investment. By following these steps and tips, you can create a durable and attractive cover that will keep your books looking their best for years to come. So grab a paper bag, get creative, and start protecting your textbooks today!