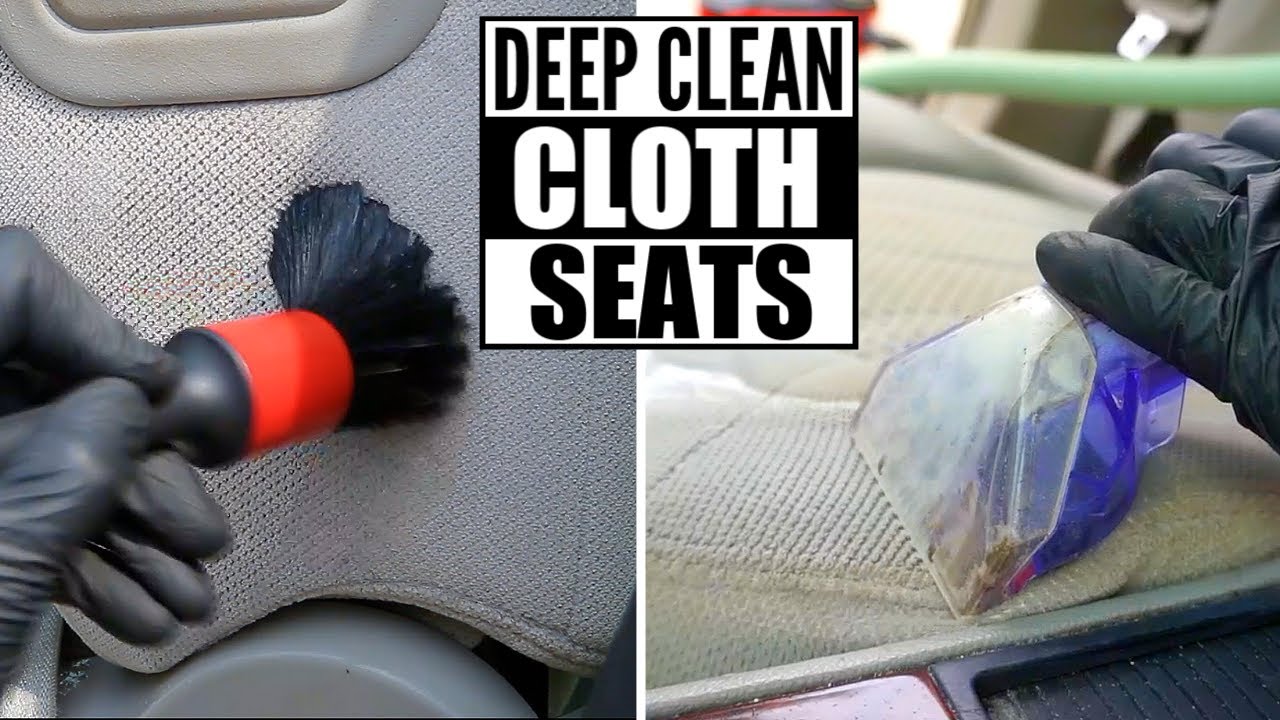
How To Deep Clean A Car Seat
So, you're ready to tackle deep cleaning your car seats? Excellent! A clean interior not only looks great but also improves the air quality inside your vehicle. This guide assumes you're familiar with basic detailing techniques and comfortable using cleaning tools and solutions. We'll break down the process into manageable steps, focusing on effective methods and best practices to achieve professional-level results.
Purpose: Why Deep Cleaning Matters
Beyond aesthetics, deep cleaning your car seats offers several key benefits. Regular cleaning removes dirt, grime, allergens (like pollen and dust mites), and other contaminants that can accumulate over time. This is especially important if you have children, pets, or frequently transport messy items. Neglecting this can lead to:
- Degradation of Upholstery: Embedded dirt can act as an abrasive, wearing down the fabric or leather over time.
- Unpleasant Odors: Spills and stains can breed bacteria, leading to persistent and unpleasant smells.
- Reduced Resale Value: A clean interior significantly increases the value of your vehicle when you decide to sell or trade it in.
- Health Concerns: Allergens and mold spores can trigger respiratory problems and other health issues.
Deep cleaning goes beyond a quick wipe-down; it involves extracting embedded dirt and stains, sanitizing surfaces, and restoring the original appearance of your car seats. This guide will cover various techniques applicable to both fabric and leather upholstery, highlighting the specific considerations for each material.
Key Specs and Main Parts: The Anatomy of a Clean Car Seat
Before diving in, let's consider the "parts" involved in this cleaning project. These aren't physical parts of the seat itself, but rather the key components of the cleaning process:
- Vacuum Cleaner: Preferably with a hose attachment and various nozzle options, including a brush attachment for upholstery. Look for a powerful vacuum designed for automotive detailing.
- Cleaning Solutions: Specific to the type of upholstery (fabric or leather). Avoid using harsh chemicals that can damage or discolor the material. We'll discuss product selection in detail later.
- Microfiber Towels: Essential for wiping surfaces, absorbing excess moisture, and buffing leather. Invest in a good quality set – the cheap ones often leave lint behind.
- Detailing Brushes: A variety of sizes, from small detail brushes for crevices and seams to larger brushes for scrubbing larger areas. Soft-bristled brushes are crucial for preventing damage.
- Upholstery Extractor (Optional): A specialized machine that sprays cleaning solution and simultaneously extracts it with a powerful vacuum. This is the gold standard for deep cleaning fabric upholstery, but it's an investment.
- Steam Cleaner (Optional): Steam can effectively loosen dirt and grime without harsh chemicals, making it a useful tool for both fabric and leather. Use with caution on leather, as excessive heat can cause damage.
- Spray Bottles: For diluting and applying cleaning solutions.
- Foam Applicator Pads: Ideal for applying leather conditioners and protectants.
Symbols: Interpreting Cleaning Labels and Materials
Understanding the symbols on your car seat's fabric or leather is crucial for selecting the right cleaning products and methods. Unfortunately, unlike clothing, car seats rarely have explicit cleaning tags. However, you can usually determine the material type by:
- Vehicle Documentation: Check your owner's manual or window sticker for information about the upholstery material.
- Visual Inspection: Leather typically has a visible grain and a more supple feel than synthetic materials. Fabric can vary widely in texture and weave.
- Water Test: Apply a small drop of water to an inconspicuous area. If it absorbs quickly, it's likely fabric. If it beads up, it's likely leather or a water-resistant fabric treatment.
Important Note: When choosing cleaning products, always look for labels that specify compatibility with the type of upholstery you have (fabric or leather). The label should also indicate whether the product is designed for spot cleaning or general cleaning.
Here are some hypothetical symbols you might encounter on a cleaning product label:
- "Fabric Safe" icon: A stylized fabric swatch indicates the product is safe for use on most common automotive fabrics.
- "Leather Conditioner" icon: A stylized leather hide indicates the product is specifically formulated to condition and protect leather.
- A crossed-out water droplet: Indicates the product should not be used with water or wet extraction methods.
- "pH Neutral" label: Indicates the product has a pH level of 7, which is less likely to damage delicate materials.
How It Works: The Step-by-Step Deep Cleaning Process
- Preparation: Remove any loose items from the car, including floor mats, trash, and personal belongings. Open the windows to provide ventilation.
- Vacuuming: Thoroughly vacuum the entire seat, paying attention to seams, crevices, and hard-to-reach areas. Use a crevice tool to remove debris from tight spaces and a brush attachment to loosen dirt from the upholstery.
- Spot Cleaning (Fabric): For stains, pre-treat with a fabric-specific stain remover. Follow the product instructions carefully. Blot the stain gently with a clean microfiber towel, working from the outside in to prevent spreading. Avoid rubbing aggressively, as this can damage the fabric.
- General Cleaning (Fabric): Apply a fabric cleaner to the seat, following the product instructions. You can use a spray bottle to apply the cleaner directly to the fabric or spray it onto a microfiber towel and then wipe the seat. Work in small sections and avoid oversaturating the fabric. For heavily soiled areas, use a detailing brush to gently scrub the fabric.
- Extraction (Fabric): If you have an upholstery extractor, use it to remove the cleaning solution and embedded dirt. Follow the manufacturer's instructions for the extractor. If you don't have an extractor, use a clean microfiber towel to blot the seat and remove as much moisture as possible.
- Spot Cleaning (Leather): For stains, use a leather-specific stain remover. Test the product in an inconspicuous area first to ensure it doesn't discolor the leather. Apply the stain remover to a clean microfiber towel and gently blot the stain.
- General Cleaning (Leather): Apply a leather cleaner to the seat, following the product instructions. Use a clean microfiber towel to wipe the seat, paying attention to seams and creases. Avoid using excessive pressure, as this can damage the leather's finish.
- Conditioning (Leather): After cleaning, apply a leather conditioner to replenish the natural oils and protect the leather from drying and cracking. Apply a small amount of conditioner to a foam applicator pad and work it into the leather in a circular motion. Allow the conditioner to absorb for the recommended time, then buff the seat with a clean microfiber towel.
- Drying: Allow the seats to air dry completely. Open the windows or use a fan to speed up the drying process. Avoid sitting on the seats until they are completely dry.
- Final Vacuuming: After the seats are dry, vacuum them again to remove any remaining loose dirt or debris.
Real-World Use: Basic Troubleshooting Tips
- Stains Won't Come Out: Try a different stain remover specifically designed for the type of stain (e.g., oil-based, water-based). Consider professional detailing if the stain is particularly stubborn.
- Fabric is Discolored: You may have used a cleaner that is too harsh or not compatible with the fabric. Try diluting the cleaner or switching to a gentler product.
- Leather is Drying Out: Increase the frequency of leather conditioning. Consider using a leather protectant to shield the leather from UV damage and other environmental factors.
- Unpleasant Odors Persist: The odor may be embedded deep in the foam padding of the seat. Consider removing the seat covers (if possible) and cleaning the foam padding separately. You may also need to address the source of the odor (e.g., a spilled beverage).
Safety: Highlight Risky Components and Practices
- Chemicals: Always wear gloves and eye protection when handling cleaning chemicals. Avoid breathing in the fumes. Follow the product instructions carefully.
- Electricity: When using an upholstery extractor or steam cleaner, ensure the power cord is in good condition and the appliance is properly grounded. Avoid using electrical appliances in wet environments.
- Heat: Use caution when using a steam cleaner on leather, as excessive heat can damage the leather's finish. Test the steam cleaner on an inconspicuous area first.
- Sharp Objects: Be careful when handling detailing brushes with sharp bristles, as they can scratch or damage delicate surfaces.
- Seat Removal (Advanced): If you're removing the car seats for more thorough cleaning, disconnect the battery and research proper airbag disabling procedures *before* disconnecting any electrical connectors under the seats. Airbags are extremely powerful and can cause serious injury if deployed accidentally. This is best left to a professional if you are not comfortable with electrical and safety systems.
Deep cleaning your car seats is a rewarding project that can significantly improve the appearance and cleanliness of your vehicle. By following these steps and using the right tools and techniques, you can achieve professional-level results and enjoy a fresh, clean interior.
We have a detailed diagram illustrating the cleaning process, including specific product recommendations and troubleshooting tips. Contact us, and we will gladly share the document.